

Why do we need two-factor authentication?
Implementing two-factor authentication (2FA) using PAM (Plug-in Authentication Module) in SSH with Google Authenticator is a great way to increase the security of your SSH server.
Google Authenticator generates time-based one-time passwords (TOTP) for an additional layer of security.
How to install it
First we need to install the service that is responsible for two-factor authentication, this can be done using the command
apt install libpam-google-authenticator -yNow we need to configure the SSH server, to do this, open the following file
nano /etc/pam.d/sshdNext, add to the end of the file
auth required pam_google_authenticator.so
Press CTRL+X, then Y and finally Enter.
Now open the SSH server file itself and add to the end
nano /etc/ssh/sshd_config
ChallengeResponseAuthentication yes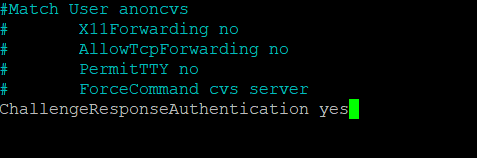
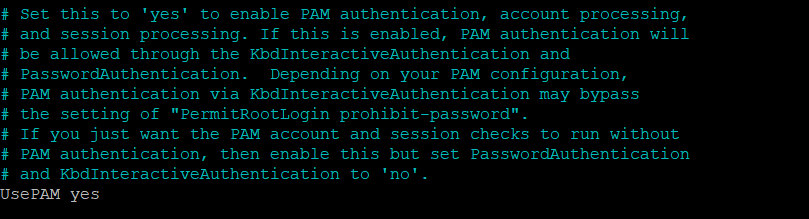
We also check if UsePAM yes is enabled, as we need it
Now find KbdInteractiveAuthentication and change it to yes

Press CTRL+X, then press Y and Enter to save the file.
Now we restart the SSH server so that the new settings work, we do this using the command
service sshd restart
If the SSH is not restarting on Ubuntu 24.04, you should run the following commands
systemctl disable --now ssh.socket
systemctl enable --now ssh.service
Now we can try to restart SSH again, if we get an empty response it means that everything is fine.
How to set up two-factor authentication
To set up two-factor authentication we need to generate a QR code and this is done using the command
google-authenticatorFirst we have to accept that authentication tokens will be time-limited.

Once accepted, the terminal will display a QR code that you will need to scan using the app on your phone. You can also manually enter the secret key indicated under the QR code.
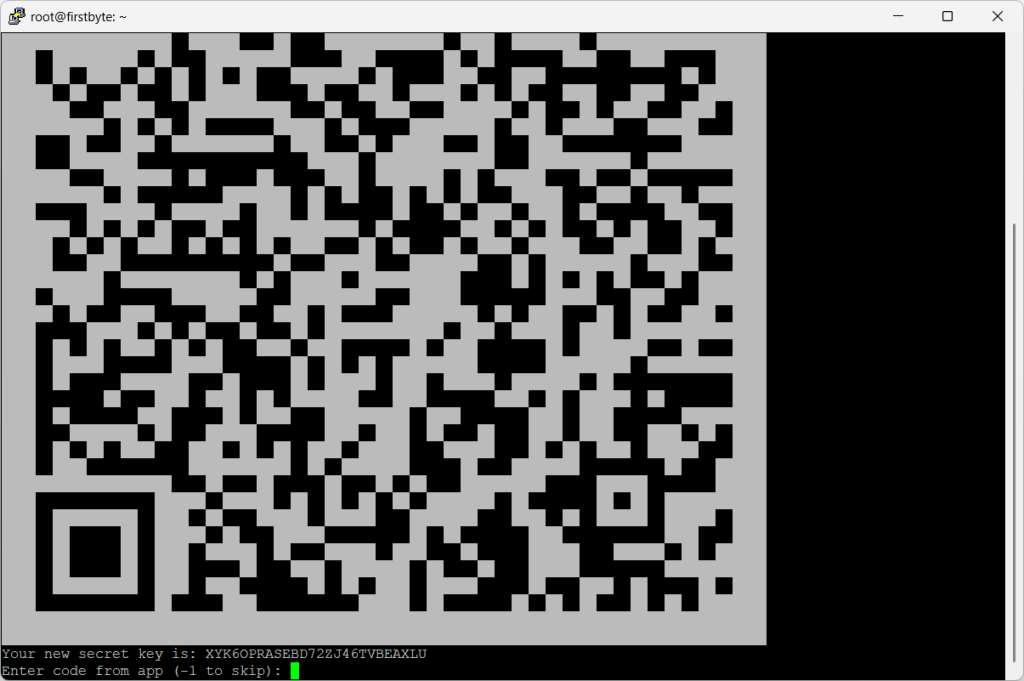
After we scanned the QR code and it was added to the application, we enter -1 to skip and press Enter.
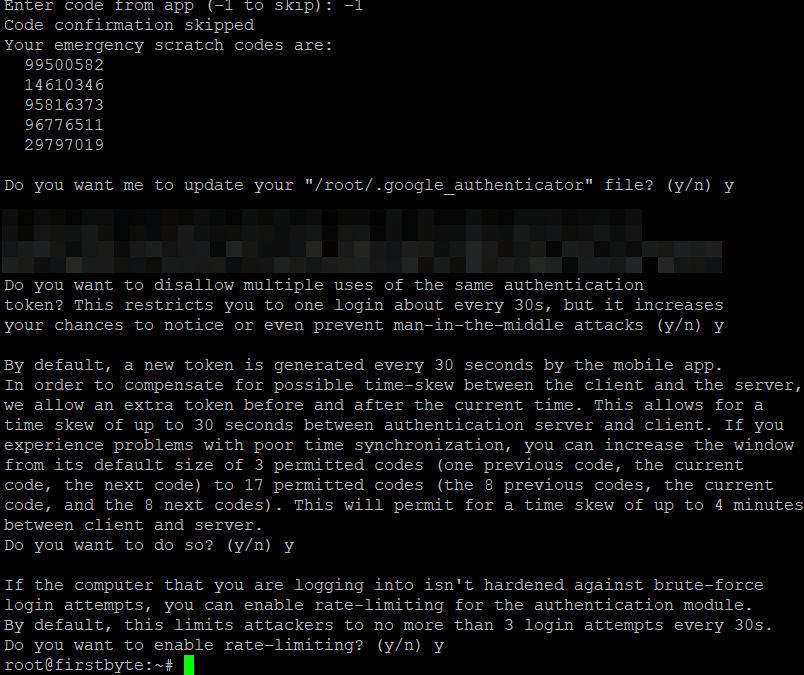
You will be asked to answer a few questions. Here’s what each option does, we recommend you accept them all.
Do you want to enable authentication tokens (y/n)? — Answer “y” to enable TOTP.

Do you want me to update your “/root/.google_authenticator” file? (y/n)y


Do you want to disallow multiple uses of the same authentication
token? This restricts you to one login about every 30s, but it increases
your chances to notice or even prevent man-in-the-middle attacks (y/n) y

By default, a new token is generated every 30 seconds by the mobile app. In order to compensate for possible time-skew between the client and the server, we allow an extra token before and after the current time. This allows for a time skew of up to 30 seconds between the authentication server and the client. If you problems experience with poor time synchronization, you can increase the window from its default size of 3 permitted codes (one previous code, the current code, the next code) to 17 permitted codes (the 8 previous codes, the current code, and the 8 next codes). This will permit for a time skew of up to 4 minutes between client and server. Do you want to do so? (y/n)y


If the computer that you are logging into isn't hardened against brute-forcelogin attempts, you can enable rate-limiting for the authentication module.
By default, this limits attackers to no more than 3 login attempts every 30s.
Do you want to enable rate-limiting? (y/n)y
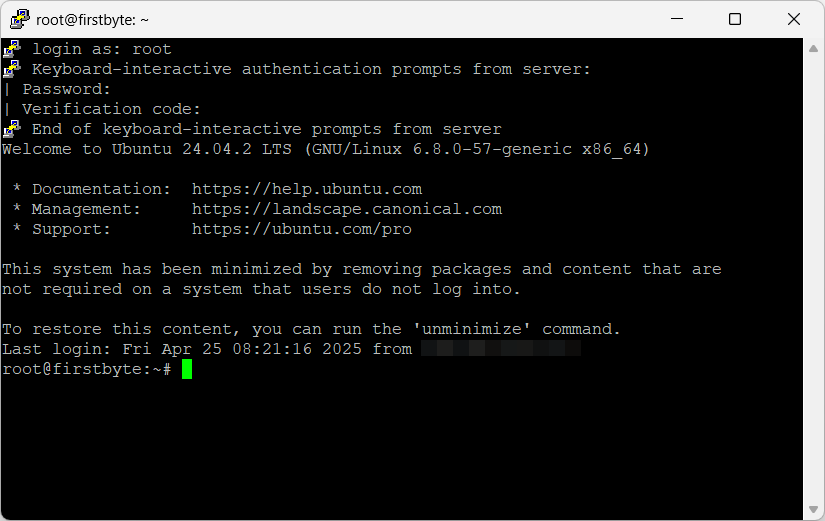
After that, we open our SSH client again and after we have specified the password, we will receive the following as shown, then we open Google Authentififcator and enter the temporary code, press Enter and login to the server
Now our server is additionally protected and no one except you can access the server using SSH.
Thank you for reading the guide to the end! You have learned how to additionally protect your server from intruders and we are ready to answer any additional questions.