

What is xRDP
xRDP is an open source implementation of the Microsoft Remote Desktop Protocol (RDP) that allows you to graphically control a remote operating system. With RDP, you can log in to a remote computer and create a real desktop session just as you would if you were logged in to the local computer.
This guide shows you how to install and set up an xRDP server on Ubuntu 20.04.
Ubuntu servers are command line controlled and do not have a desktop environment installed by default.
There are various desktop environments available in the Ubuntu repositories that you can choose from. One option is to install Gnome, which is the default desktop environment in Ubuntu 20.04. Another option is to install XFCE, LXDE, LXQt, KDE Plasma…. LXQt is a fast, stable and lightweight desktop environment which makes it ideal for use on a remote server.
What is LXQt
LXQt is a free desktop environment known for being lightweight, fast, and energy efficient that can replace the default GNOME desktop on your Ubuntu system, which users with low-end computers, laptops, and netbooks may need.
LXQt has a colorful history of merging and then splitting with the LXDE project in 2013 and 2018. However, both projects are of a high standard, sharing similar approaches to being more efficient than major players such as GNOME and KDE.
How to install LXQt and xRDP
First we look to see if new system updates are available for our OS. We execute the command:
apt update && apt upgrade -y
After the update – if they are, we execute the command to install LXQt and xRDP:
apt install lxqt sddm xrdp
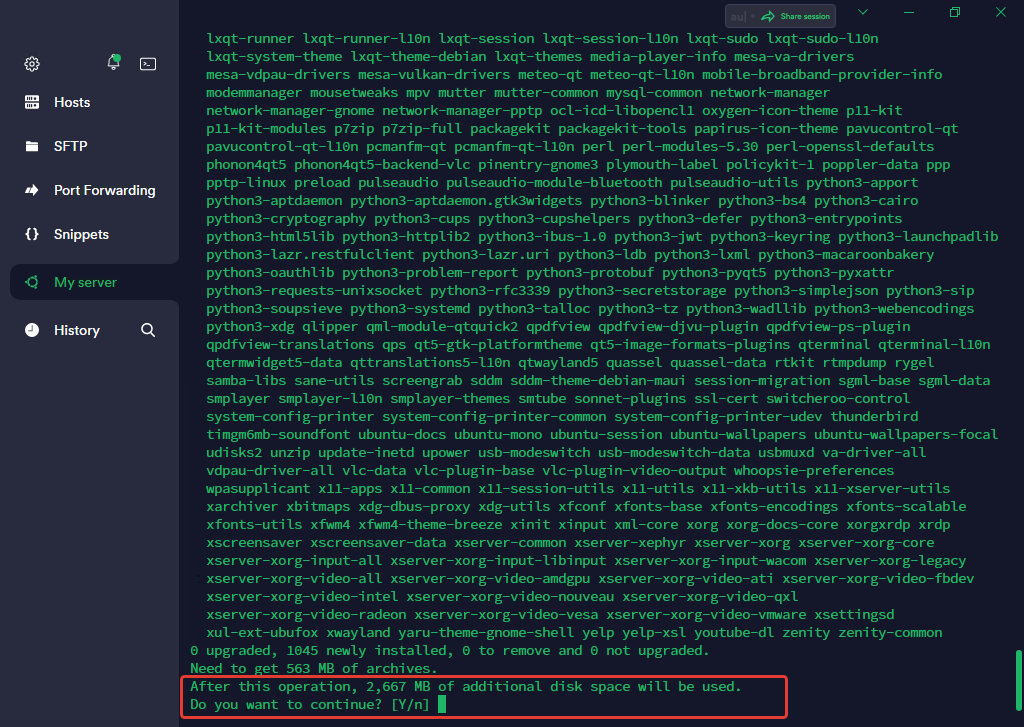
We write the letter “y” and press Enter. As there is 2.6GB to be downloaded, we’ll wait a while until the question about the display manager comes up.
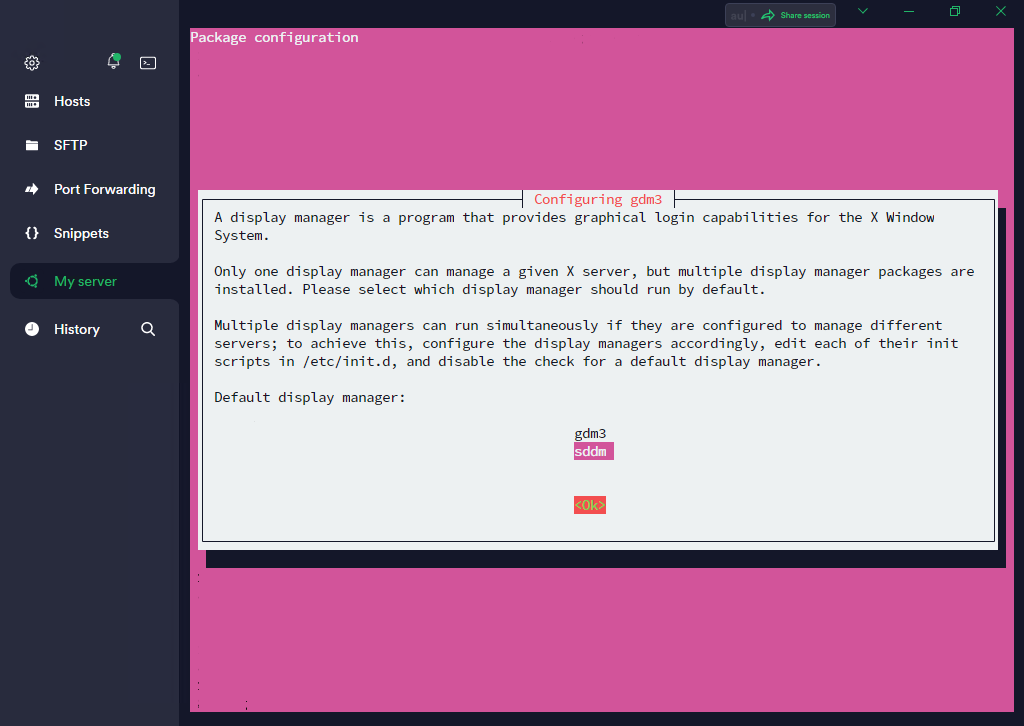
In the display manager selection step, we have to select “sddm” as GNOME is too “heavy” for the virtual server.
After installation, we must create a “connection” file and we do this using the “nano” text editor. The file must be created in the user’s folder. In our case, this is the root user and we create the file in the “/root” folder.
nano .xsession
After we have created and opened our file, we add one line to it:
startlxqt
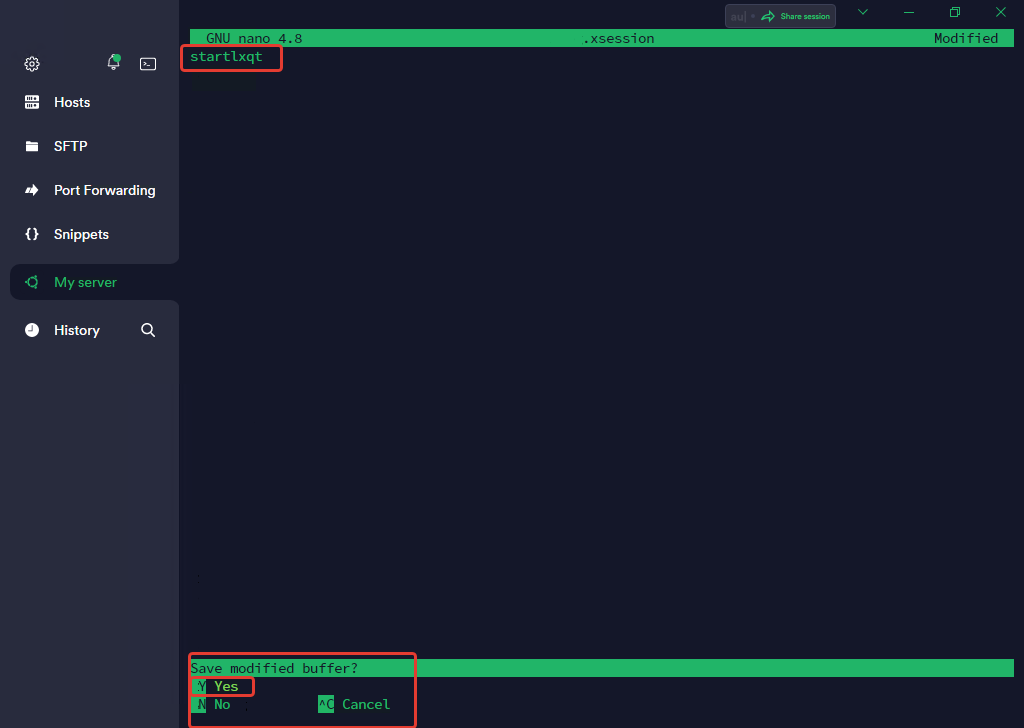
To save the file, press “CTRL+X“, then the letter “Y“, and then press Enter.
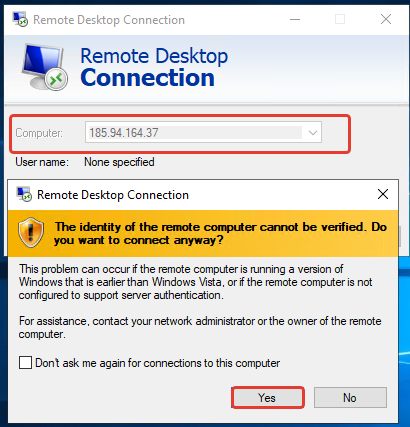
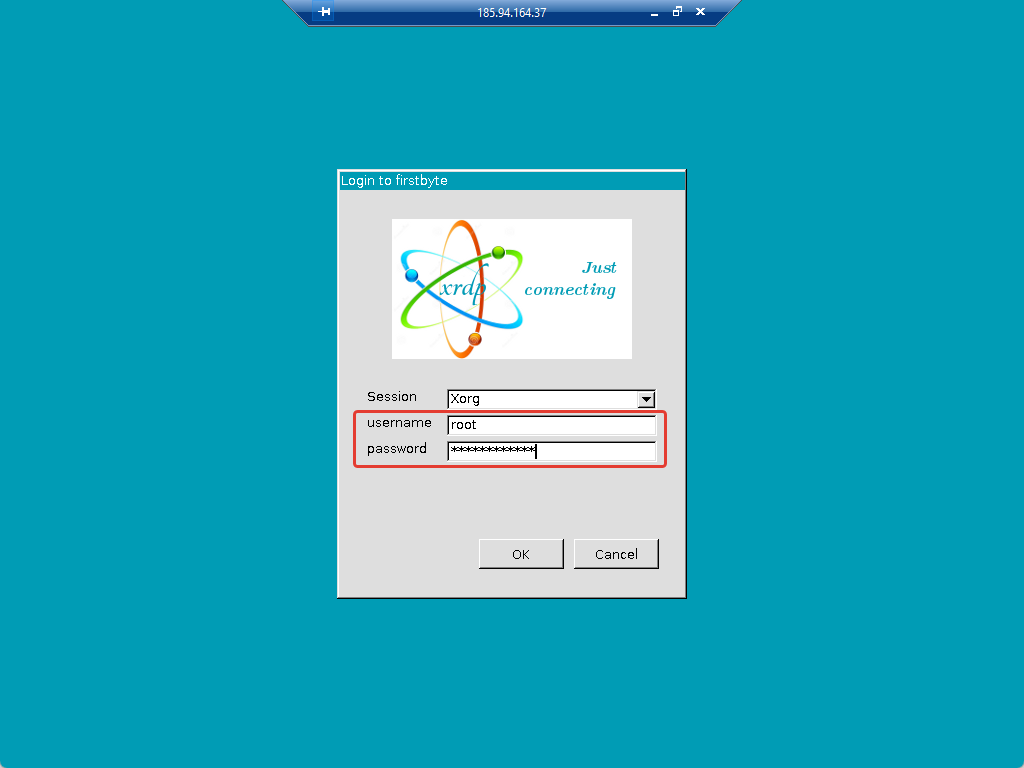
Now we open “Remote Desktop Connection” and in the “Computer” field specify the IP of the server and click on “Connect“.
After the message that the identity of the remote computer cannot be verified, click on the “Yes” button and continue.
After clicking on the Yes button, a window will open where we must specify the username and password. In our case, this is the “root” login and its password. After we have specified these data, click on OK.
After we have logged in to the server, we select the “Mutter window manager” and continue to our remote desktop.
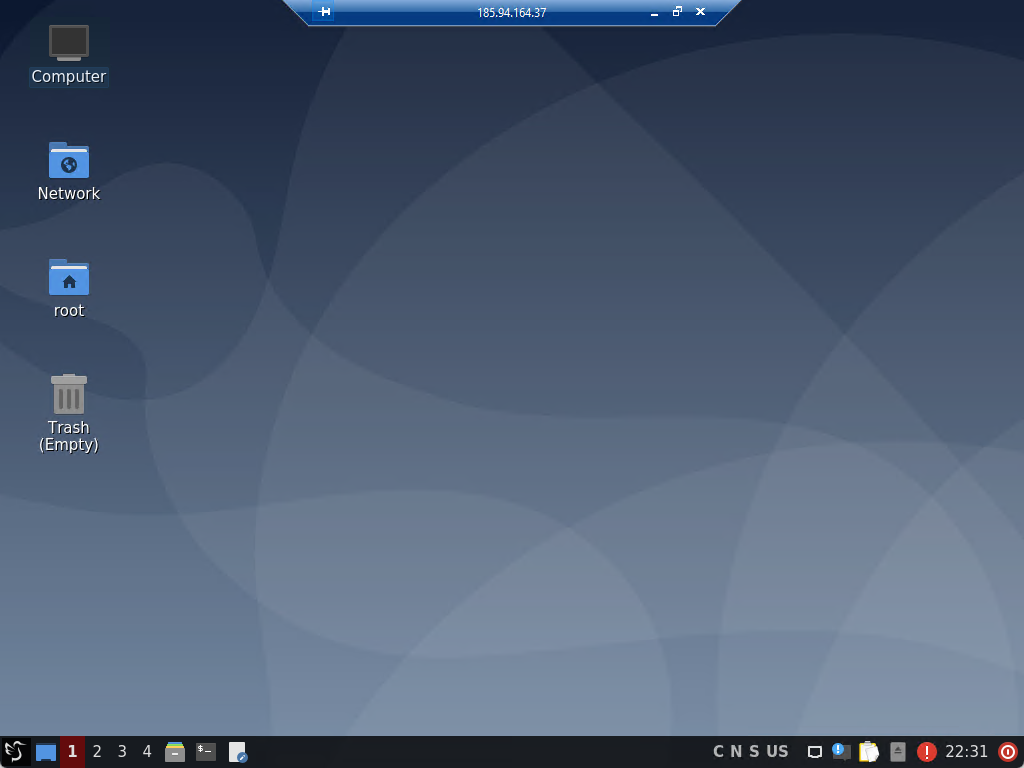
The server already has the Mozilla Firefox browser and a number of other applications installed. To install more of them, we’ll show you how you can install Software Center.
How to install Software Center
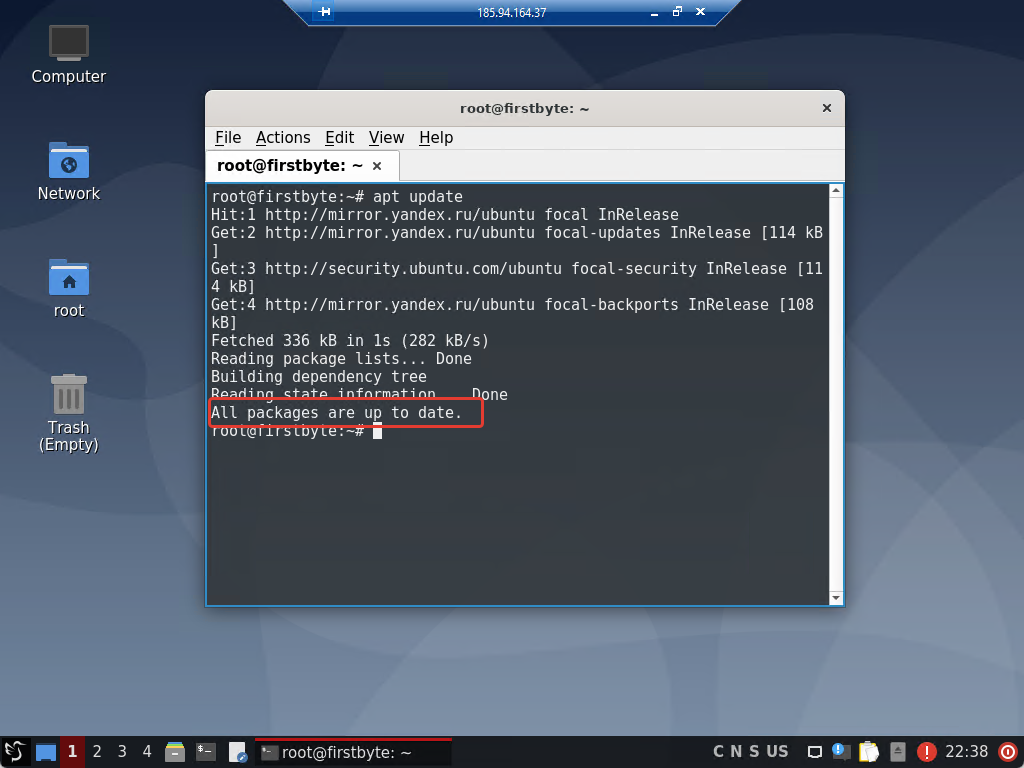
First, we check if there are available updates for our applications that we already have installed on the server:
apt update
As you can see, everything is fine with us and all applications work on its latest versions.
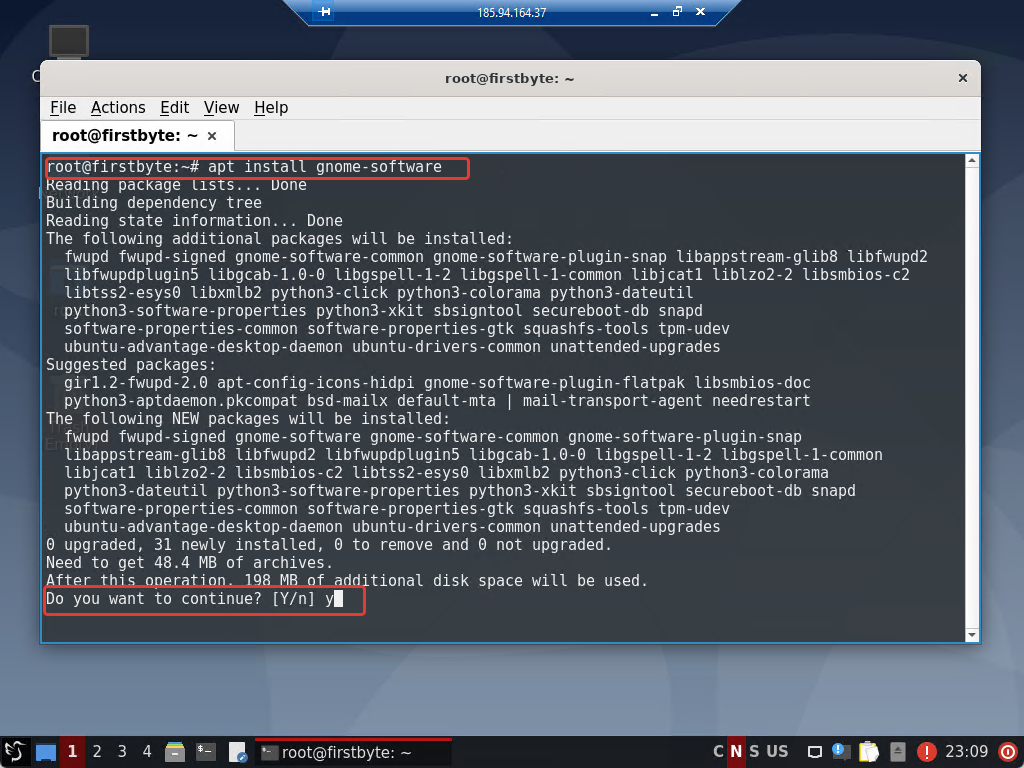
Now we execute the Software Center installation command and wait for the installation:
apt install gnome-software
After installation, search for “Software” and run it, select the application and install it. We chosed “OnlyOffice“.
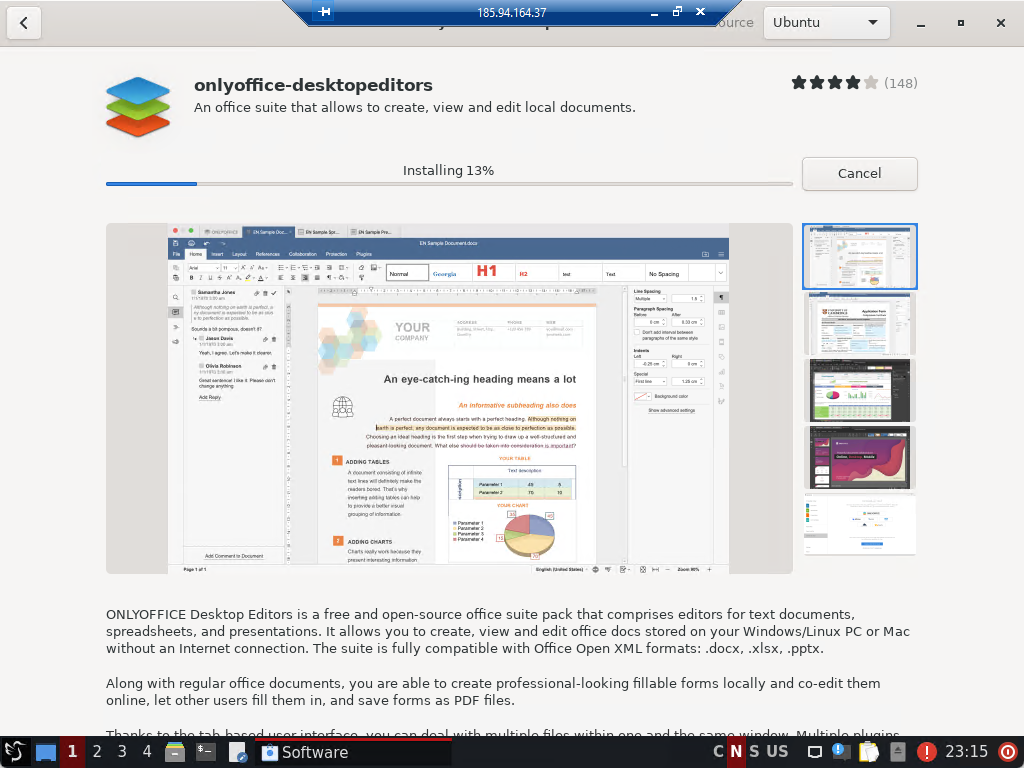
After the program is installed, we see this picture. Click on Launch and run it.
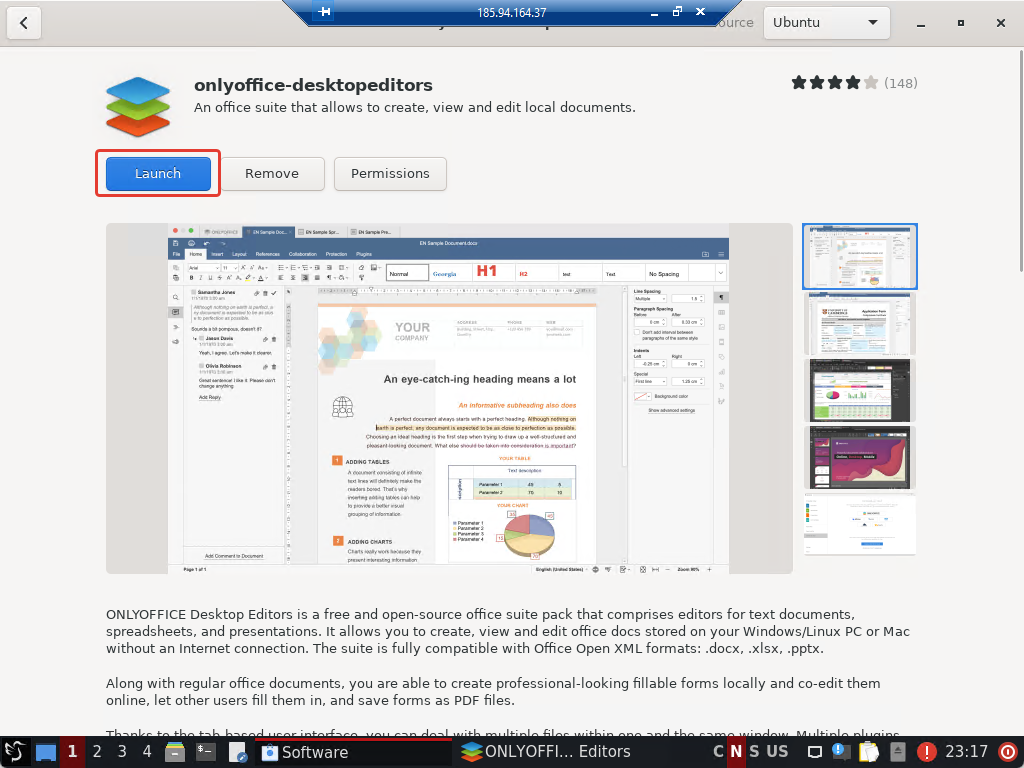
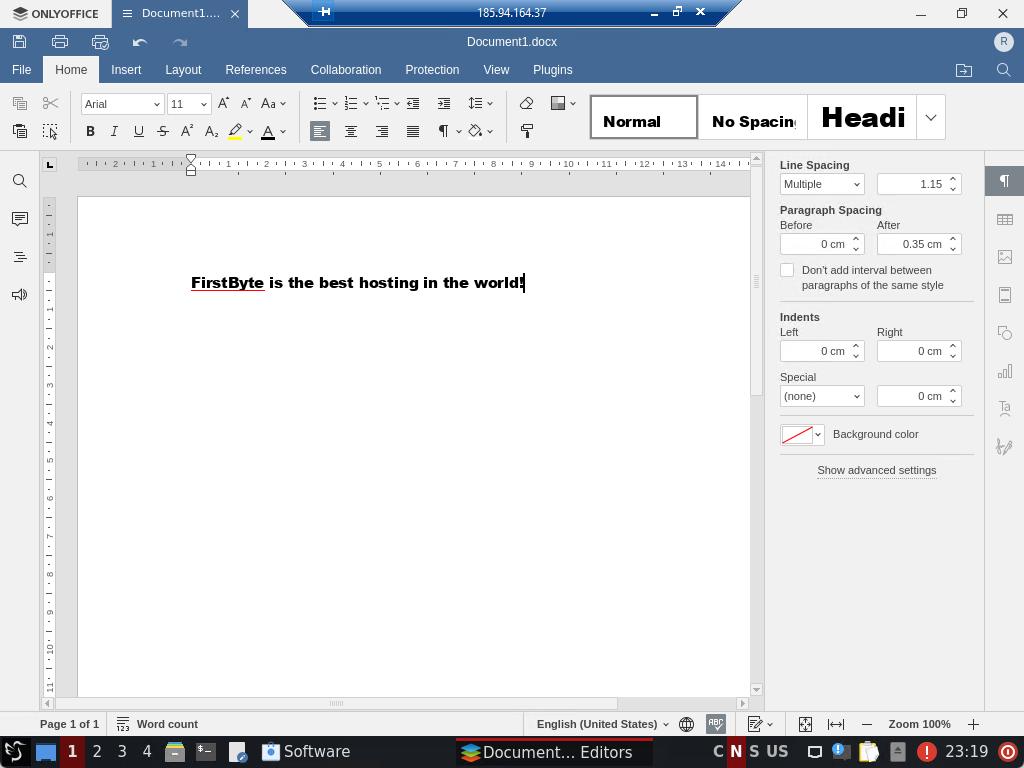
As you can see, everything is fine and “OnlyOffice” works correctly.
You can install many more applications, but some popular ones will unfortunately need to be installed manually through the terminal.
If you have any questions, please contact us!