

What is Vaultwarden
Vaultwarden is an unofficial, open-source implementation of the Bitwarden server. It requires fewer resources, is easier to install, and is designed to be self-hosted. It is compatible with all official Bitwarden clients and provides most of the features of the original server, allowing you to securely store and sync passwords under your complete control.
How to Install Docker and Docker Compose
We will be installing Vaultwarden on Ubuntu 24.04, using Docker, and because of this we need Docker and Docker Compose.
To install them, first run the command to check for OS updates in the terminal:
apt update && apt upgrade -y
After the OS has been updated, if there was an update, run the command to install Docker:
apt install -y docker.ioNow you should configure Docker to start automatically:
systemctl enable docker
systemctl start docker
Hooray, we’ve completed the first step successfully, now we need to install Docker Compose, as it is required for Vaultwarden to work:
apt install -y docker-compose
At this point we have completed the installation of Docker and Docker Compose, now we can continue with the installation of Vaultwarden and NGINX Proxy Manager which will help us easily make our container secure, i.e. easily make a proxy on a port with an SSL certificate and this increase the security of communication with the container.
How to install Vaultwardenad
We need to create a folder and enter it, so it will be easier for us to manage the container in the future, this can be done with one command:
mkdir ~/vaultwarden-npm && cd ~/vaultwarden-npm
Now we create a file that will contain the container settings themselves, which can be changed at any time. We create the file using the command and immediately insert it:
nano docker-compose.yml
version: "3"

services:
vaultwarden:
image: vaultwarden/server:latest
container_name: vaultwarden
restart: unless-stopped
ports:
- "82:80"
volumes:
- ./vw-data:/data
environment:
- ADMIN_TOKEN=PLEASE ENTER YOUR PASSWORD!!!

npm-db:
image: mariadb:10.5
container_name: npm-db
restart: unless-stopped
environment:
MYSQL_ROOT_PASSWORD: npm_root_pass
MYSQL_DATABASE: npm
MYSQL_USER: npm
MYSQL_PASSWORD: npm_pass
volumes:
- ./npm-db-data:/var/lib/mysql

nginx-proxy-manager:
image: jc21/nginx-proxy-manager:latest
container_name: nginx-proxy-manager
restart: unless-stopped
depends_on:
- npm-db
ports:
- "80:80" # HTTP
- "443:443" # HTTPS
- "81:81" # Admin UI
environment:
DB_MYSQL_HOST: npm-db
DB_MYSQL_PORT: 3306
DB_MYSQL_USER: npm
DB_MYSQL_PASSWORD: npm_pass
DB_MYSQL_NAME: npm
volumes:
- ./npm-data:/data
- ./npm-letsencrypt:/etc/letsencrypt
To start the Vaulwarden and NGINX Proxy Manager containers, run the following command:
docker-compose up -d
IMPORTANT!! If you get an error with Docker Compose, run the following command and then run the command above again:
apt install pip -y
We wait for all containers to download, unpack and install:

Once the installation is complete and the containers are running, you will see this message in the terminal.
How to Set Up Container Proxying and SSL with NGINX Proxy Manager
To set up proxying so that it leads to our domain, and also to install SSL, follow the link:
http://ip-address:81
Data for first login to the panel:
Mail :[email protected]
Password :changeme
You will need to change them immediately after logging in.
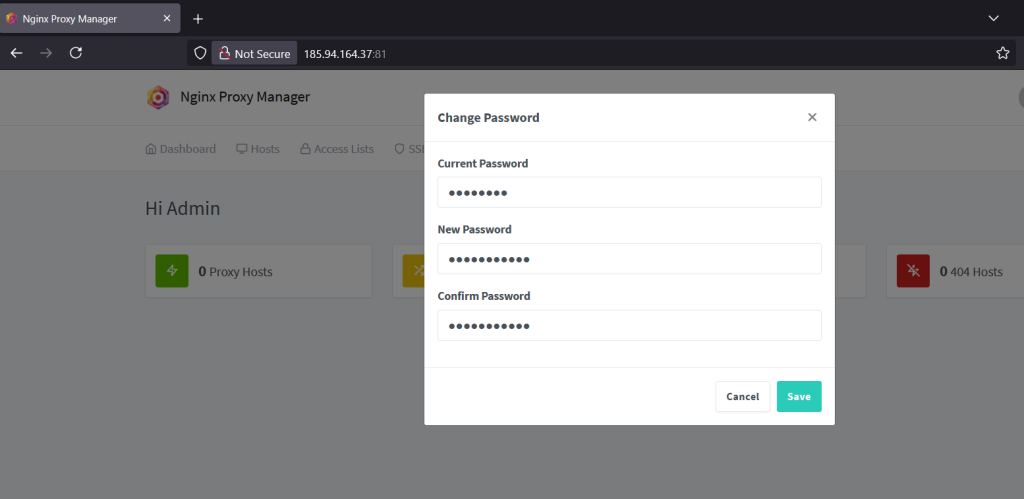
First we change the email, and then the password.
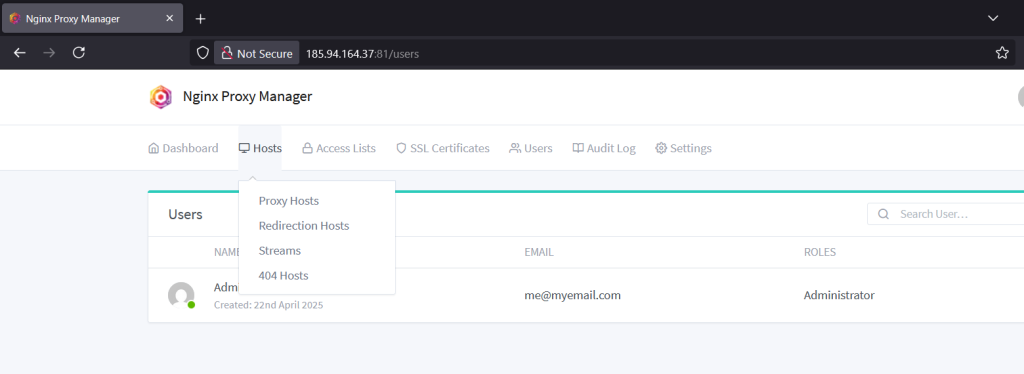
To add our domain/subdomain that already looks at the server IP, click on Hosts, then on Proxy hosts
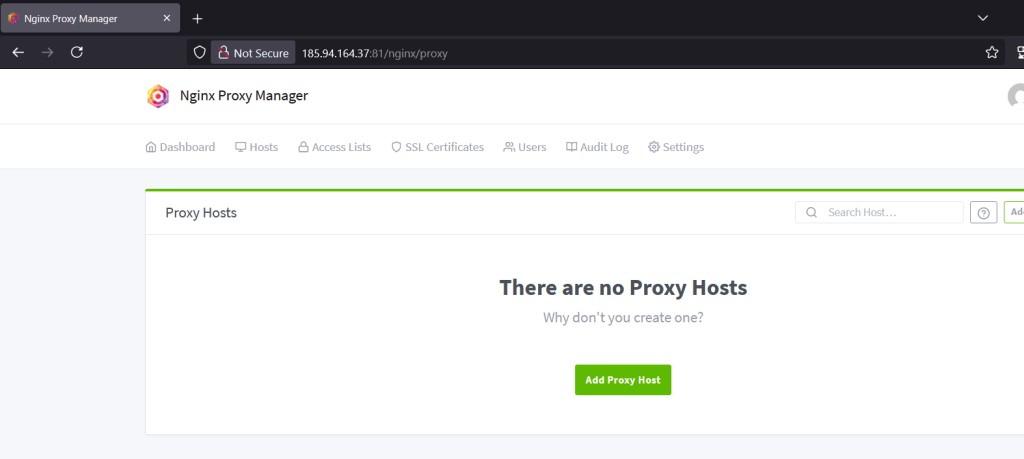
Once you have entered the desired menu, click on Add proxy host
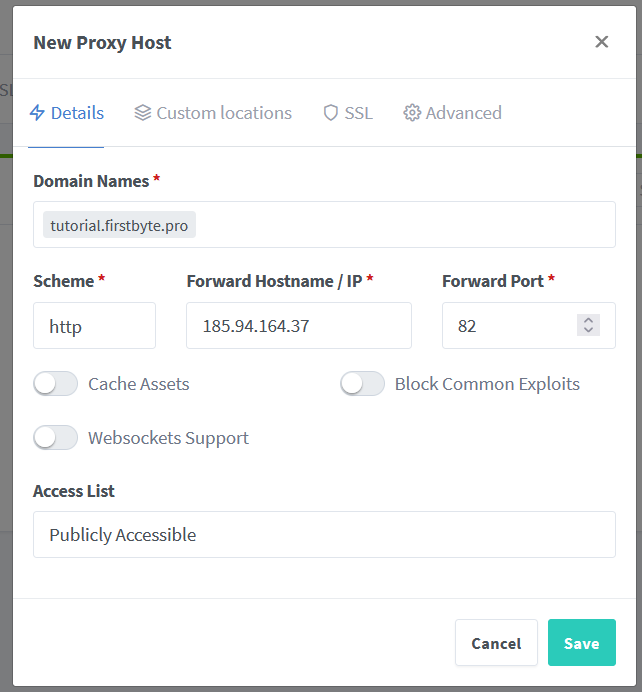
Then you need to fill in the domain/subdomain details in this way, indicating the domain/subdomain, IP and port on which Vaultwarden works.

Now you need to click on SSL, select Force SSL, HTTP/2 Support, and agree to the terms and then click on Save button.
After the certificate has been issued and the proxy has been configured, you should see something like this
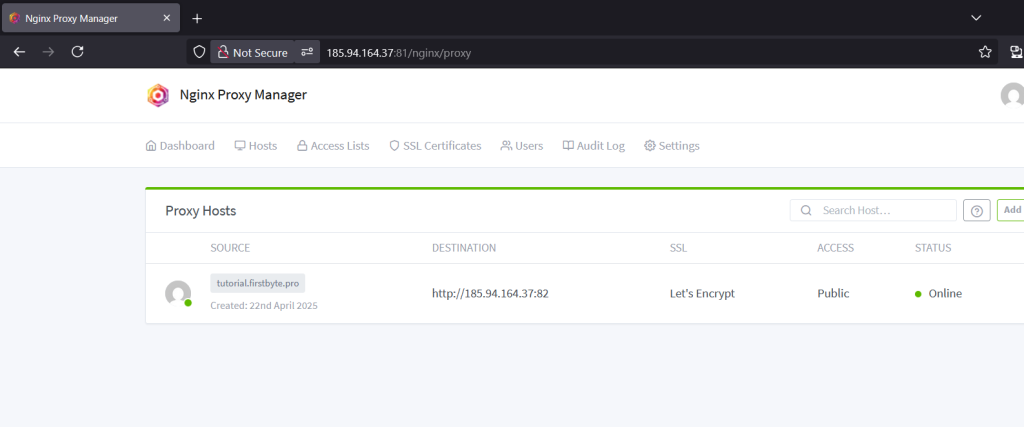
We see that SSL has been issued and Vaultwarden is now available on our domain/subdomain.
We follow the link and if everything is OK, Vaultwarden will open.
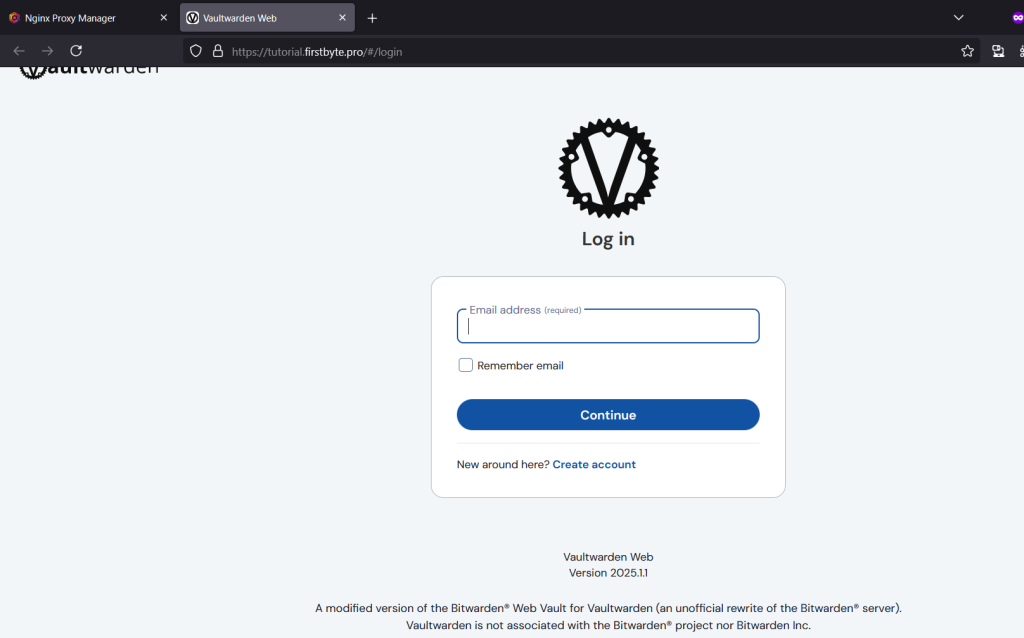
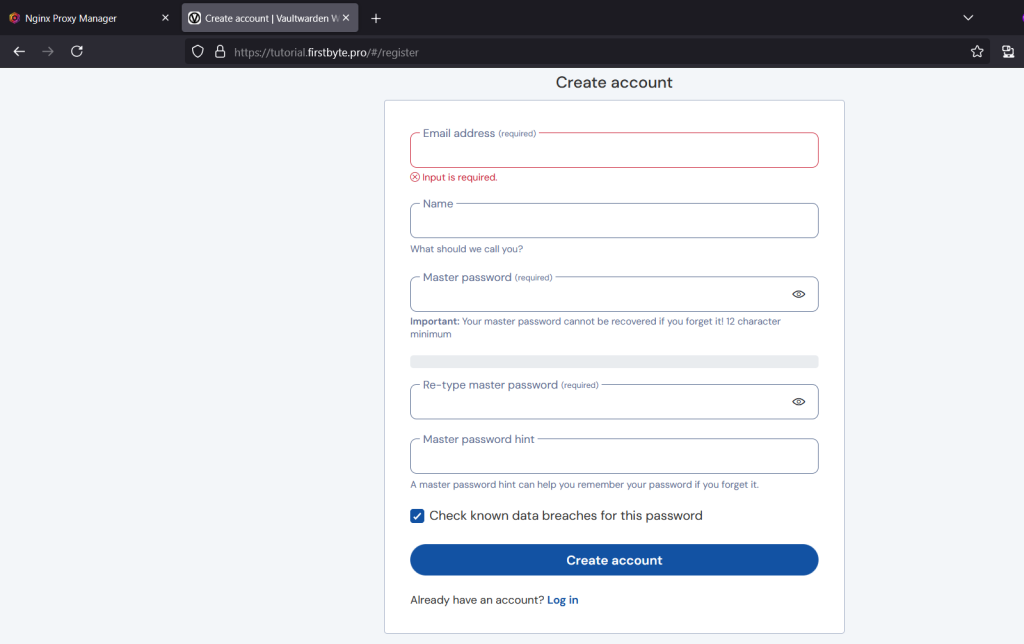
To create an account where you will store passwords, and other personal stuffs, click on Create account.
On registration page, you must fill all the fields and register.
After registration, you should go to the Bitwarden website and download the app, there is for the browser and for the Android, iOS phone and Windows, MacOS, Linux.
Link to their website: https://bitwarden.com/download/
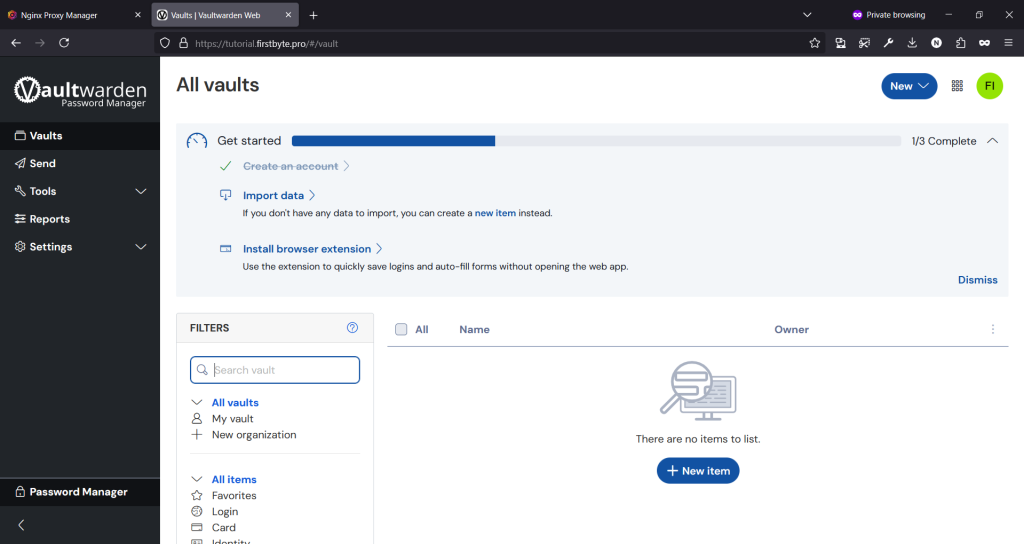
The first login to your account looks exactly like this. Here you can set up all the folders and stuff.
When setting up on the device when adding an account in app, you must specify the account type as self-hosted and then specify the link to your Vaultwarden web location, the user email you created and the password.
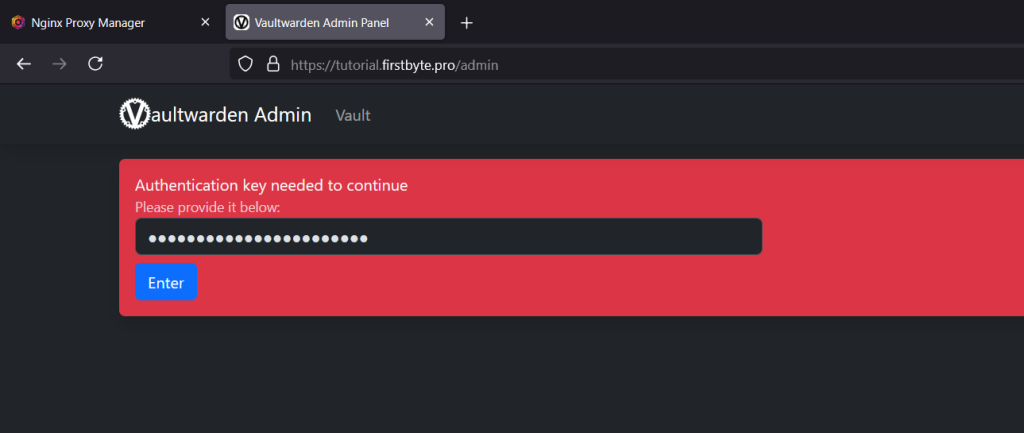
Do you remember the password we specified in docker-compose.yml? This is the password you can use to log into the admin panel to manage your Vaultwarden, at the link:
https://vaultwarden.example/admin
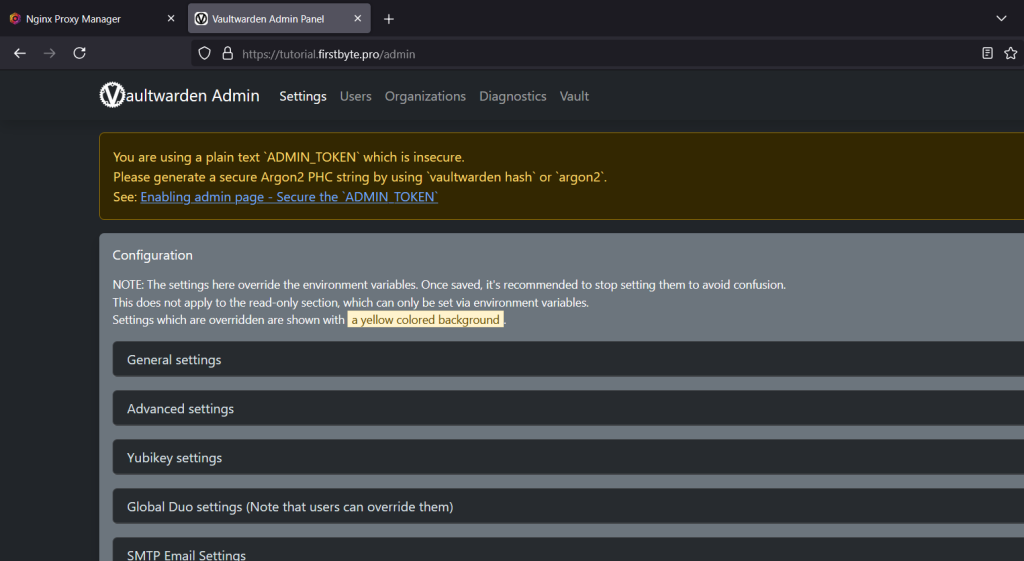
Right after logging in you will have the option to easily manage your Vaultwarden, as it has many settings that you can customize for yourself and other users.
Thank you for reading the Vaultwarden installation instructions, you reached the end. You have learned now how you can easily install it on your server and store your passwords by yourself, and not on servers that are not administered by others.