

What is Memos
Memos is a minimalist note-taking app that lets you write, organize, and manage your notes without relying on third-party services. It’s self-hosted, meaning you install and run it
on your own server, giving you complete privacy and control over your data.
Installation process
Installing Memos is easy and can be done in a few steps, first you need to have Docker installed on your server. That is how we are going to show you how you can install Memos on your domain/subdomain with NGINX Proxy Manager.
How to Install Docker
As already written above, Docker and Docker Compose are needed for installation. We will install it in the following way:
First, check for updates in the OS and install them:
apt update && apt upgrade -y
Then we install Docker itself, we run the commands one after the second after the previous one is completed:
apt install -y ca-certificates curl gnupg
install -m 0755 -d /etc/apt/keyrings
curl -fsSL https://download.docker.com/linux/ubuntu/gpg | tee /etc/apt/keyrings/docker.asc > /dev/null
echo "deb [arch=$(dpkg --print-architecture) signed-by=/etc/apt/keyrings/docker.asc] https://download.docker.com/linux/ubuntu $(lsb_release -cs) stable" | tee /etc/apt/sources.list.d/docker.list > /dev/null
apt update
apt install -y docker-ce docker-ce-cli containerd.io
We also need Docker Compose to specify the settings for running both containers in one file.
You can install it with the command:
apt install -y docker-compose
It is also better to install pip in advance because of problems that may occur with Docker Compose:
apt install pip -y
Installing Docker and Docker Compose for RHEL-based systems (CentOS, AlmaLinux, Rocky Linux, Fedora):
dnf remove podman - we remove it, as it has a conflict with Docker
dnf install yum utils
yum-config-manager --add-repo https://download.docker.com/linux/centos/docker-ce.repo
dnf install docker-ce docker-ce-cli containerd.io docker-compose-plugin
Once installed, enable Docker to autostart at boot and start the service.
systemctl enable --now docker
systemctl start docker
Installing Memos and NGINX Proxy Manager with Docker
We need to create a folder and enter it, so it will be easier for us to manage the container in the future, this can be done with one command:
mkdir ~/memos-stack && cd ~/memos-stackNow we create a file that will contain the container settings themselves, which can be changed at any time. We create the file using the command and immediately insert it:
nano docker-compose.yml
In the file itself we need to enter:
version: '3.8'

services:
memos:
image: neosmemo/memos:stable
container_name: memos
restart: unless-stopped
ports:
- "5230:5230"
volumes:
- ./memos-data:/var/opt/memos

nginx-proxy-manager:
image: jc21/nginx-proxy-manager:latest
container_name: nginx-proxy-manager
restart: unless-stopped
ports:
- "80:80" # for HTTP proxy
- "443:443" # for HTTPS proxy
- "81:81" # admin UI
volumes:
- ./npm-data:/data
- ./npm-letsencrypt:/etc/letsencrypt
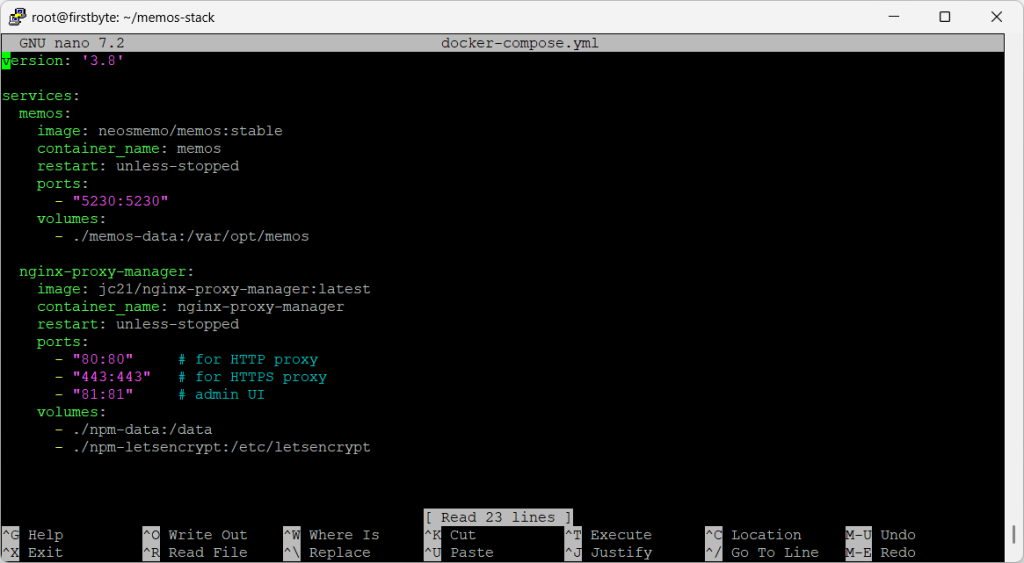
Save the file using CTRL+X and then press Enter.
Then we launch our containers using the following command and wait for them to load onto the server and start:
docker compose up -d
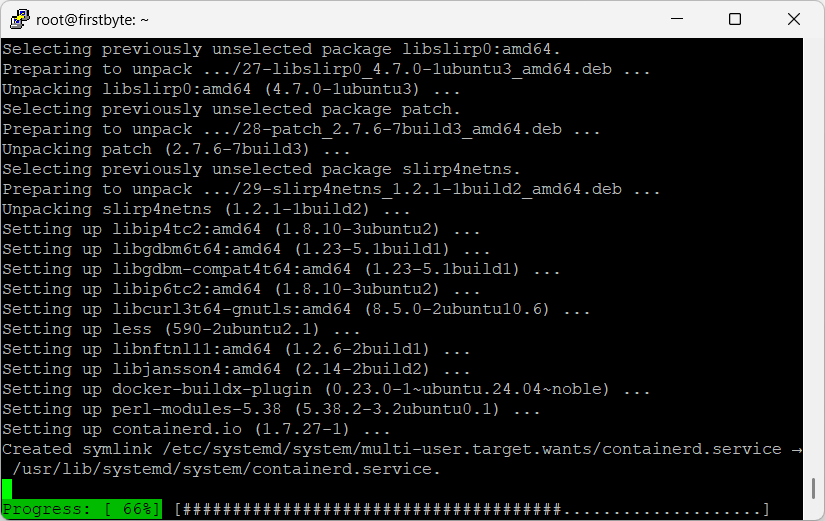
After the containers have downloaded and started, we will receive this message:

Now we can go further, to NGINX Proxy Manager to configure our Memos to open from a subdomain/domain:
Follow the link and open NGINX Proxy Manager:
http://ip-addres:51
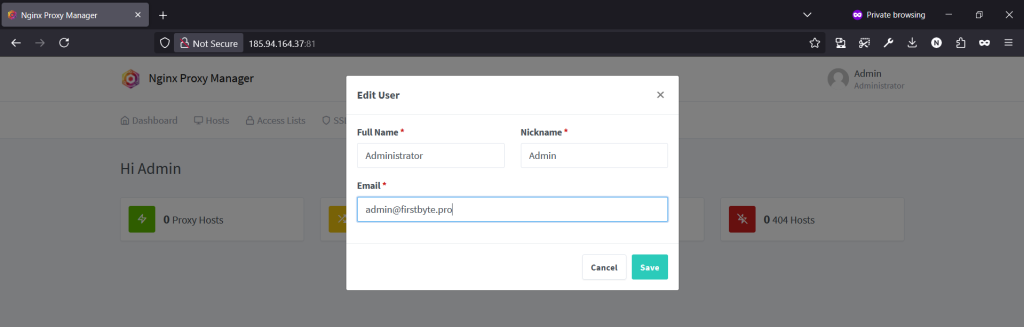
The login details for the first installation are always:
Email: [email protected]
Password: changeme
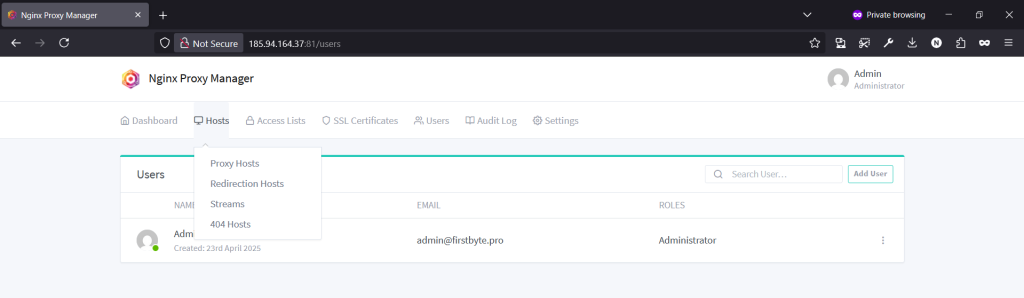
After the first login, you need to change it, like your email, which is what we do.
Then we change the password:
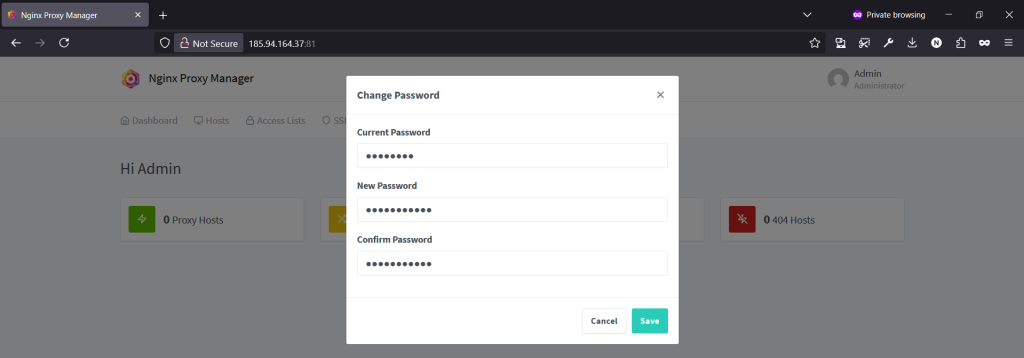
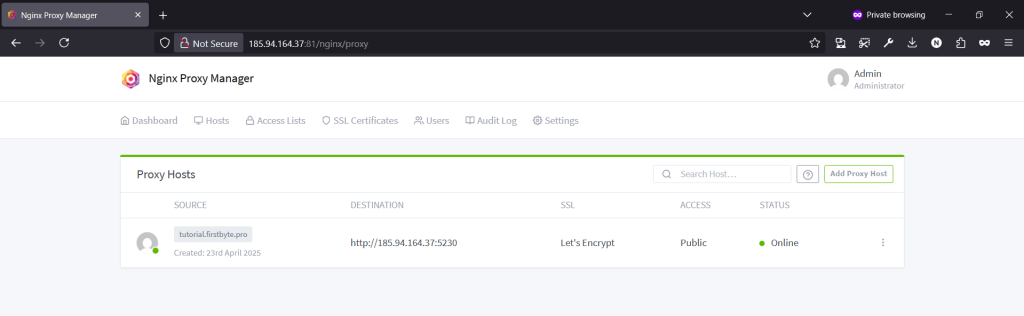
After we have changed the email and password, click on Host, then on Proxy hosts
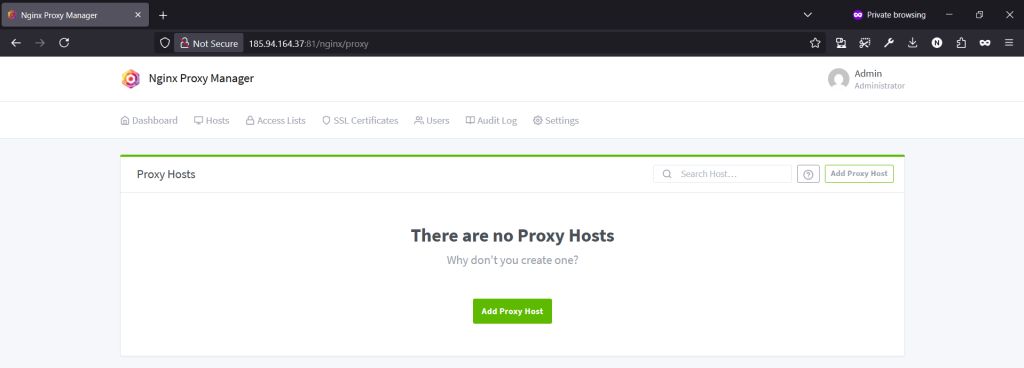
Then a new page opens on which we click on Add proxy
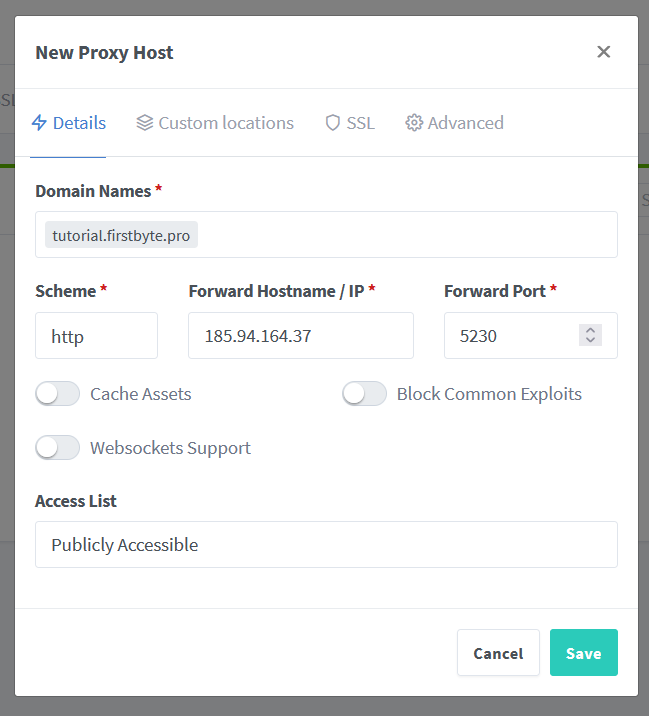
Now we specify the basic data, this is the domain/subdomain, which should already look at the IP address of the server, then the port on which Memos operates.
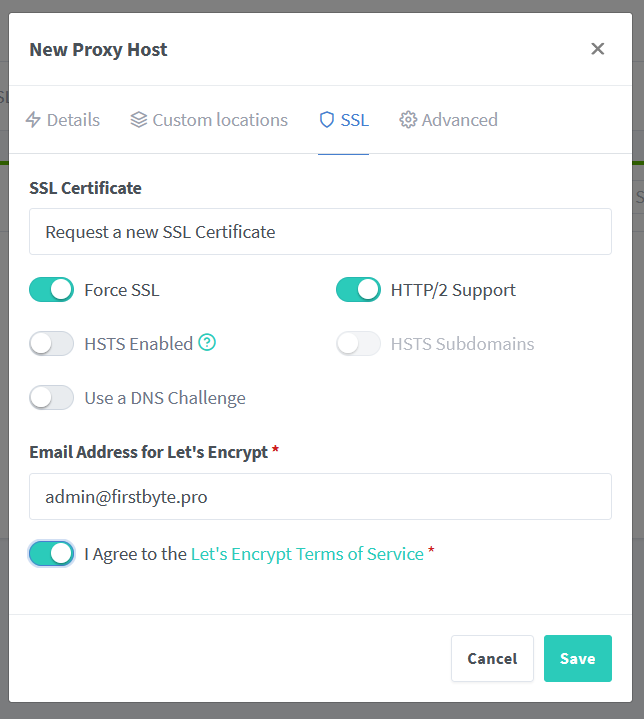
Next, click on SSL and first select Request a new SSL Certificate, then select Force SSL and HTTP/2 Support, accept the Let’s Encrypt terms and click Save.
If everything went well, we will see the following
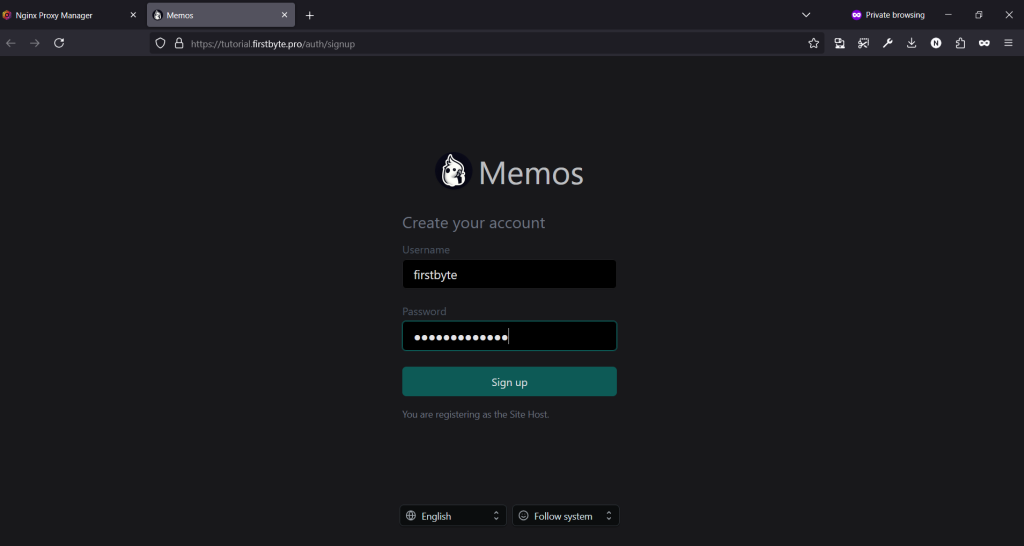
Now click on the domain and open Memos. Enter the username and password to register.
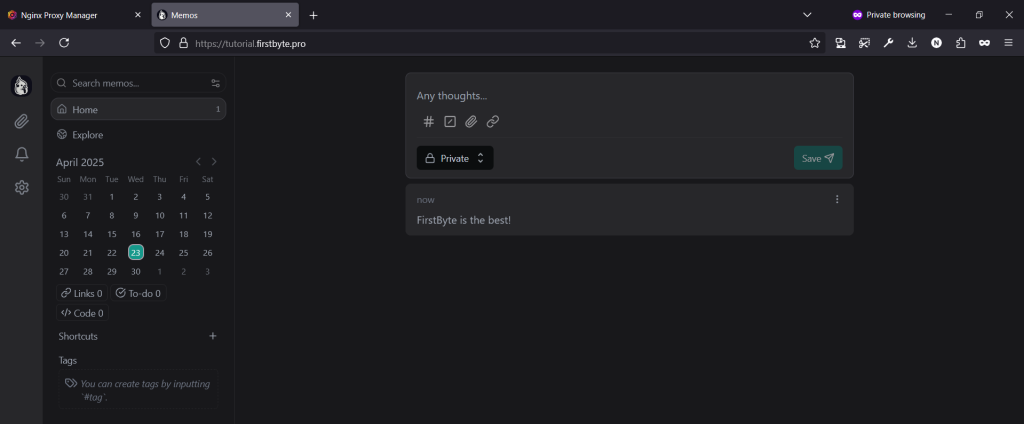
After logging in, we will see a page like this, we can write, publish it for everyone, ourselves or our colleagues.
That’s all. In this guide, you learned how to install Memos and for what you can use it for.
We hope that this guide was useful to you and that you learned something new. See you there!