

What is CloudPanel?
CloudPanel is a free and open source control panel. This panel is very fast and efficient. Its advantage over other panels is that there is no mail server in its configuration, which already means that the server load (LA) itself will be very low when the panel is installed, and the performance will be high. Just like in other panels, you can add your own sites, create free SSL certificates, install many different CMS’s with a single click, and much more.
How to install CloudPanel
First, we need to log in to our server and run a few commands.
We will install curl, wget, and sudo if they are not already installed. Sudo does not bypass us, since we run the script as an root superuser, but unfortunately there are commands in the script that are already written with sudo.
IMPORTANT!!! The guide is written under Debian 11!
apt update && apt -y upgrade && apt -y install curl wget sudo
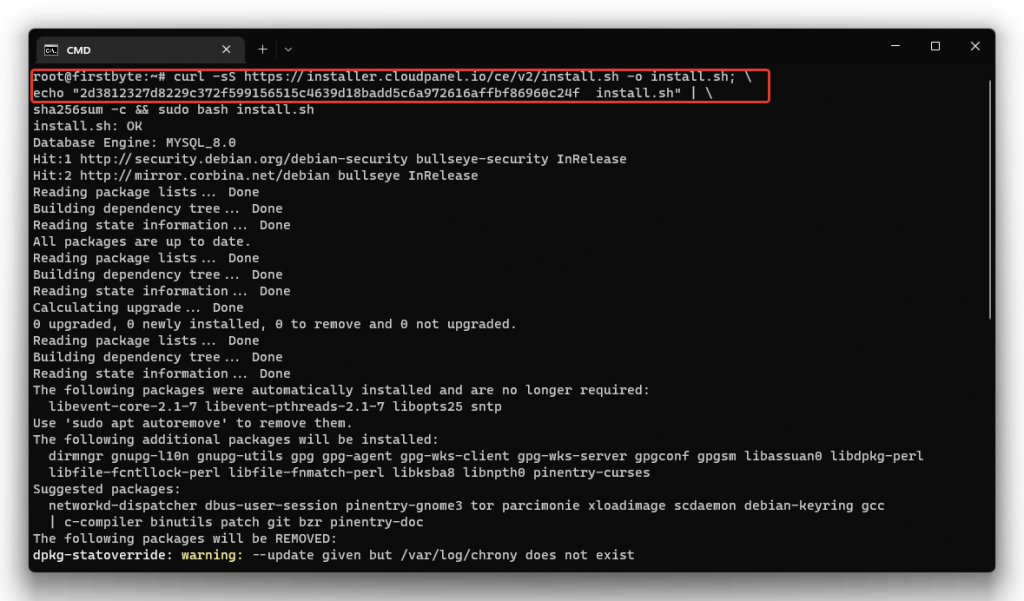
After installing these packages, we install the panel itself. Run the command and wait for the panel to install.
#Debian 11
curl -sS https://installer.cloudpanel.io/ce/v2/install.sh -o install.sh; \
echo "2d3812327d8229c372f599156515c4639d18badd5c6a972616affbf86960c24f install.sh" | \
sha256sum -c && sudo bash install.sh

#Ubuntu 22.04
curl -sS https://installer.cloudpanel.io/ce/v2/install.sh -o install.sh; \
echo "2d3812327d8229c372f599156515c4639d18badd5c6a972616affbf86960c24f install.sh" | \
sha256sum -c && sudo DB_ENGINE=MARIADB_10.6 bash install.sh
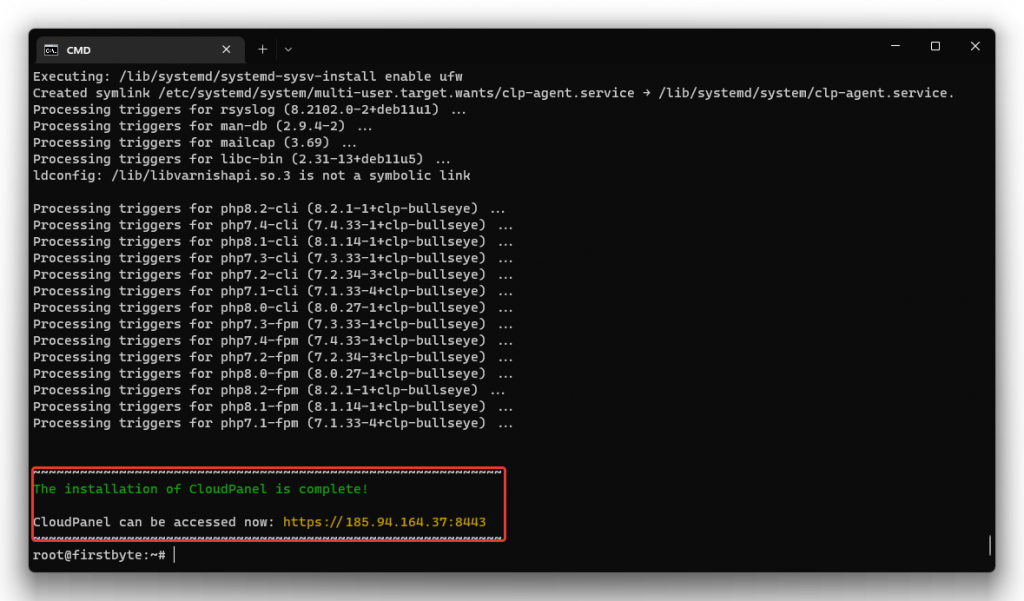
After the panel is installed, we will receive a login link in terminal
Initial setup
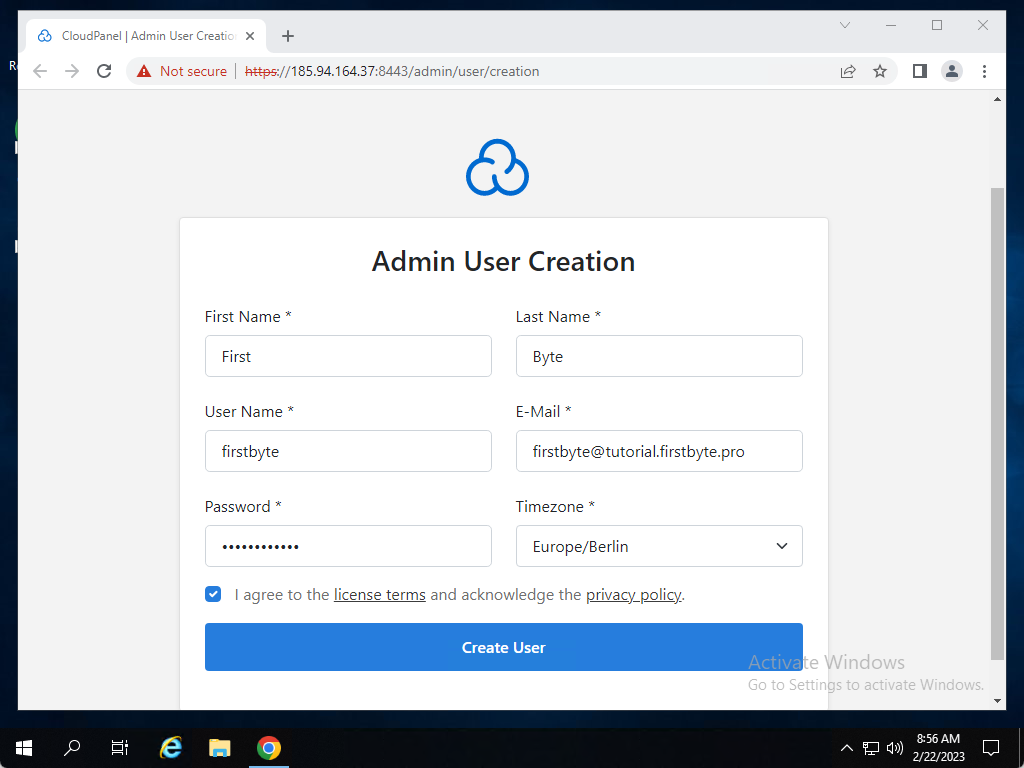
As soon as we clicked on the link, we must set up our administrator, give him a login, password, mail, first name, last name and time zone. We accept the terms and click on “Create User”.
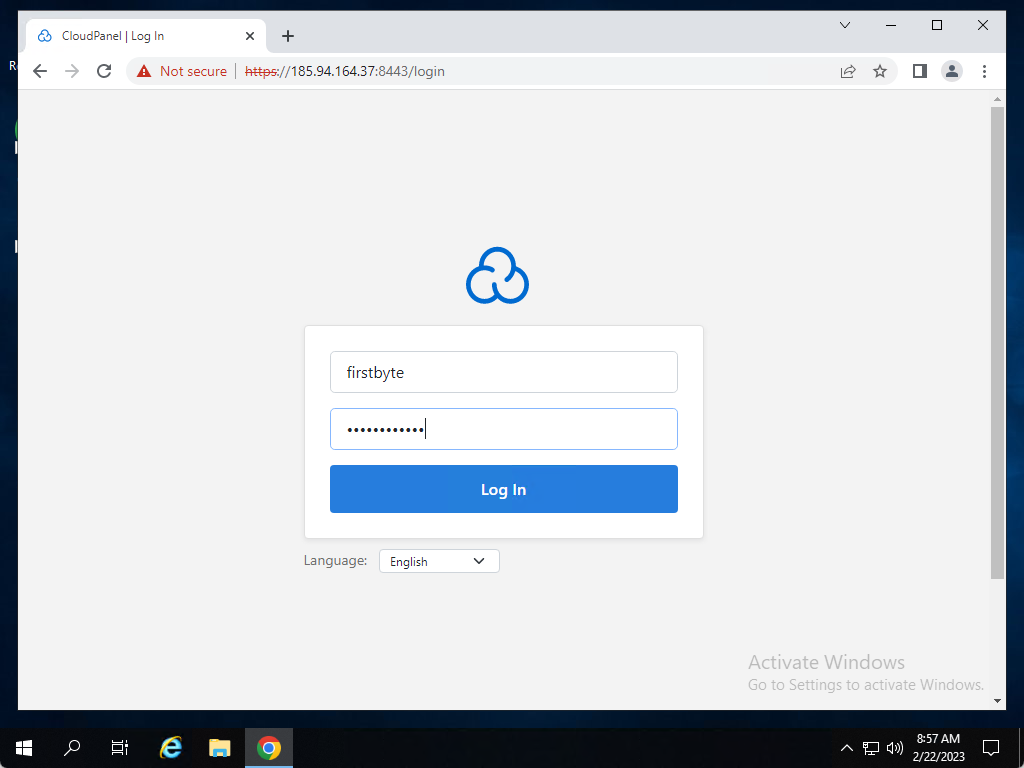
Immediately after initial setup, we will see the login page of our panel. Specify the administrator login and password and enter the panel.
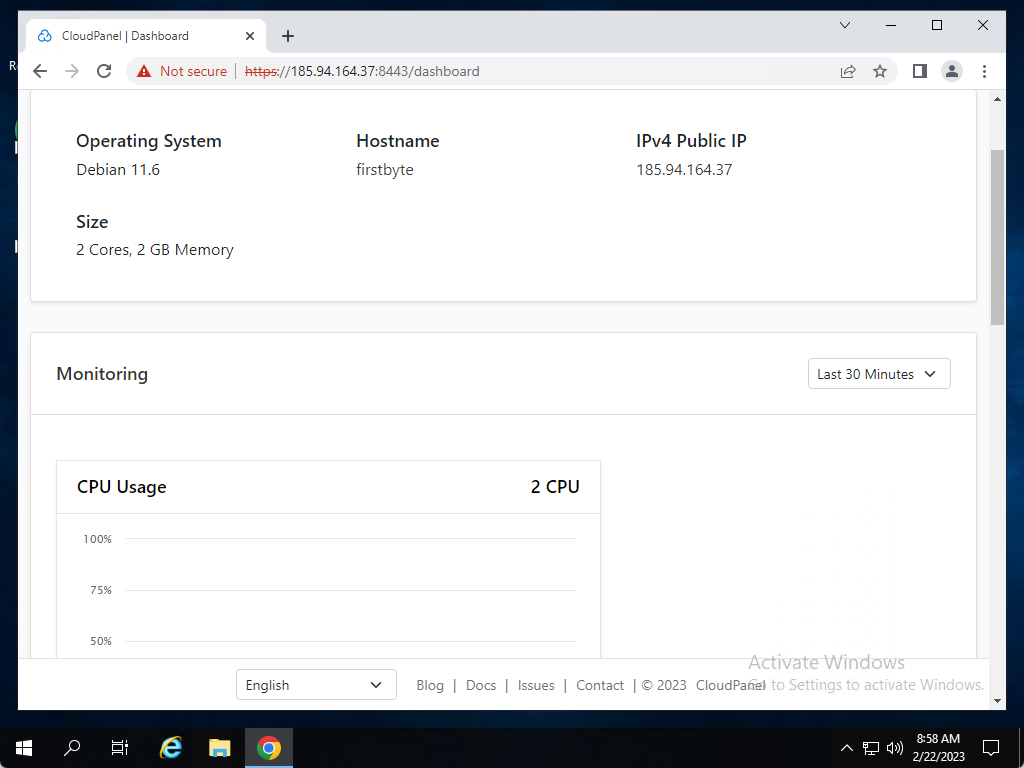
After logging in, we can, for example, click on the Dashboard button and see a little bit about our server, as well as the load on server resources.
How to create a WordPress site with Let’s Encrypt
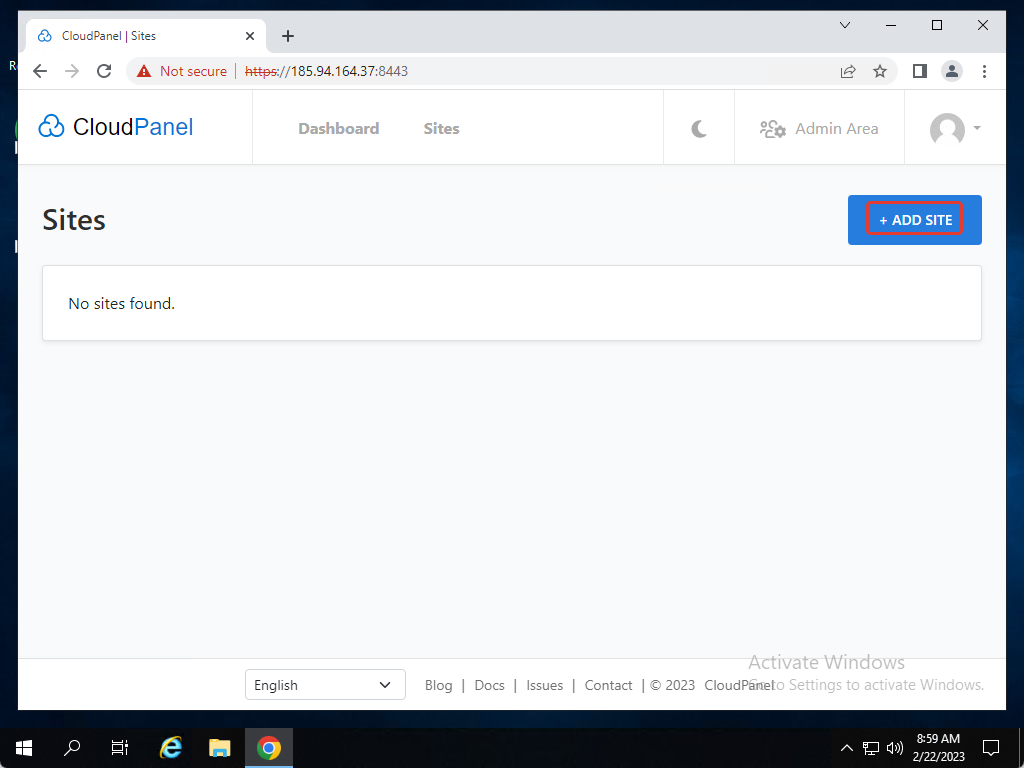
To add a site, click on the “Add site” button in the panel’s home page.
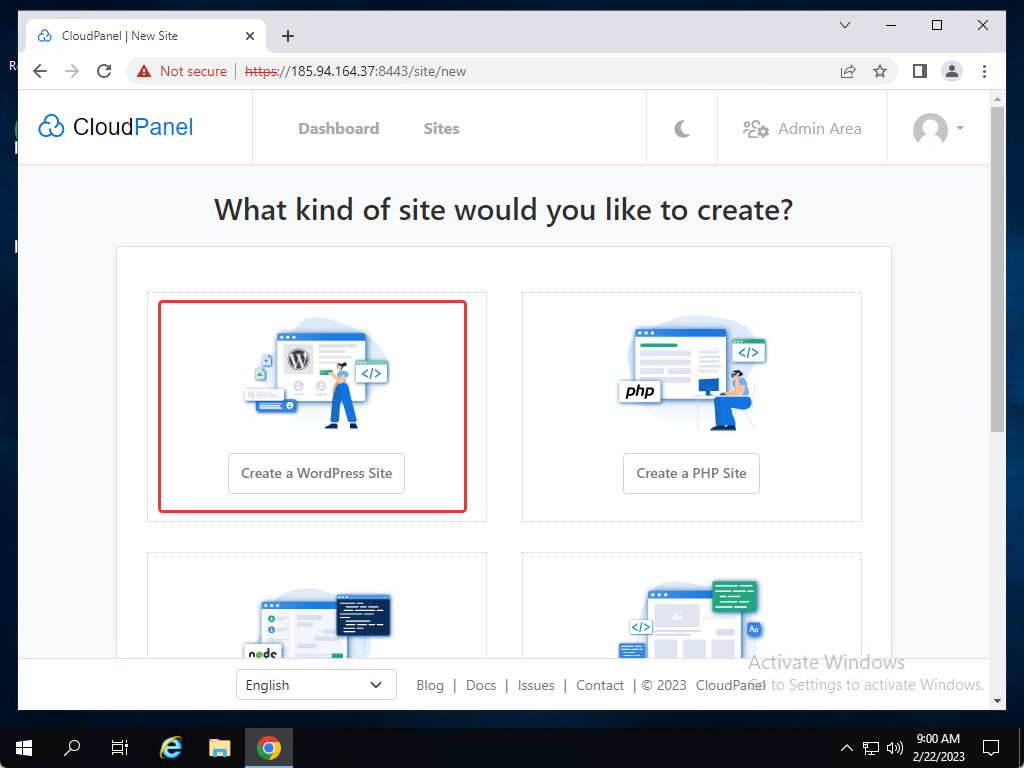
Select “Create a WordPress Site”
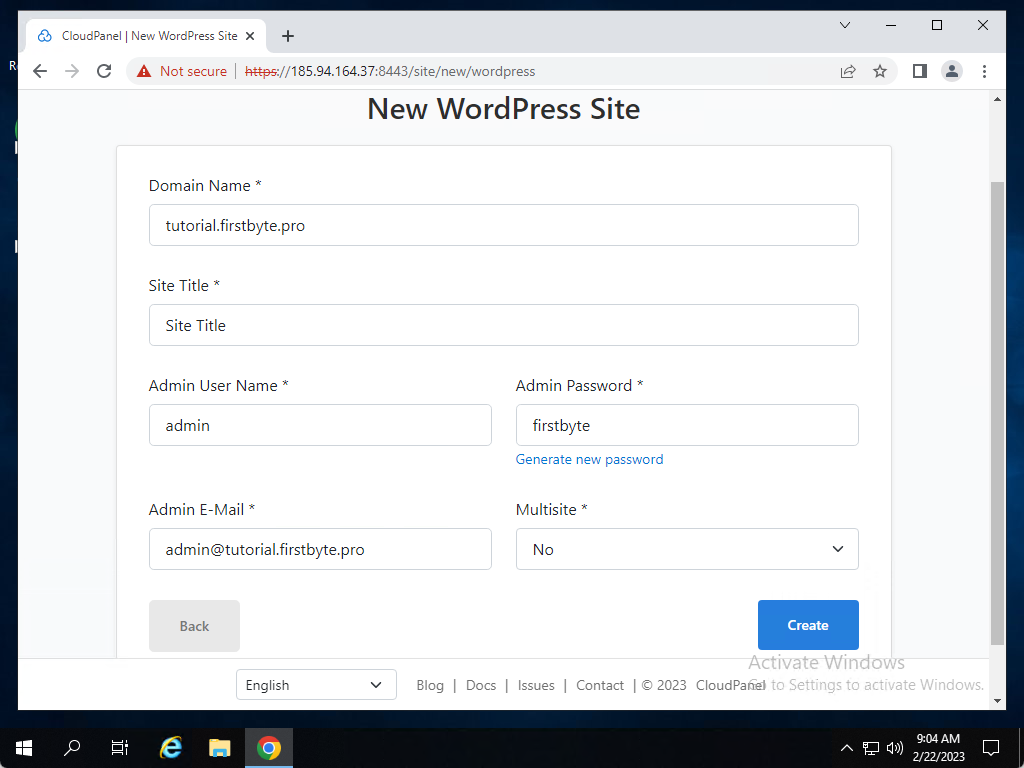
We indicate the name of our domain, site name, login, password, mail, and chose if we want to create a multisite or not.
Click on “Create” and wait for the process.
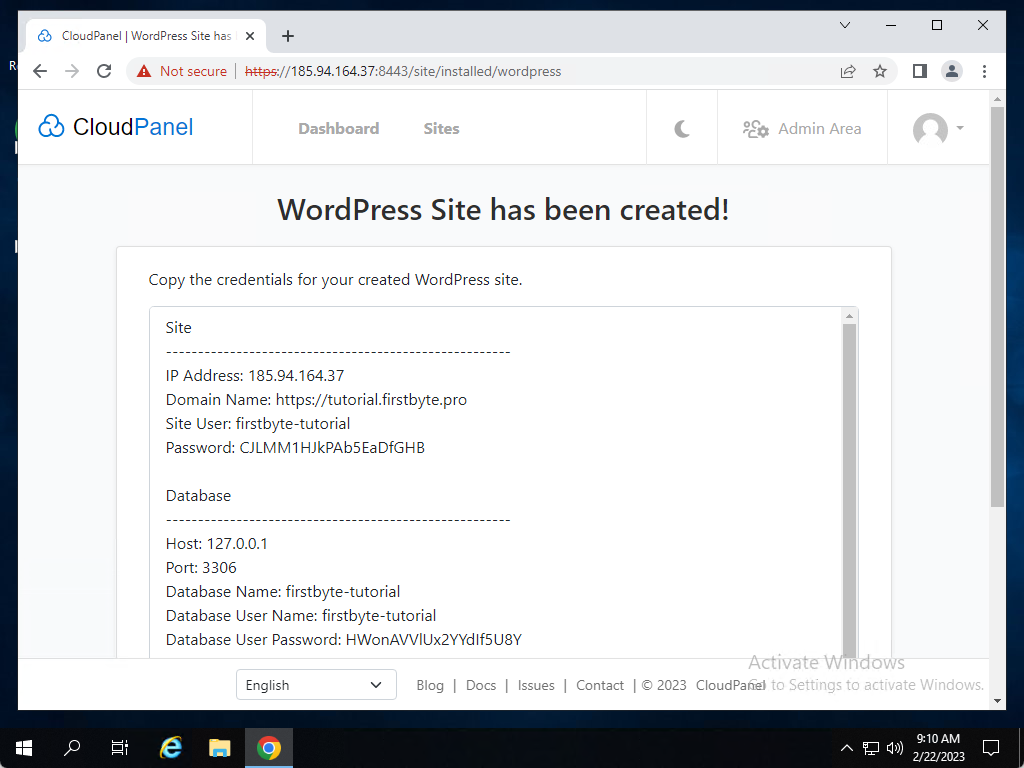
Great thing in this panel is that after installation we get data about the database and admin user for our WordPress administrator, which we can simply copy to a txt file and store on our PC.
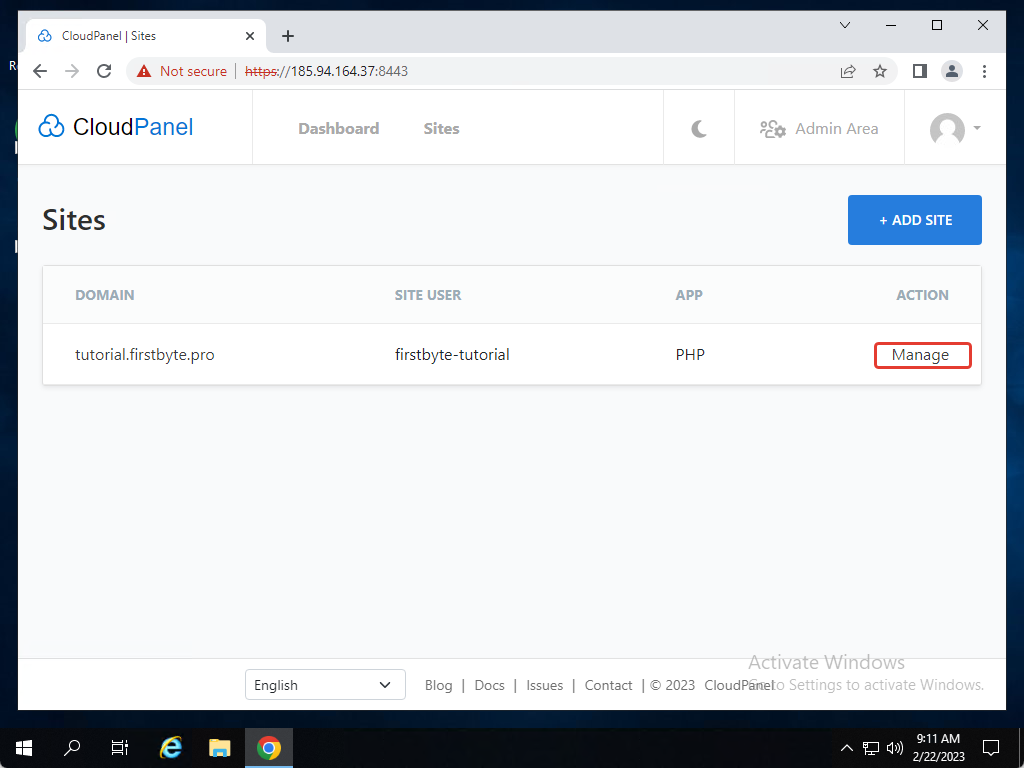
To install “Let’s Encrypt”, we return to the page with sites and click “Manage” under our website.
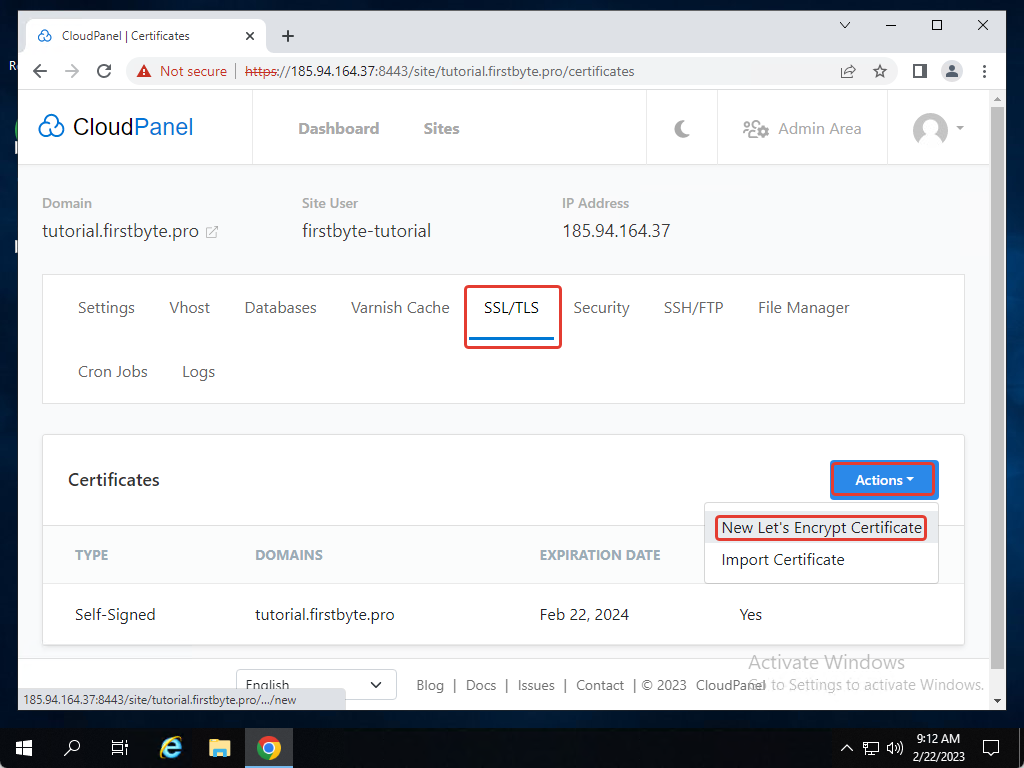
Then click on “SSL/TLS”, after that click on Actions and on New Let’s Encrypt Certificate
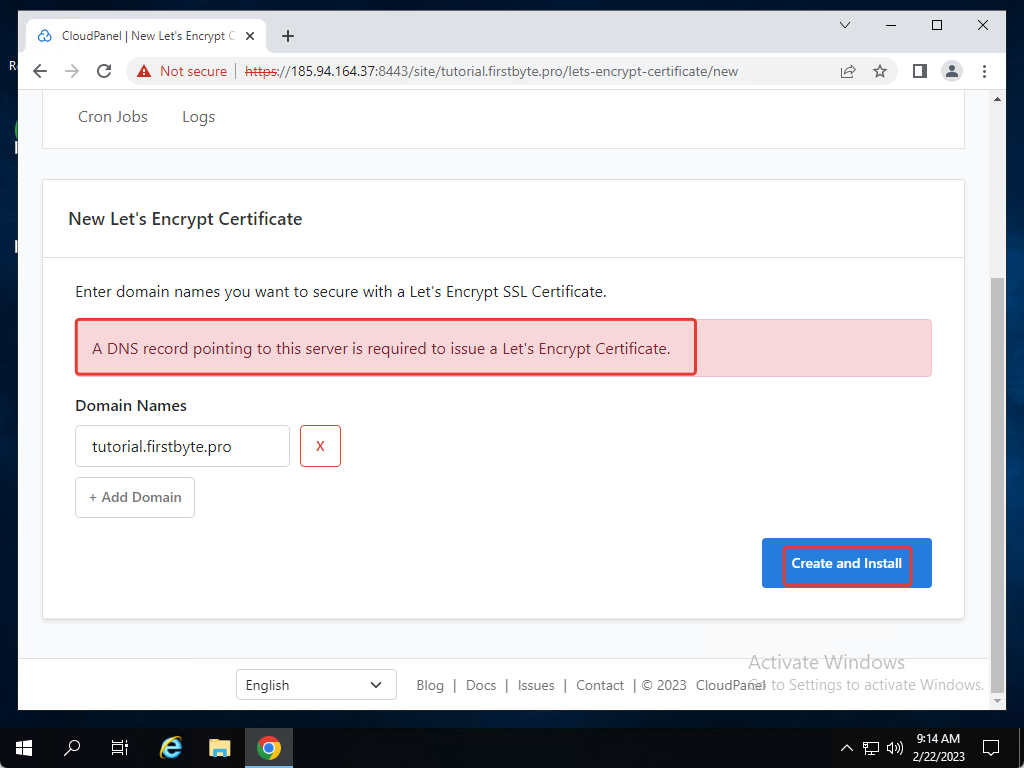
In the last step, we get a message that we must have a working DNS record for the domain for which we want to set “Let’s Encrypt”.
Click on the “Create and Install” button and wait.
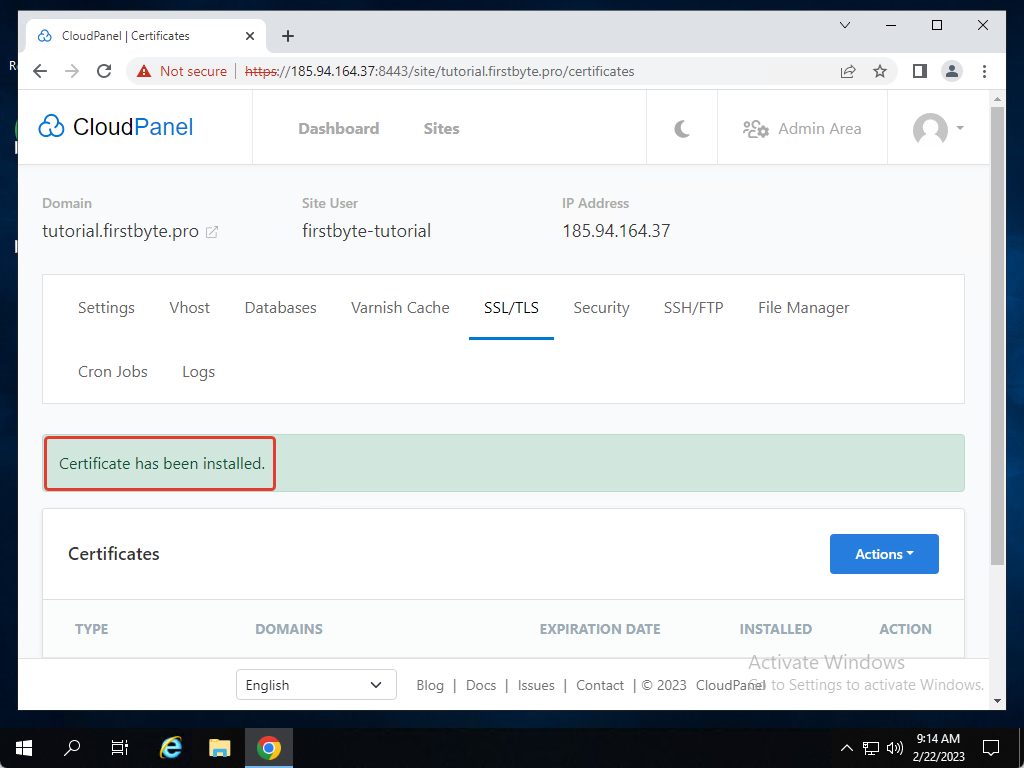
If the certificate was installed correctly, then we will receive a message that it has been installed and we can see its status.
We can now go to our site, look at the information about the certificate and make sure that the site and the certificate are working.

You can now continue working on your site, install the necessary themes and plugins.