What is AdGuard Home
AdGuard Home is a free and powerful DNS server that blocks trackers and ads and also provides privacy protection for your devices. It acts as a DNS server that redirects monitored domains to a “black hole” preventing your devices from connecting to those resources. Once installed, the software protects all devices connected to your network without the need for client software. AdGuard Home blocks ads everywhere on your system, including video pop-ups, ads in apps, browsers, games, and any website you visit.
The main advantage of AdGuard Home is that it allows you to set up your server at home and not use public DNS. This will allow you to choose what exactly the server blocks and allows, control your network activity, add your own custom filtering rules and, most importantly, will allow you to control the situation.
Features include;
- It contains filters that are regularly updated to guarantee the quality.
- Family protection mode blocks content from adult sites and ensures safe browsing in browsers.
- Protect confidential data while browsing the Internet.
- Does not require any client applications.
- Contains HTTPS for the admin interface.
- However, there are some notable examples of what a DNS-level blocker cannot block, including YouTube ads, Twitch ads, and sponsored posts on Facebook, Twitter, and Instagram. Also, you can’t block ads running on the same domain.
How to install AdGuard Home
Before installing AdGuard Home, we need to make some changes, and they concern the DNS itself on our server, so that when you go to the initial setup page, you won’t get an error that port 53 is already in use: validating ports: listen tcp 0.0.0.0:53: bind: address already in use.
Open and change the contents of the file:
nano /etc/systemd/resolved.confThen we make changes and turn off the DNSStubListener so that its value is “no” and save the file.
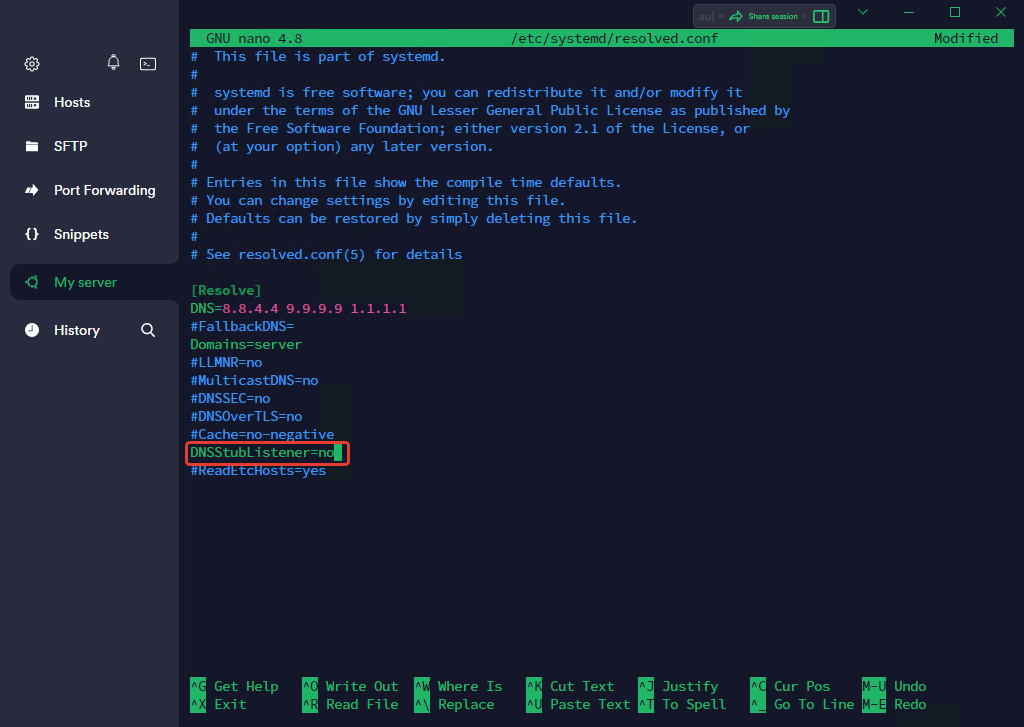
Then we have to restart the “systemd-resolved” service with the command:
systemctl reload-or-restart systemd-resolved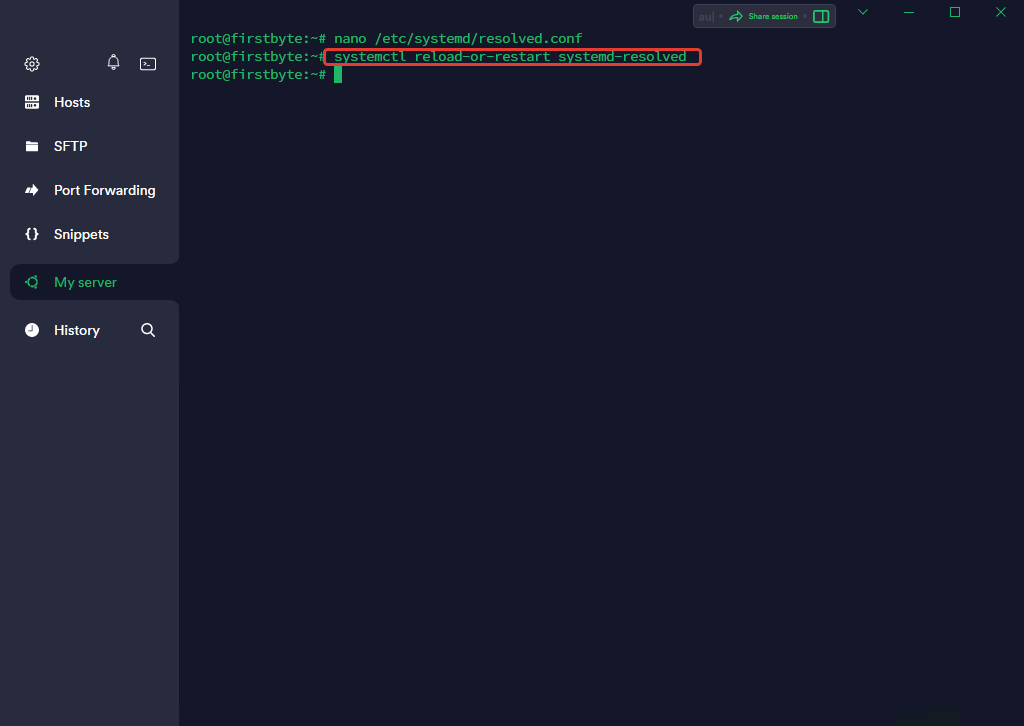
To install AdGuard Home on a server, we must first log into the server itself, and then execute the command to download it:
wget https://static.adguard.com/adguardhome/release/AdGuardHome_linux_amd64.tar.gzThen we have to unpack it from the archive with the command:
tar -xvf AdGuardHome_linux_amd64.tar.gzAnd then we have to enter the folder that we unpacked:
cd AdGuardHome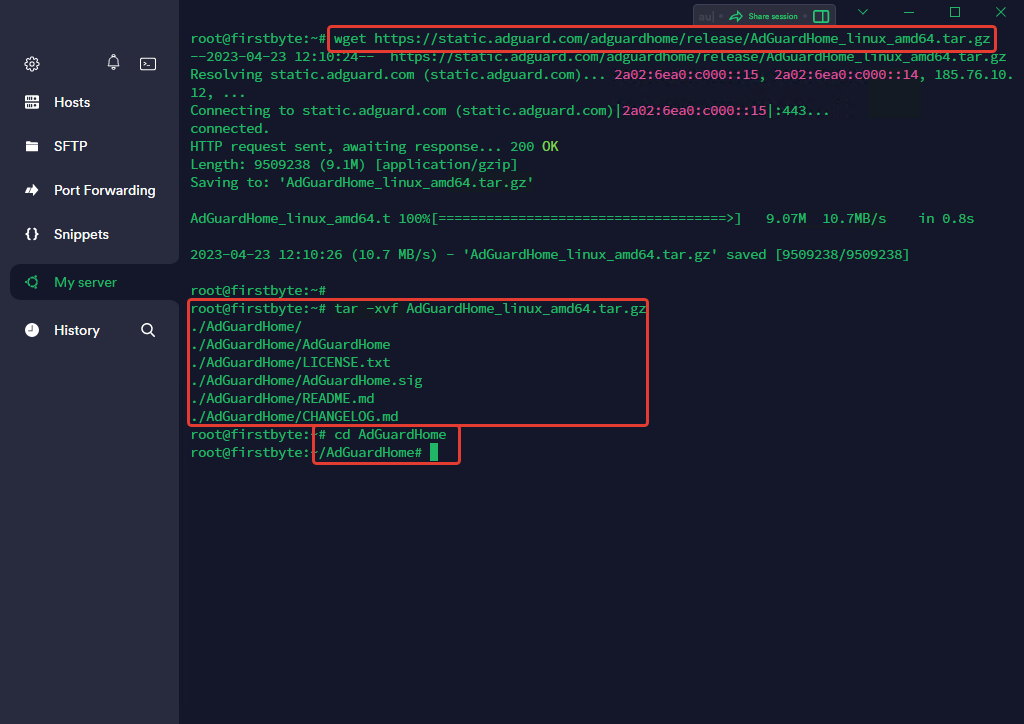
Now we have to start the installation, which will complete almost immediately. To do this, run the command:
./AdGuardHome -s install
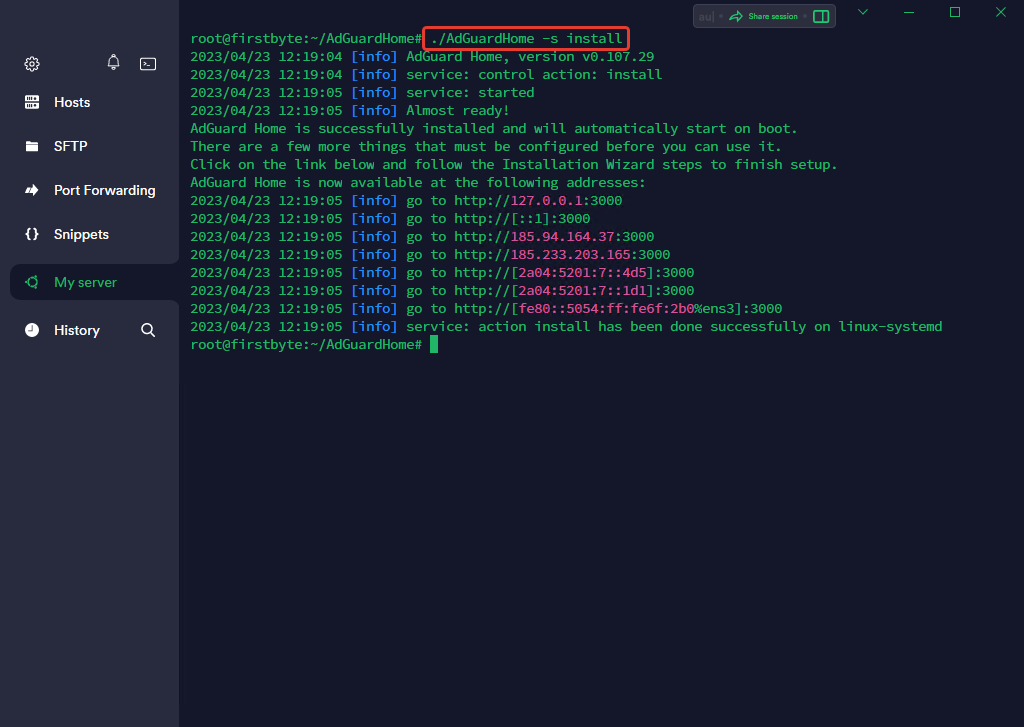
As indicated, AdGuard Home was installed correctly and will be launched automatically every time the server is restarted.
Now we can follow the link http://IP-ADDRESS:3000.
After we have followed the link, we need to set up our AdGuard Home correctly.
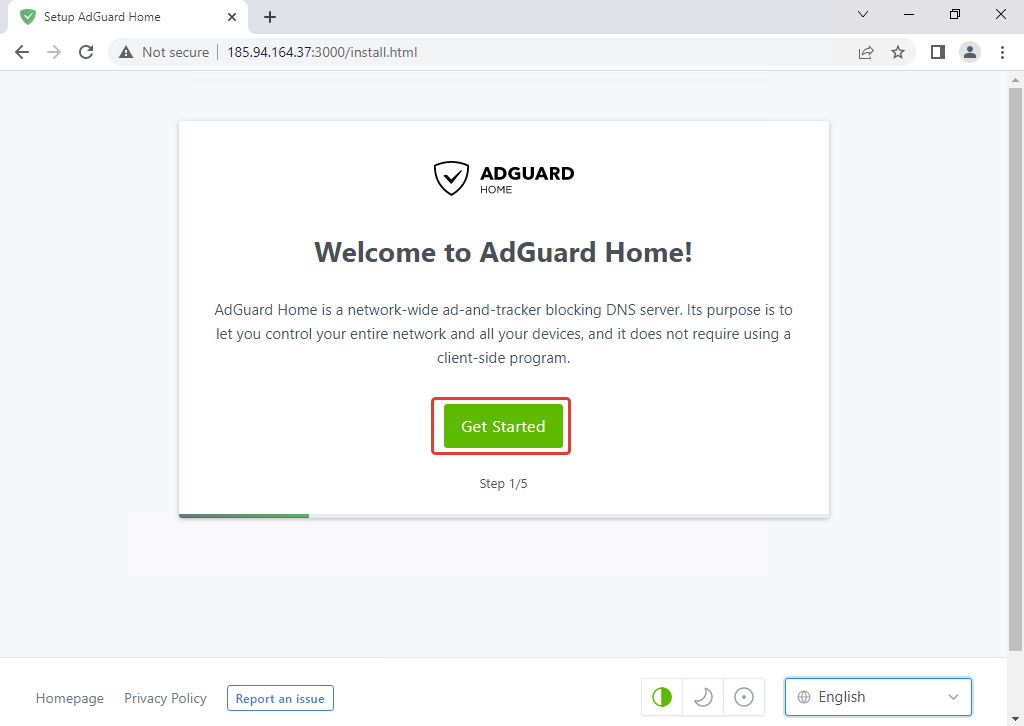
Click on Get Started.
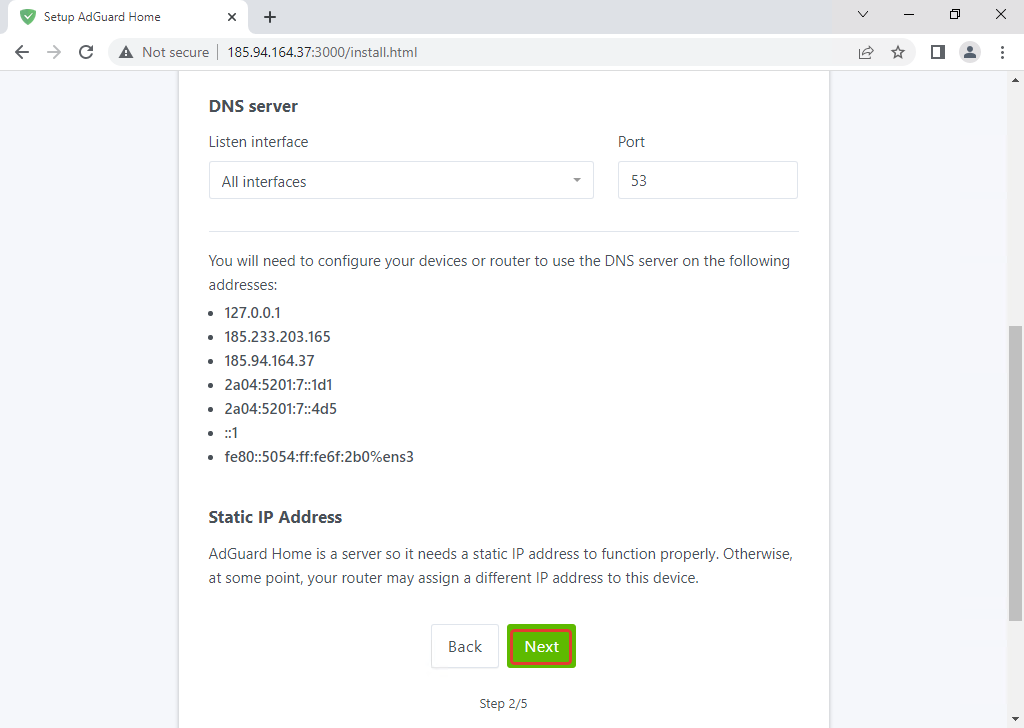
Then go down and click on Next.
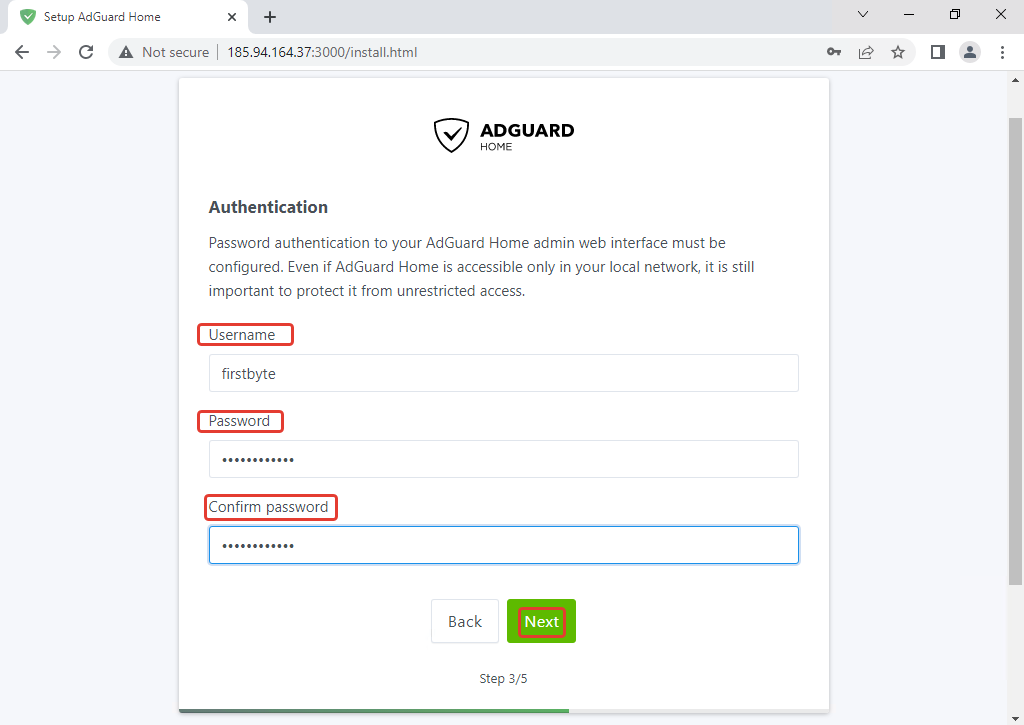
Then we specify the login and password for our user and click on Next.
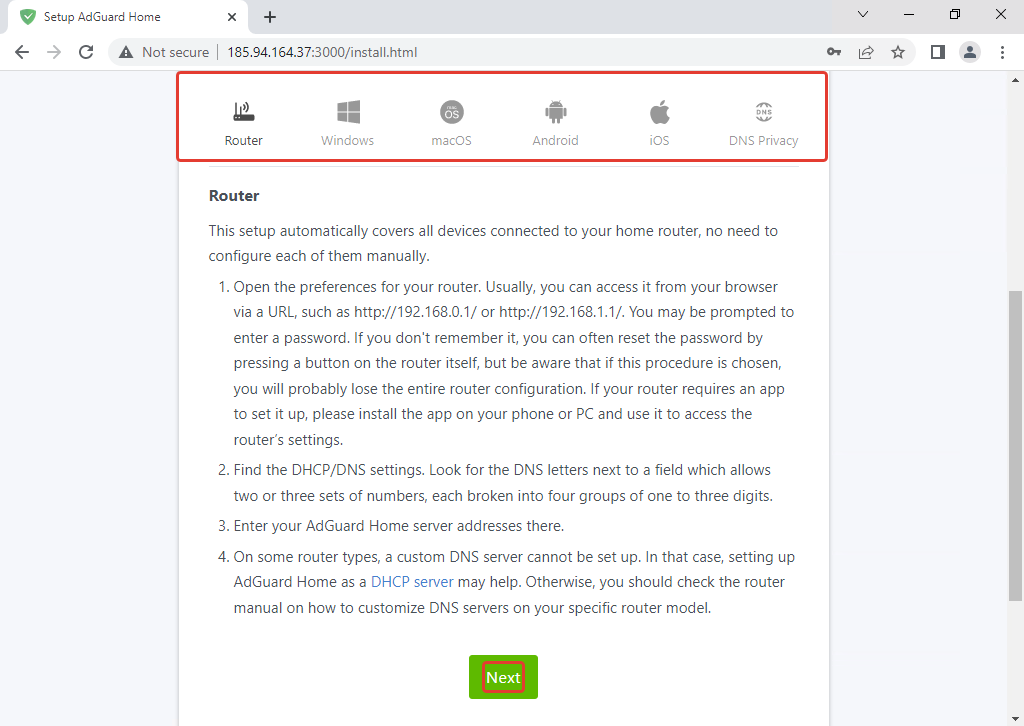
In the last step, it will indicate how we should set up DNS on our device. We do it as indicated in the instructions and click on Next.
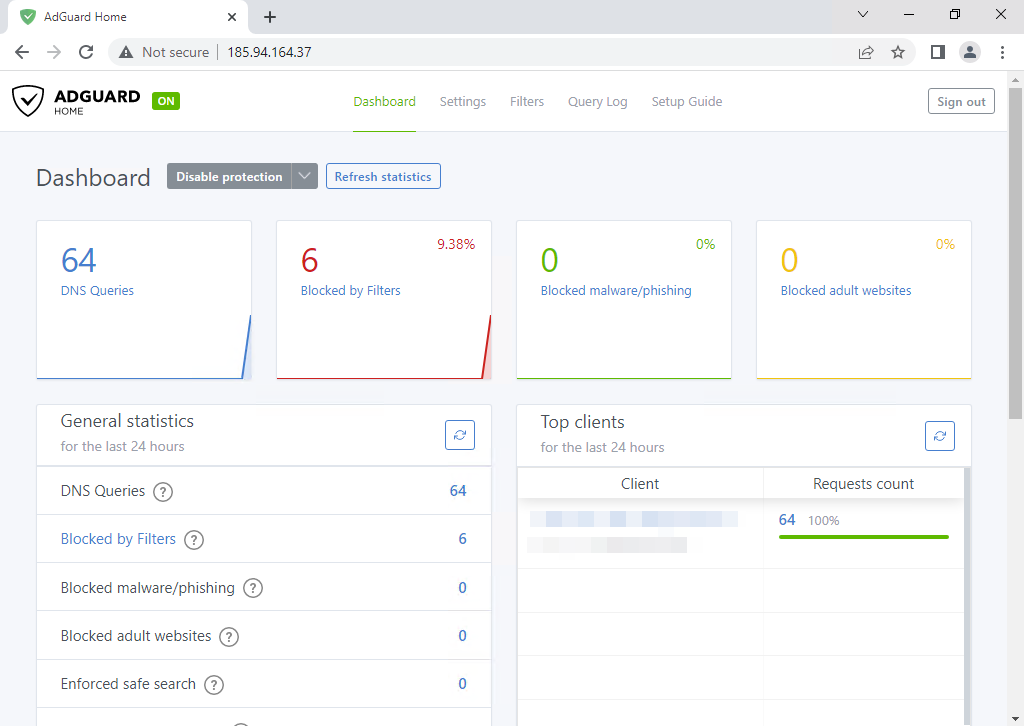
After that, we click on Open Dashboard and go to our account, and there we can already see everyone who has connected and blocking statistics, as well as do other useful things.
How to add more filters for protection?
Basic filters block many ads and trackers, but not all of them, and because of this, we will add more filters that will help us block ads and trackers more effectively.
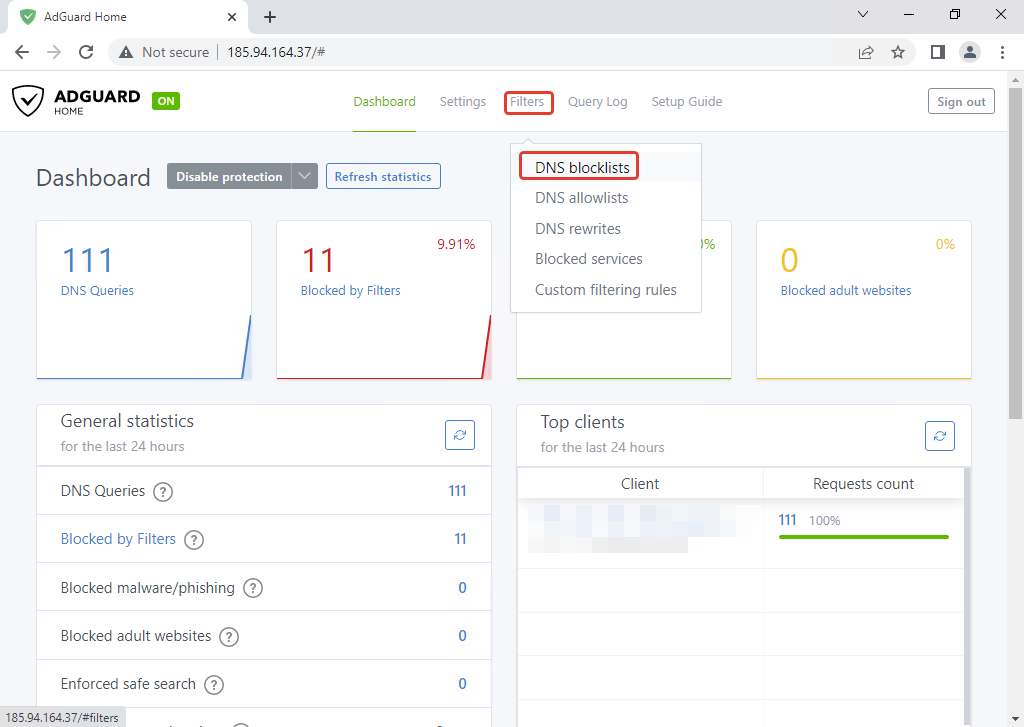
Click on Filters and then on DNS blocklist.
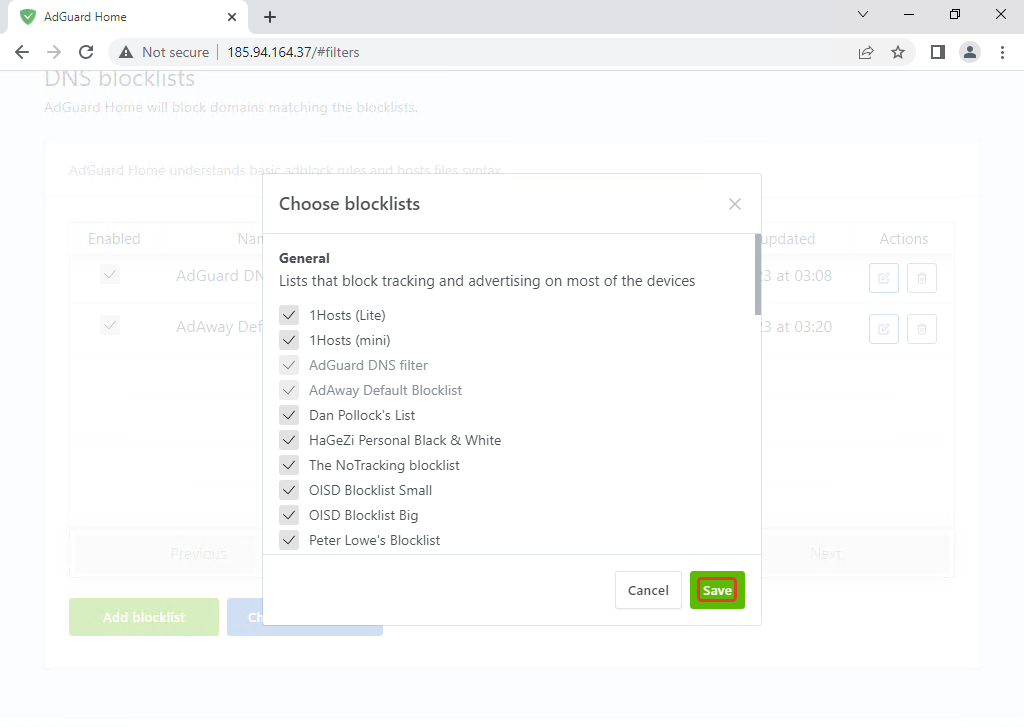
On the new page, we click on Add blacklist and then on Chose from the list and turn on all available filters (except No Google and Regional because they will block Google resources) and click on Save.
Conclusion
AdGuard Home blocks ads and trackers using the so-called “DNS hijack” method and allows you to customize what is blocked. You do not need to install and configure additional software for Adguard Home and require minimal effort to set it up. It is cross-platform and can be run without root privileges. It blocks phishing and malicious domains with parental control and ensures safe searches on search engines.


