

What is aaPanel
aaPanel is an open source server control panel used to manage a web hosting environment. It is a simple alternative to other well-known control panels including cPanel, VestaCP, etc. It comes with a simple and user-friendly web interface that simplifies your job of managing your web hosting environment. It’s very low at consuming resources and offers an auto-installer that allows you to install multiple applications with a single click. It offers a rich set of features including a file manager, SSL, Cronjob, Firewall, FTP, Mail server, Database server, DNS server and web domains.
How to install aaPanel
To begin with installation, we login to our server, but before start the installation, you must make sure that all Ubuntu OS packages installed on the server are up to date. You can do this by executing the following commands:
Disclaimer: This guide is written for Ubuntu 20+ OS.
apt-get update -y
apt-get upgrade -y
In our case, there was no updates and we can continue further with the installation.
Download the installation script and execute it on the server:
wget -O install.sh http://www.aapanel.com/script/install-ubuntu_6.0_en.sh
bash install.sh
To the question – do we want to install the panel in the /www folder, we answer yes – “y”.
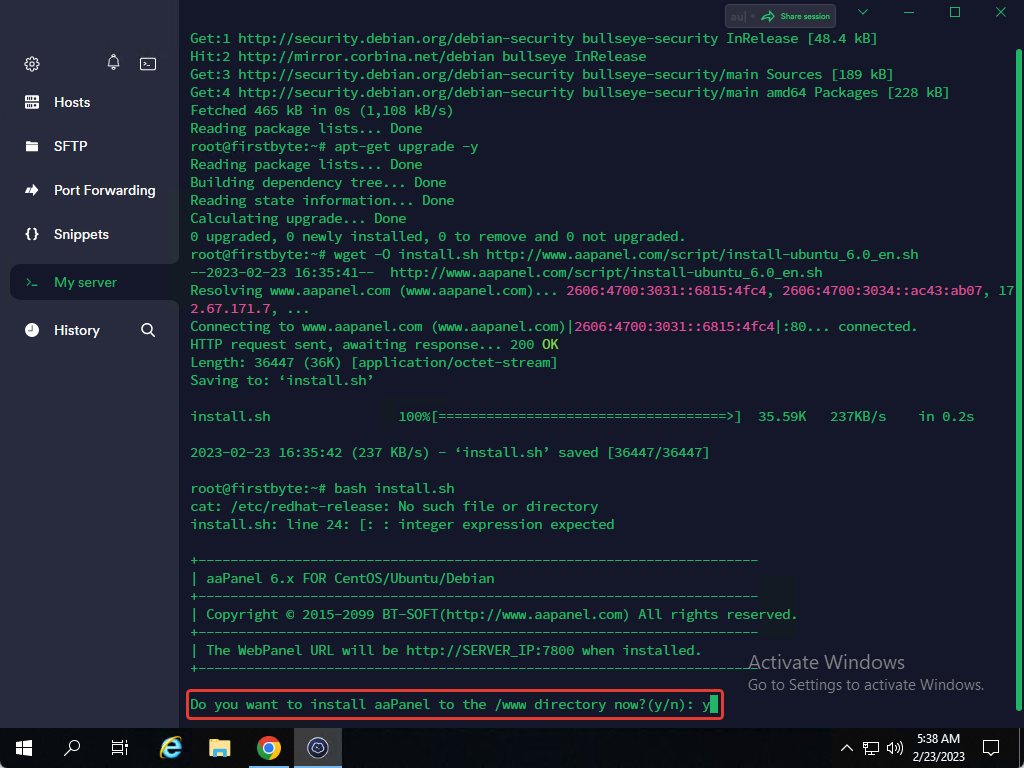
We do not need to answer on second question. The installation will start in 10 seconds.
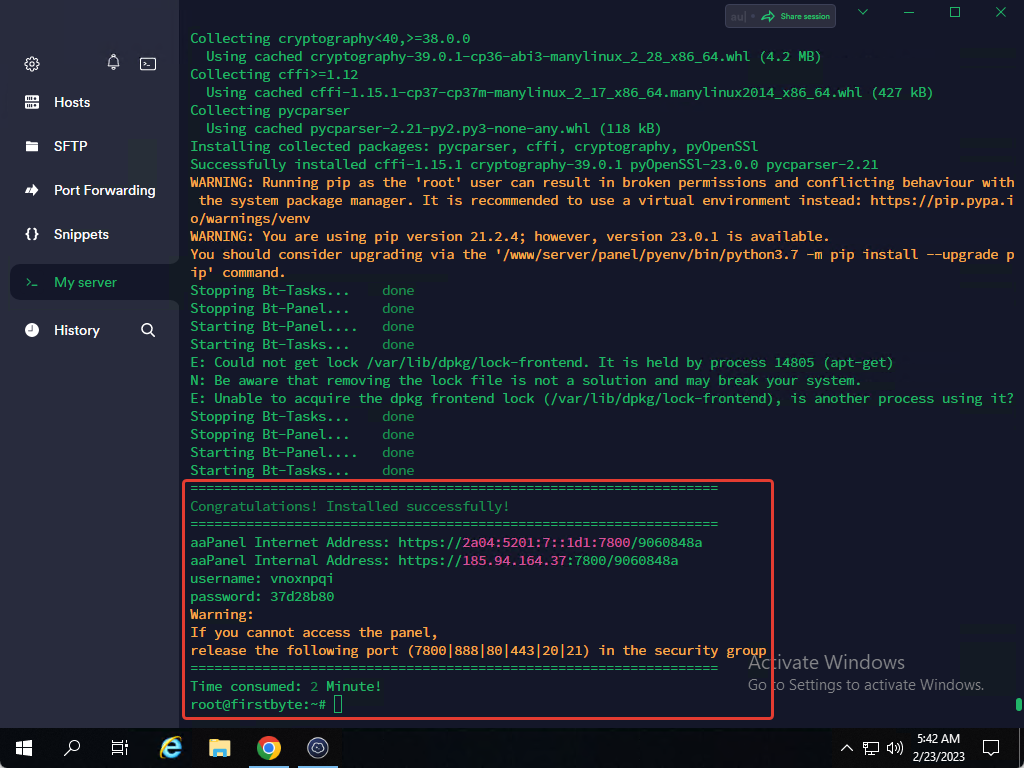
After the panel is installed, the login details will be printed in the terminal.
Setting up aaPanel
After installing the panel itself, we must now install the webserver, database server and other software so we can use our server for websites.
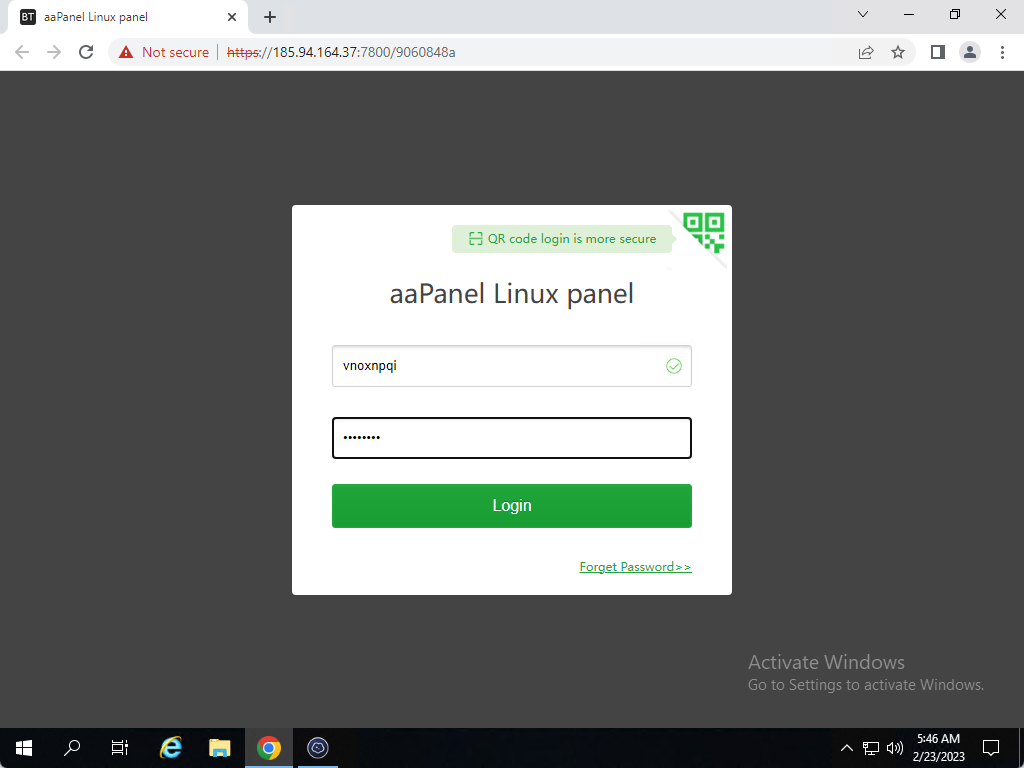
Open the page to enter the panel and login with the data from the terminal.
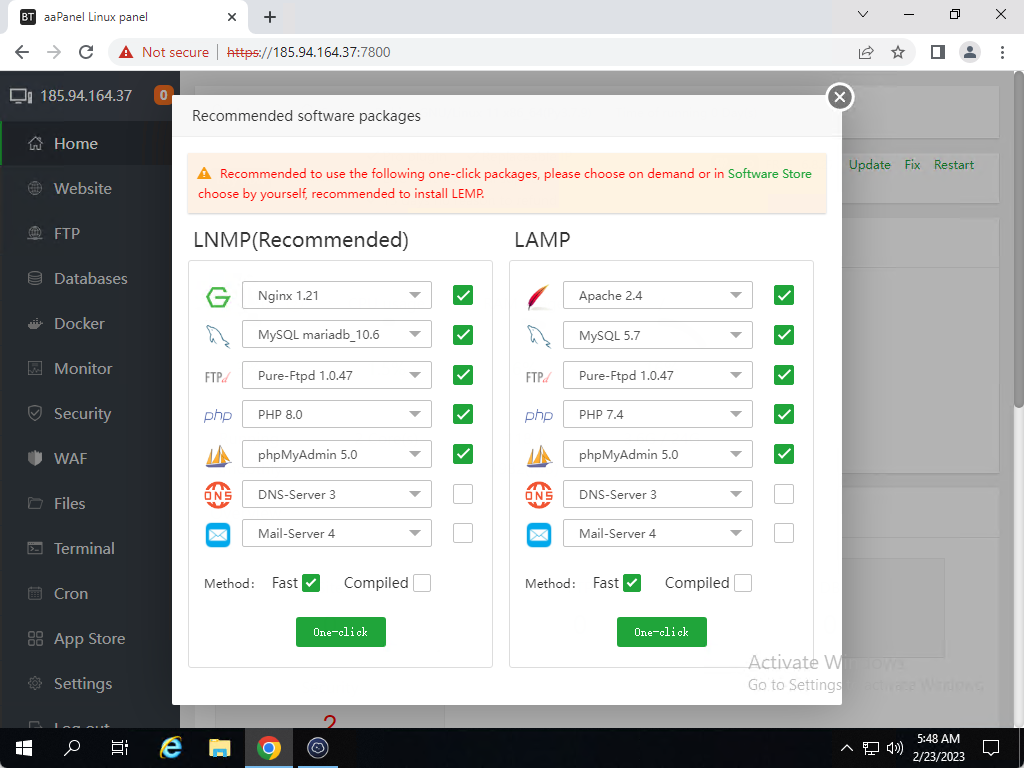
After logging in, a window will immediately appear in which the panel asks us if we want to install the LNMP or LEMP.
As the panel advises, let’s install LNMP, but with some changes:
Web server – leave as is – NGINX
Database server – instead of the current MySQL 5.7, select – MariaDB 10.6 (LTS)
FTP server – leave it as it is – PureFTP
PHP – instead of version 7.4 – choose 8.0
phpMyAdmin – leave as is
DNS Server – do not install
Mail-Server – leave as is
As we have already chosen, click on the “One Click” button and leave “Method – Fast”
And we are waiting for the installation process. Unfortunately, it can take a very long time, but we are waiting!
How to Add a Website and Install WordPress with SSL
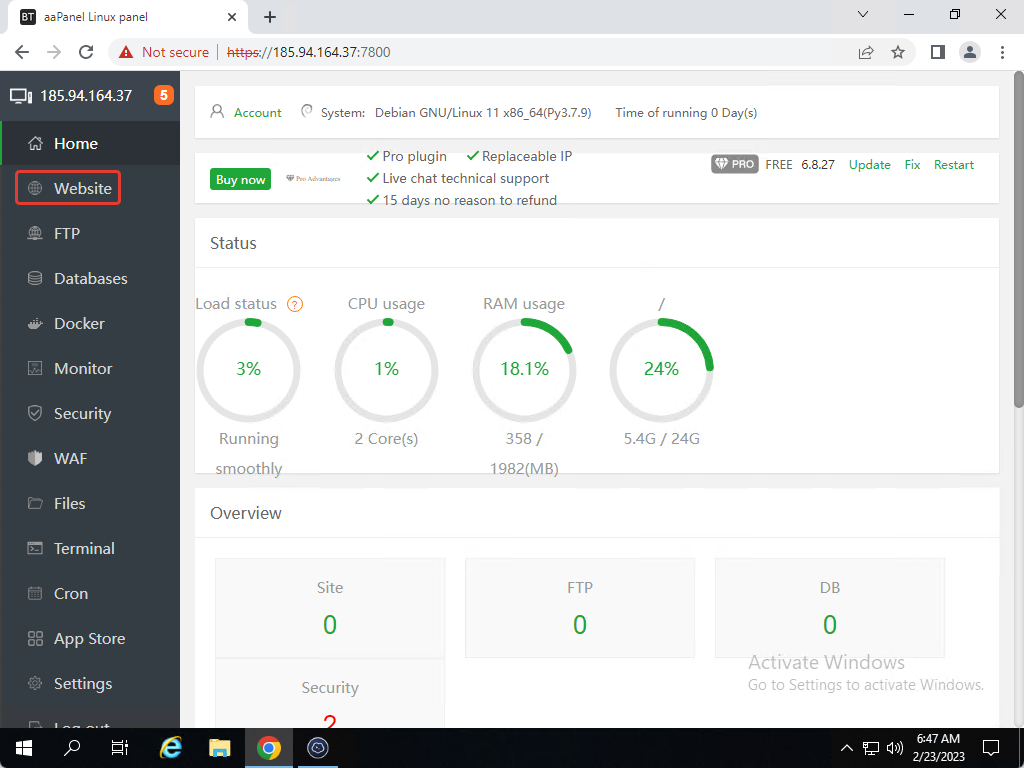
We remain in the initial panel page and click on “Website”.
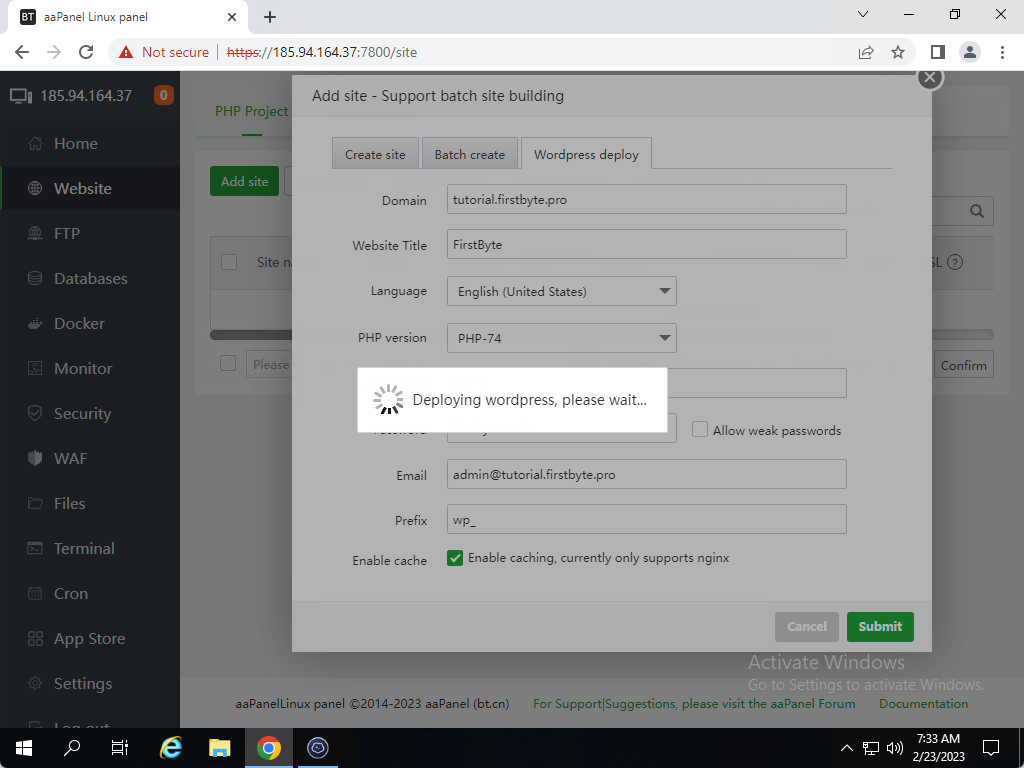
Then we click on “Add Site”, click on “WordPress Deploy” and fill in all the information for the site, also click on “Enable Caching, currently only support NGINX” and then click on “Submit” and wait.
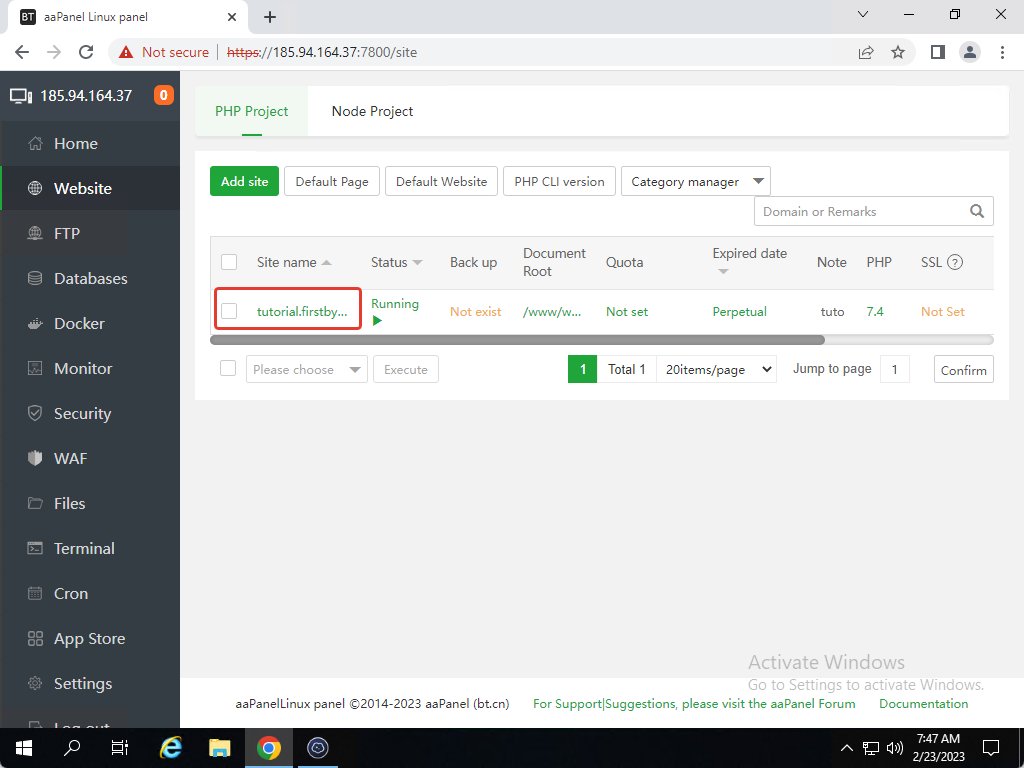
After WordPress was installed, click on the domain, to enter website settings.
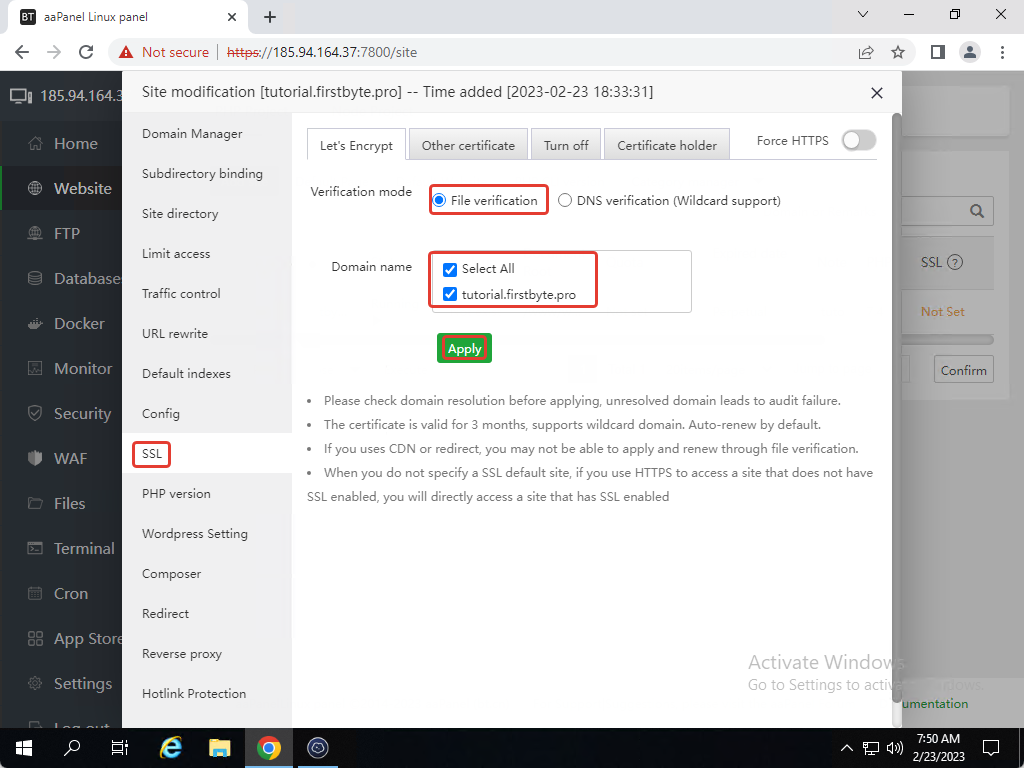
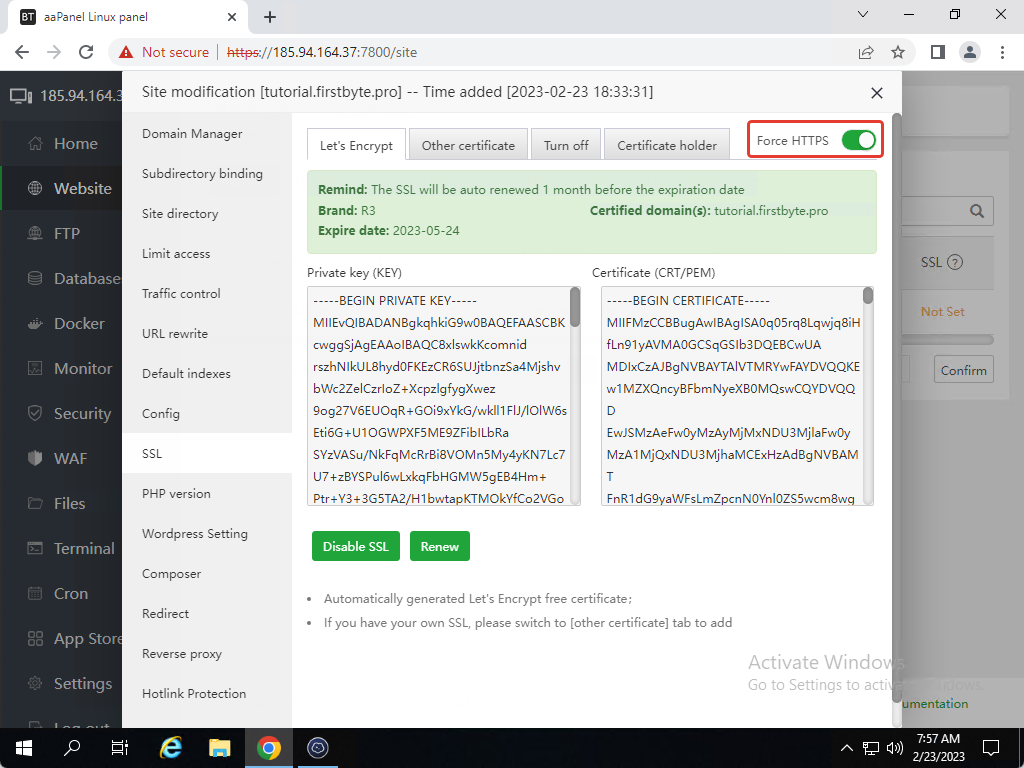
Then click on “SSL”, and select “File verification”, then under “Domain name” select your domain and click “Apply” and confirm issuing SSL.
After SSL was installed, click on “Force HTTPS”
After that you can access your website and check if HTTPS is working correctly.
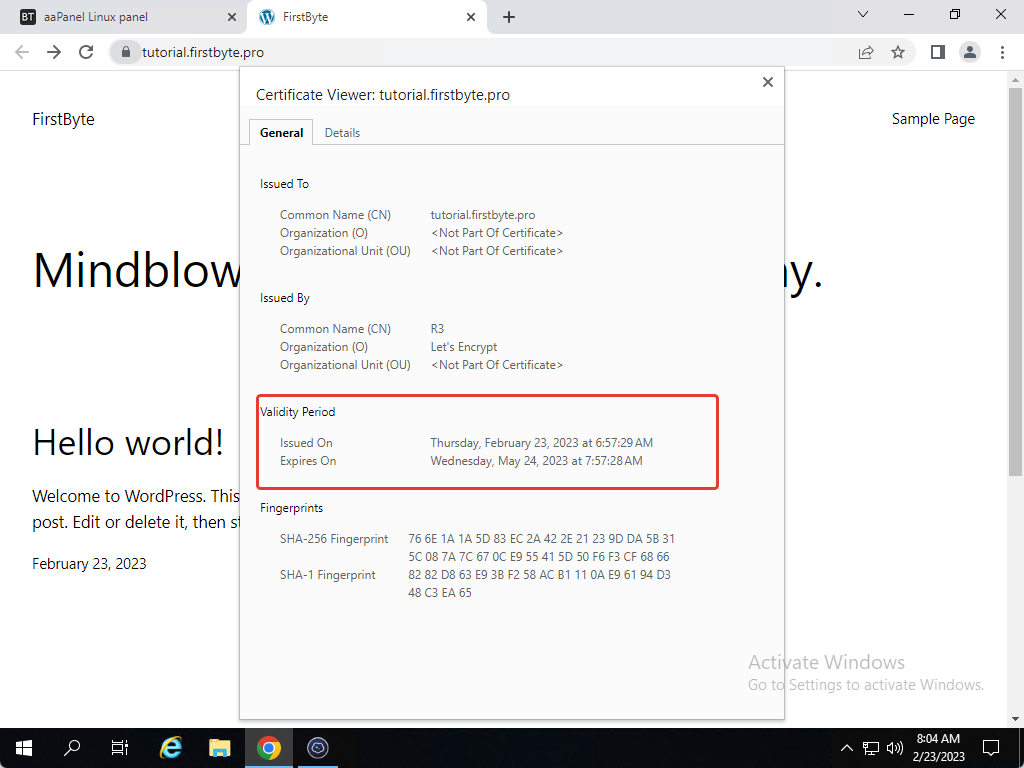
And as we said, website is working and SSL certificate is also working. Now you can continue working on your website.