

What is Fail2Ban
The Fail2Ban monitors server log files for intrusion attempts and other suspicious activities. After a given number of failures of a host, fail2ban will automatically block its IP address for a certain amount of time.
How to install Fail2Ban
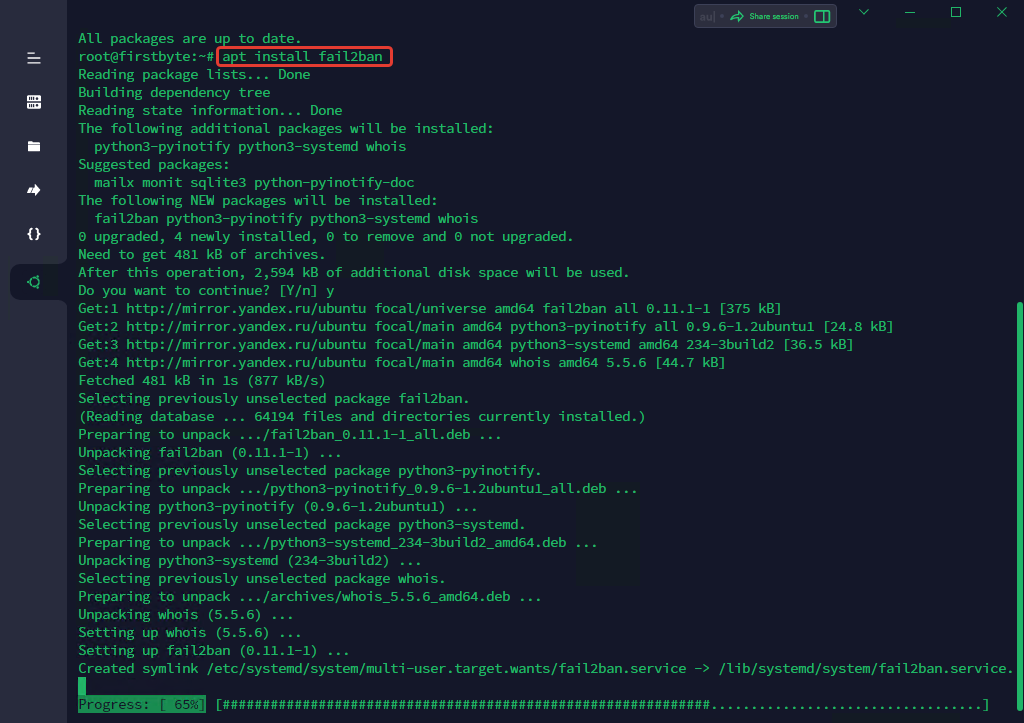
To install Fail2Ban on the server, we will first log into the server and run the command to update the software on our server, and then the Fail2Ban installation command itself:
apt update
apt install fail2ban
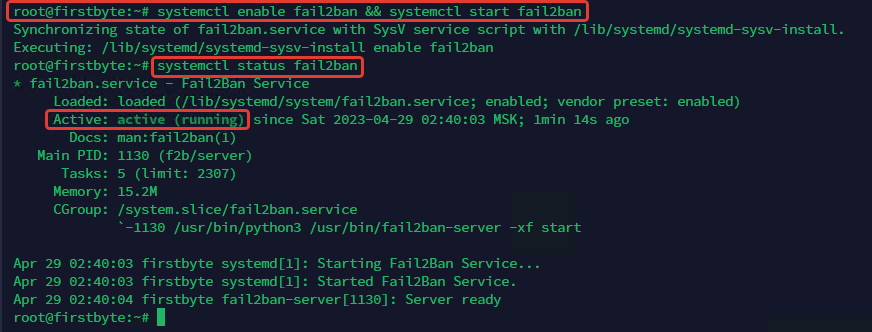
Once installed, start and enable the service:
systemctl enable fail2ban && systemctl start fail2ban
To check if the service is running, run the following command:
systemctl status fail2ban
You should get the following output:
How to set up Fail2Ban
The Fail2Ban configuration files are stored in the /etc/fail2ban/ folder on the server.
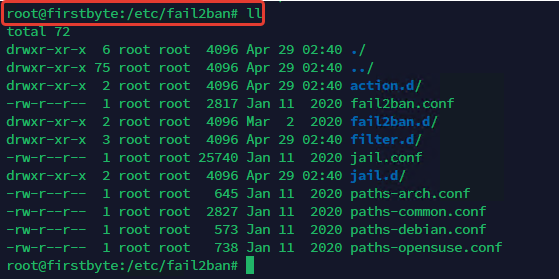
All configuration settings are stored in the jail.conf file, but in most cases you don’t need to edit this file, you just need to specify the settings in the jail.local file or in separate .conf files in the jail.d/ folder. Modifying this file may cause the values to be overwritten the next time the system is updated. We are going to make a copy of the original jail.conf file with a new name jail.local:
cp jail.conf jail.local
We are now ready to make some changes to secure SSH.
If you want to apply any rule to all services supported by Fail2Ban, you need to make changes in the [DEFAULT] section at the top of the file. For example, the default ban time is set to 10 minutes, but you can increase this value to 60 minutes, for example.
bantime = 60m
Other important options are findtime and maxretry, which always work together. We’ll set maxretry to 3 and findtime to 5 minutes:
findtime = 5m
maxretry = 3
This means that the client will be banned if there are 3 unsuccessful login attempts to the server within 5 minutes.
The next options that are often used are the email options. These options will help us get email alerts when fail2ban takes action and bans users. This is the explanation of destemail, sender and mta:

Ban messages are sent to destemail, the sender is the FROM field in the email, and mta is the mail service. The default mail service for fail2ban is sendmail, but you can set up any mail service of your choice. This will work.
Now let’s check the Fail2Ban configuration for previous changes, whether it will ban us or not:
First, we restart fail2ban with the command below and check the login to the server:
service fail2ban restart
[email protected]'s password:
Permission denied, please try again.
[email protected]'s password:
Permission denied, please try again.
[email protected]'s password:
[email protected]: Permission denied (publickey,password).
ssh: connect to host 185.94.164.37 port 22: Connection refused
As you can see, after three failed login attempts, Fail2Ban closed the SSH connection. The user will be banned for 5 minutes. If you try to log in during those 5 minutes, the connection will be rejected.
Conclusion
That’s all! You have successfully secured an SSH server using Fail2Ban in Ubuntu, but you can also secure all other services on your server this way.