

What is Ntopng
Ntopng is a web application for real monitoring of network traffic flow, available as open source free software. This is an improved innovative Ntop that displays network usage, statistics and analytics. It works with various computer systems including Windows, Linux, Mac OS and BSD. Ntopng comes in professional and enterprise editions with license restrictions, as well as a free and open source community edition.
How to install Ntopng
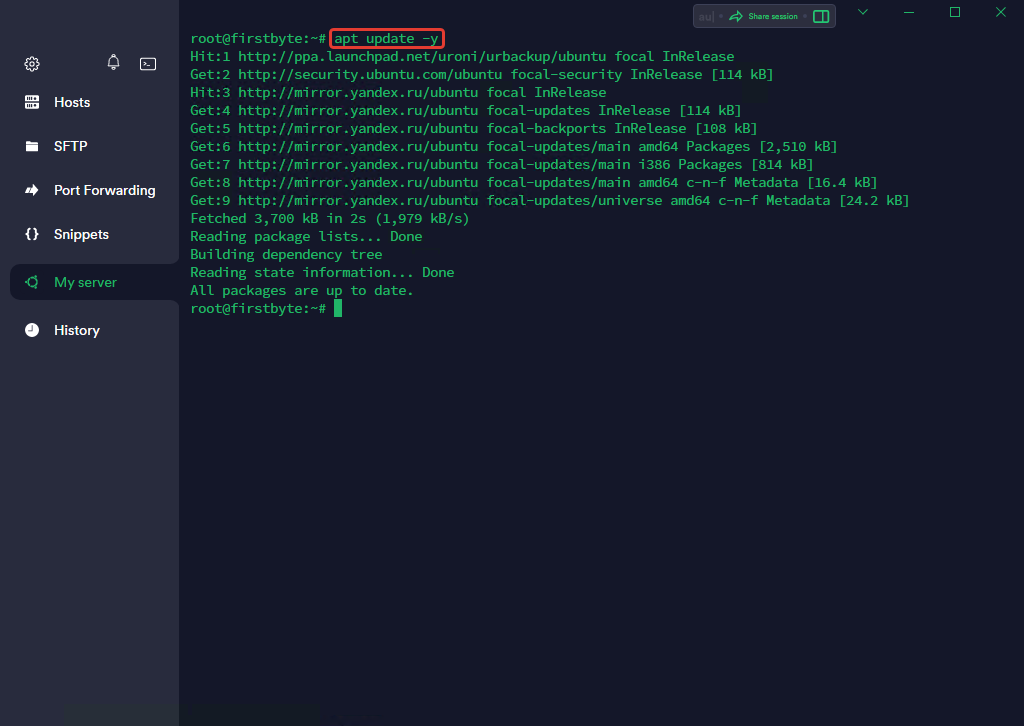
To start the installation, you must first connect to the server via SSH. First we need to update our system and apt packages. To do this, run the given command below:
apt update -y
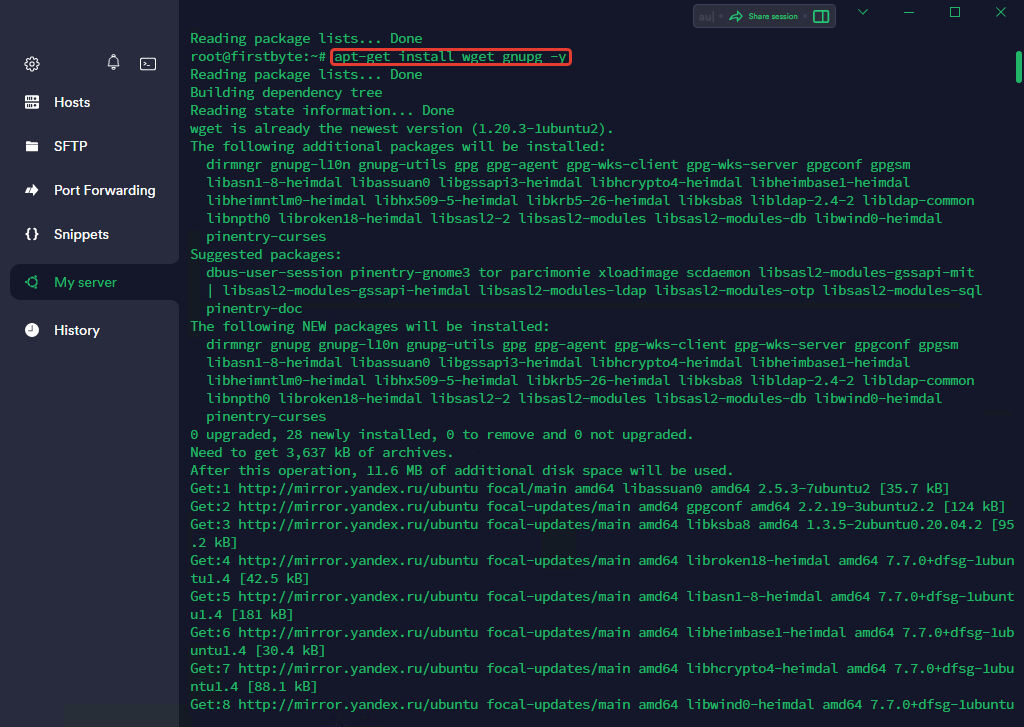
Ntopng has some dependencies on various packages that need to be installed on our system. Therefore, first install them with the command:
apt install wget gnupg -y
Now we have to install “ntopng” with below command:
apt install ntopng

Ntopng has been successfully installed on our system and it’s time to set it up properly. To do this, we need to open its configuration file, which is located in the /etc/ntopng folder, through the “nano” editor. Use the command below to do so:
nano /etc/ntopng.conf
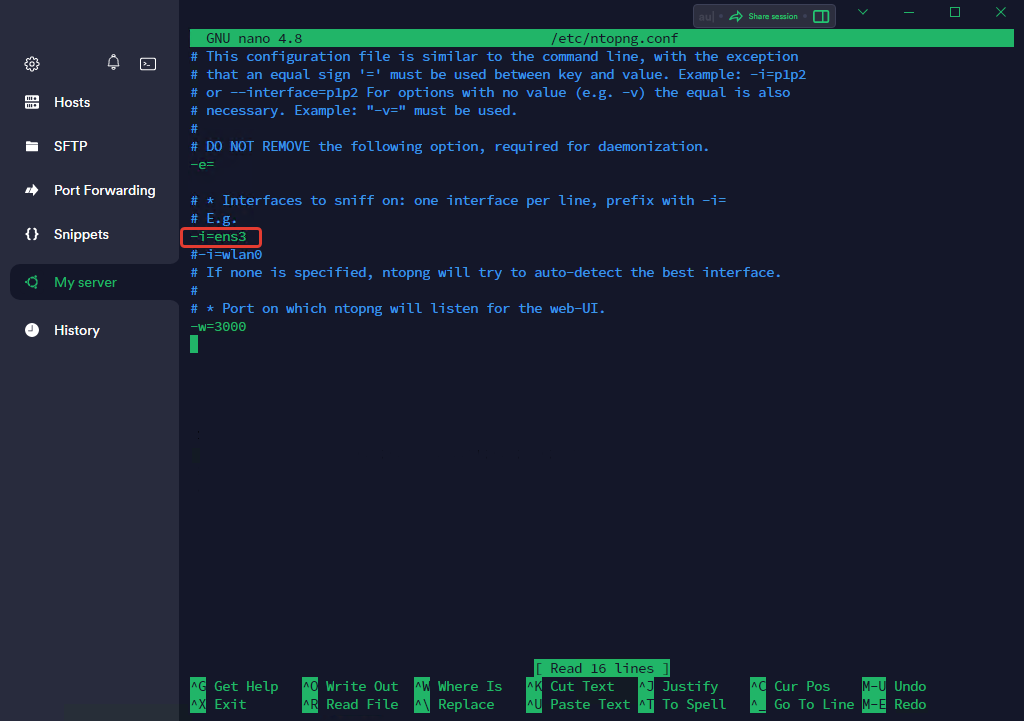
We must uncomment the line with the name of the interface in this file (on our hosting, it is always “ens3”) and restart the ntopng service using the command below:
systemctl restart ntopng
Now we can start Ntopng itself through the address:
http://IP-ADDRESS:3000
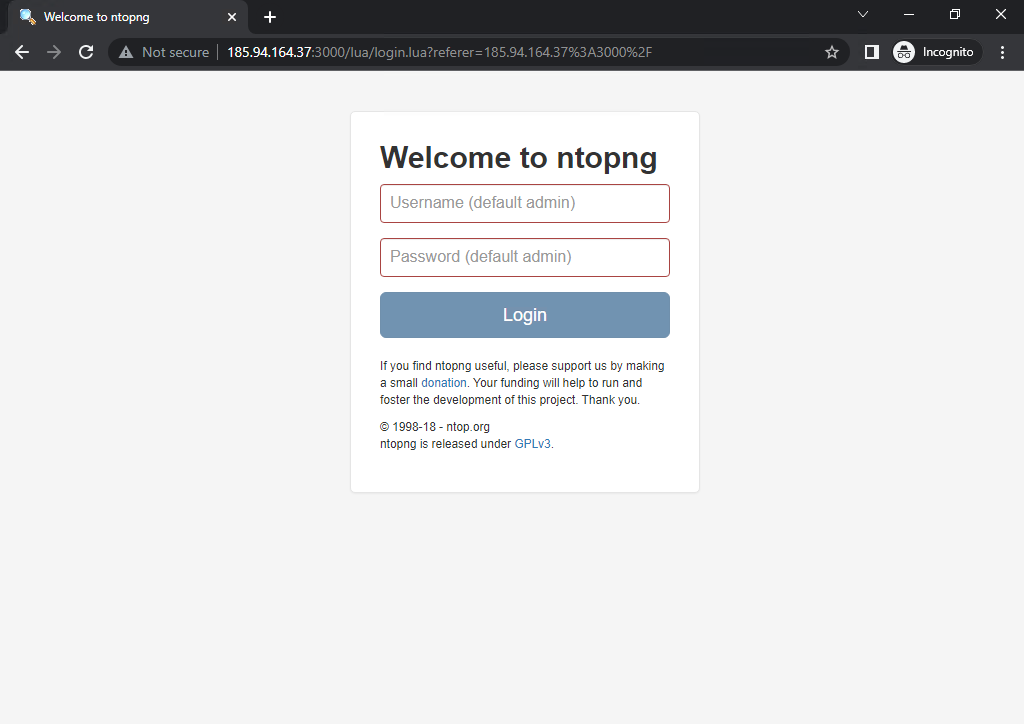
For the first login, the password and login will be as indicated in the screenshot.
After we entered, we will see such a general picture on the main page:
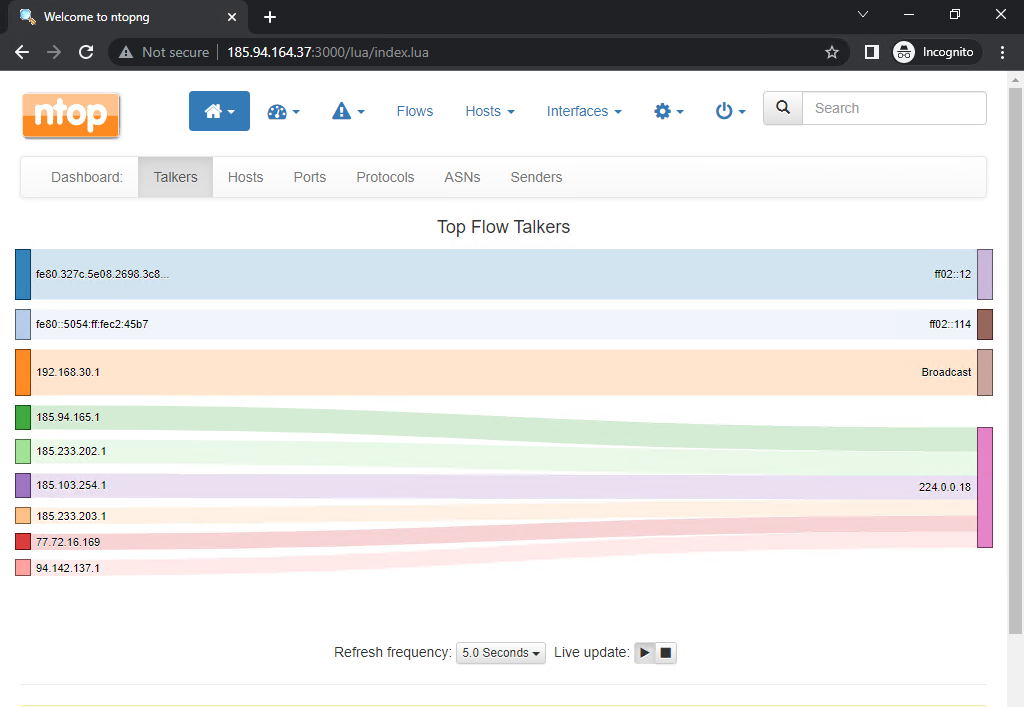
Here you will have the opportunity to monitor the addresses that send or what kind of traffic to your server, and you will also see the traffic that your server sends to other serves and many other useful features.
Conclusion
Ntopng provides many other options that can be very useful for real-time network monitoring and alert generation. You can view system information as well as the configured alert endpoint.