

What is FileRun
FileRun is an open source file sharing web application for Linux based operating systems. It allows users to share and sync files over the Internet. It can be accessed through a mobile app, WebDAV, and a web browser. This allows you to host your own file sharing solution in the cloud and access all your files from anywhere via secure cloud storage.
Installing Apache, MariaDB, and PHP
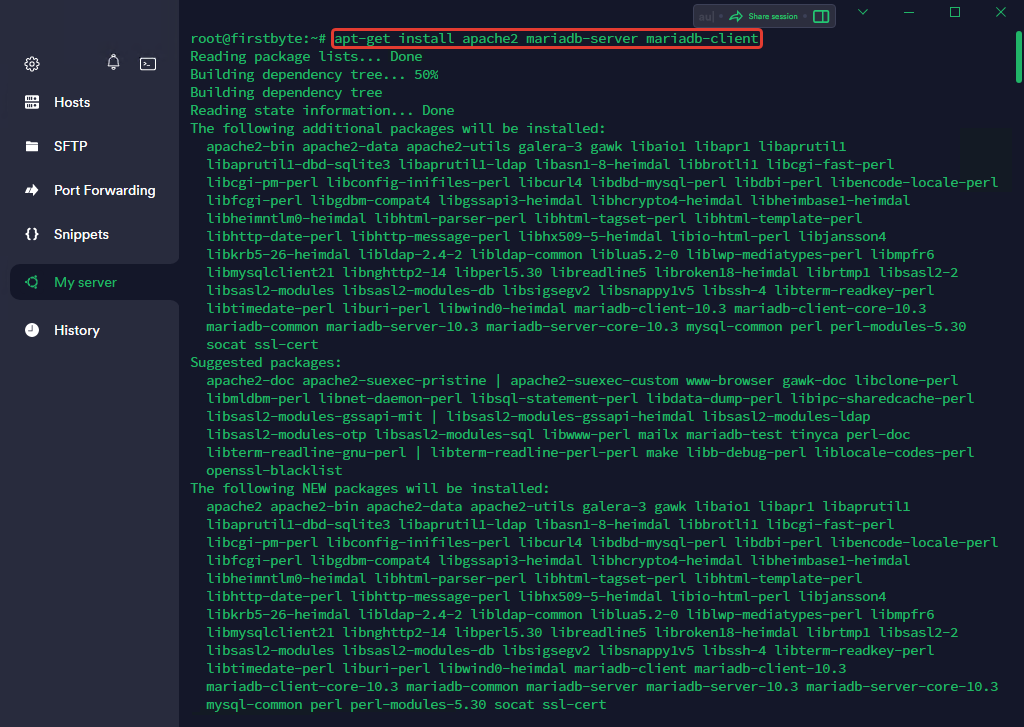
FileRun is written in PHP and uses MariaDB as its database. So, you will need to install Apache, MariaDB, PHP and other packages on your server. First, install the Apache and MariaDB package with the following command:
apt-get install apache2 mariadb-server mariadb-client
After installing both packages, you will need to install PHP version PHP 7.2-7.4 on your server.
First, install all required dependencies with the following command:
apt install software-properties-common ca-certificates lsb-release apt-transport-https -y

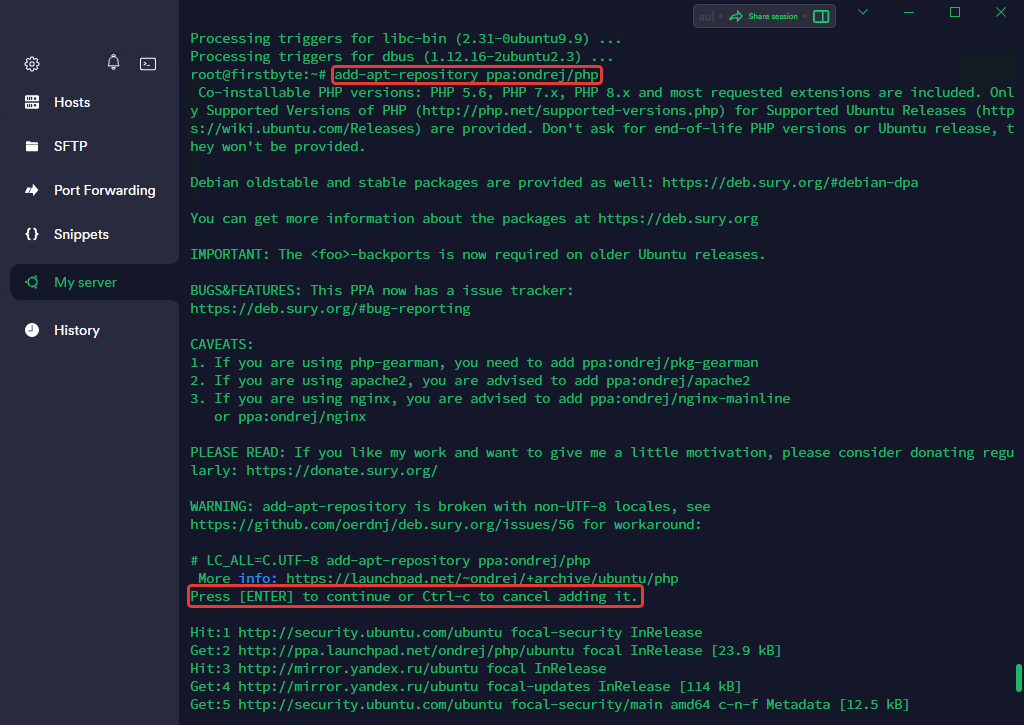
Then add the PHP repository with the following command:
add-apt-repository ppa:ondrej/php
Then update the repository cache and install PHP with other required extensions using the following command:
apt update && apt install php7.4 libapache2-mod-php7.4 imagemagick ffmpeg php7.4-imagick php7.4-mysql php7.4-fpm php7.4-common php7.4-gd php7.4-json php7.4-curl php7.4-zip php7.4-xml php7.4-mbstring php7.4-bz2 php7.4-intl unzip -y

After installing all the packages, we will also need to install the IonCube loader on our system.
First, download the IonCube loader with the following command:
wget https://downloads.ioncube.com/loader_downloads/ioncube_loaders_lin_x86-64.tar.gz
Then extract the downloaded file with the following command:
tar -xzf ioncube_loaders_lin_x86-64.tar.gz -C /usr/lib/php
Then create an IonCube configuration file and specify the path to the IonCube source:
nano /etc/php/7.4/apache2/conf.d/00-ioncube.ini
Add the following line to the file:
zend_extension = /usr/lib/php/ioncube/ioncube_loader_lin_7.4.so
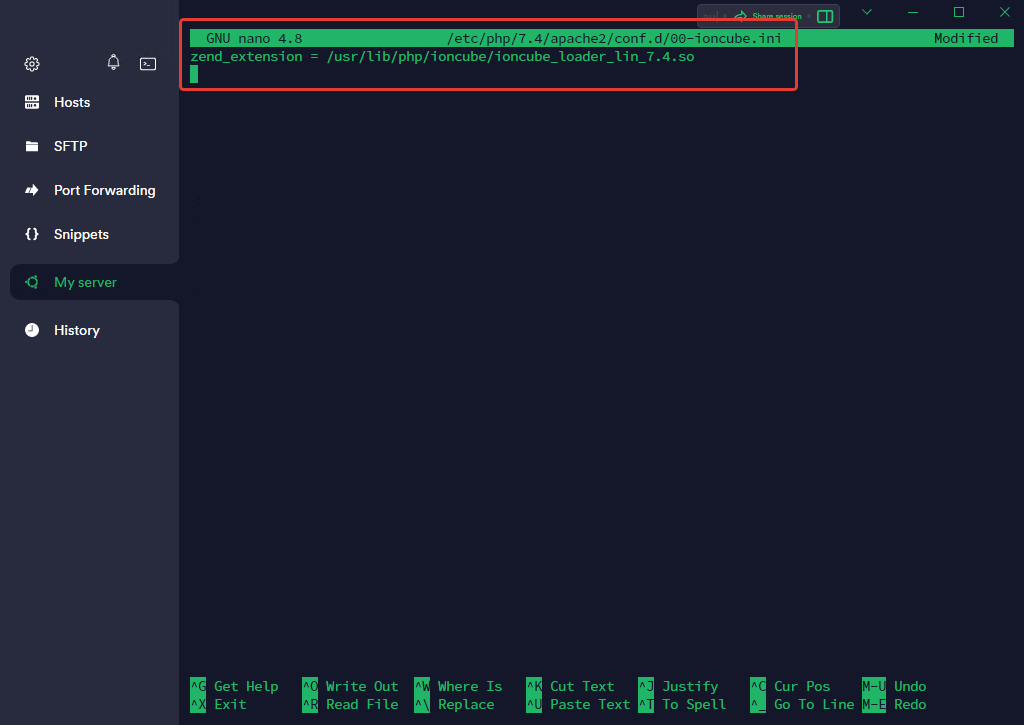
Save (by pressing “CTRL+X“, then press Enter) and close the file, then create a PHP configuration file for FileRun:

Save and close the file, then restart the Apache service to apply the changes:
systemctl reload apache2

How to create a database for FileRun
First, secure the MariaDB installation and set the root password with the following command:
mysql_secure_installation
Answer all questions as shown below:
Enter current password for root (enter for none):  НАЖМИТЕ ENTER
Set root password? [Y/n] Y
New password:
Re-enter new password:
Remove anonymous users? [Y/n] Y
Disallow root login remotely? [Y/n] Y
Remove test database and access to it? [Y/n]  Y
Reload privilege tables now? [Y/n] Y

Then login to the MariaDB shell with the following command:
mysql -u root -p
Once logged in, create the database and user with the following command:
MariaDB [(none)]> CREATE DATABASE filerun;
MariaDB [(none)]> CREATE USER 'filerun'@'localhost' IDENTIFIED BY 'filerunchangepassword';

Then grant all privileges to the FileRun database with the following command:
MariaDB [(none)]> GRANT ALL PRIVILEGES ON filerun.* TO 'filerun'@'localhost';
Then reset your privileges and exit MariaDB with the following command:
MariaDB [(none)]> FLUSH PRIVILEGES;
MariaDB [(none)]> EXIT;

How to download FileRun
First, download the latest version of FileRun from their official website using the following command:
wget -O FileRun.zip https://filerun.com/download-latest
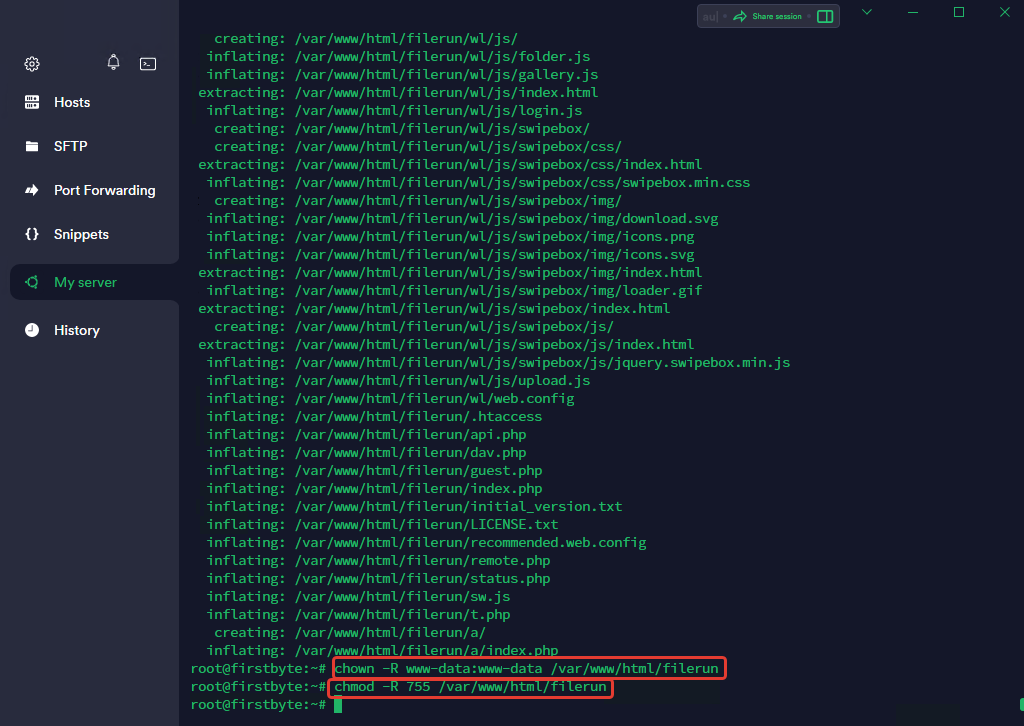
Once you have downloaded FileRun, unzip the downloaded file with the following command:
unzip FileRun.zip -d /var/www/html/filerun/

Then set the correct permission and ownership with the following command:
chown -R www-data:www-data /var/www/html/filerun
chmod -R 755 /var/www/html/filerun
How to create an Apache virtual host for FileRun
Next, you will need to create an Apache virtual host configuration file for FileRun. You can create it with the following command:
nano /etc/apache2/sites-available/filerun.conf
Add the following lines:
<VirtualHost *:80>
        ServerName your-domain.com

        DocumentRoot /var/www/html/filerun

        <Directory "/var/www/html/filerun">
                Options Indexes FollowSymLinks
                AllowOverride All
                Require all granted
        </Directory>

        ErrorLog ${APACHE_LOG_DIR}/filerun.error.log
        CustomLog ${APACHE_LOG_DIR}/filerun.access.log combined
</VirtualHost>

Save and close the file, then activate the Apache virtual host and enable the Apache rewrite module with the following command:
a2ensite filerun.conf
a2enmod rewrite
Then restart the Apache service to apply the changes:
systemctl restart apache2

Accessing the FileRun web interface
Now open a web browser and log in to the FileRun web interface using the URL http://Your.Domain.
You will be redirected to the following page:
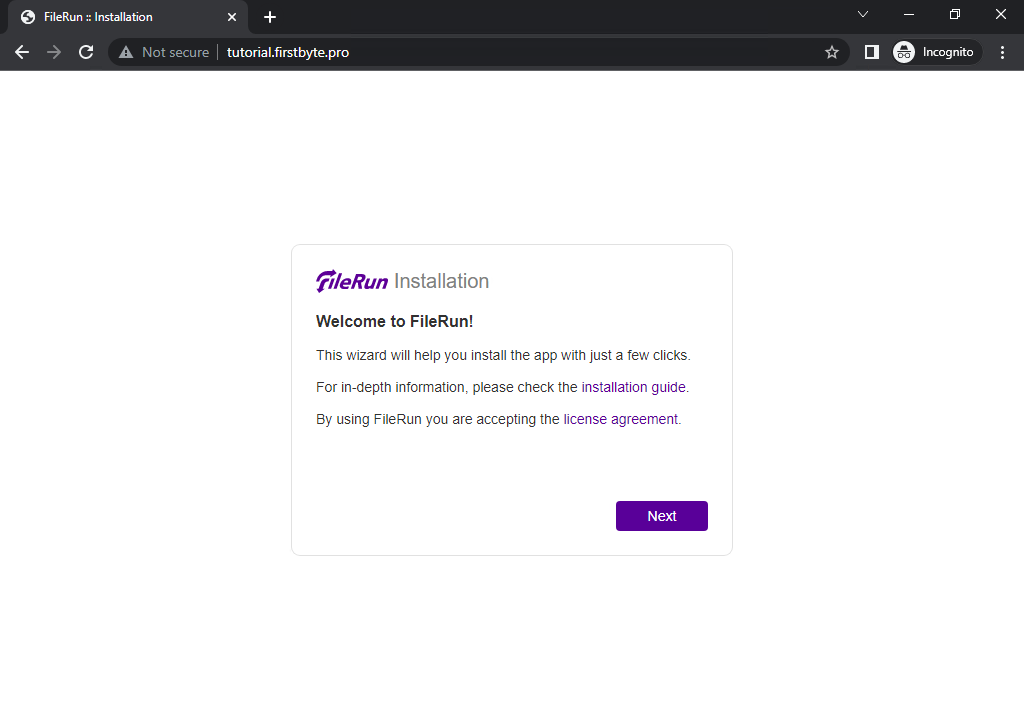
Click the “Next” button. you should see the server requirements check page:

Click the “Next” button. You should see the database configuration page:

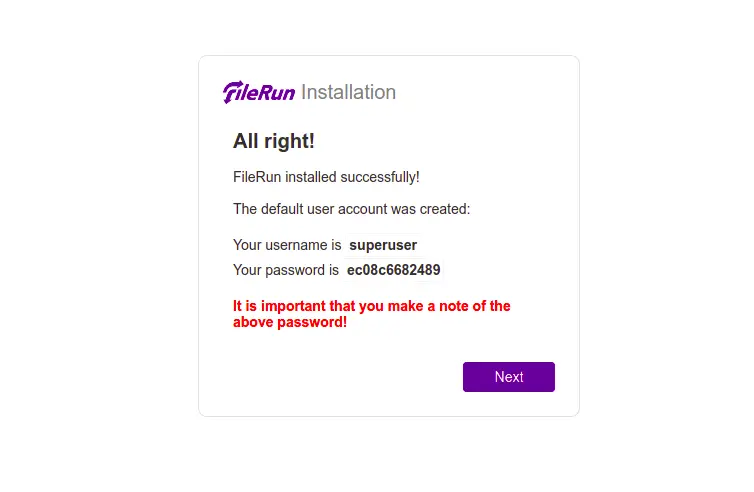
Specify the database data and click on the “Next” button. Once the installation is complete, you should see the following page:
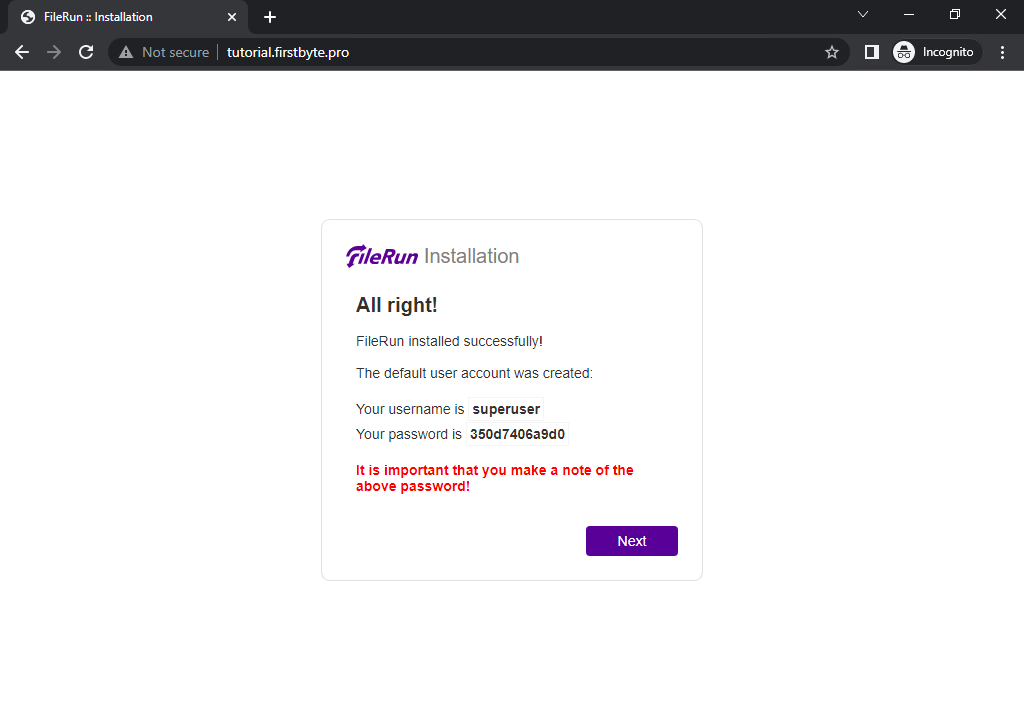
Click the “Next” button. You should see the FileRun login page:

Enter the administrator password and click the “Singin” button. You should see the FileRun toolbar on the following page:

How to secure FileRun with a Let’s Encrypt SSL certificate
It is also recommended to secure FileRun with Let’s Encrypt SSL. First, you will need to install the Certbot client on your server. You can install it with the following command:
apt-get install python3-certbot-apache -y
After installing Certbot, run the following command to secure your FileRun with Let’s Encrypt SSL:
certbot --apache -d vash.domen
You will be prompted to provide an email address and accept the terms of service as shown below:

Check if SSL works:

Great! SSL is working and now our connection is secured.
Conclusion
Congratulations! You have successfully installed FileRun with Apache and Let’s Encrypt SSL. Now you can host your own FileRun server in the cloud and start sharing and syncing your files, music and photos with friends and family.