

What is BrainyCP
BrainyCP is a multifunctional free VDS server and hosting control panel for Linux. The main task of BrainyCP is to simplify server management for the system administrator as much as possible, as well as to automate all server processes. The product will be useful both for a webmaster working on small tasks, who needs a tool to manage a VPS / dedicated server, and a large hosting company for hosting their clients on VDS shared hosting.
How to install BrainyCP
First, we need to connect to our server. And we execute the command already with the choice of software.
wget -O install.sh http://core.brainycp.com/install.sh && bash ./install.sh --package=apache2.4,nginx,php52w,php53w,php54w,php55w,php56w,php70w,php71w,php72w,php73w,php74w,php80w,bindserver,memcached,ffmpeg,imagemagick,certbot,megacli,iotop,atop,iftop,logrotate,git,shellinabox,MariaDB10.5,phpMyAdmin-4.9.4,exim,spamassassin,clamav,proftpd,csf
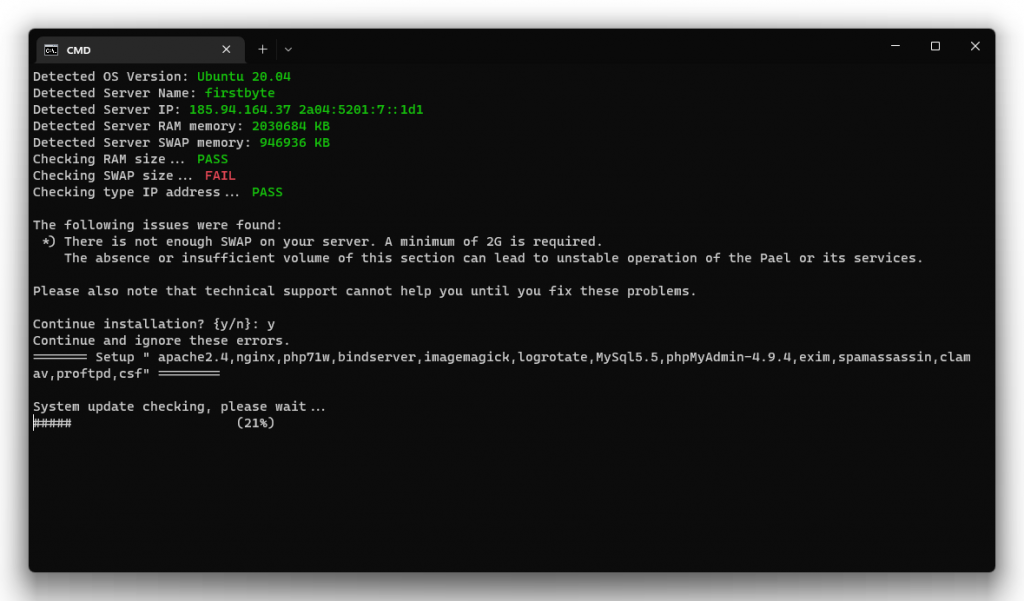
After executing the command, the script will make a test if our server is suitable for installation. Everything is fine with us, except for SWAP, but we write “Y” and press Enter as SWAP is not required and wait for the panel to install.
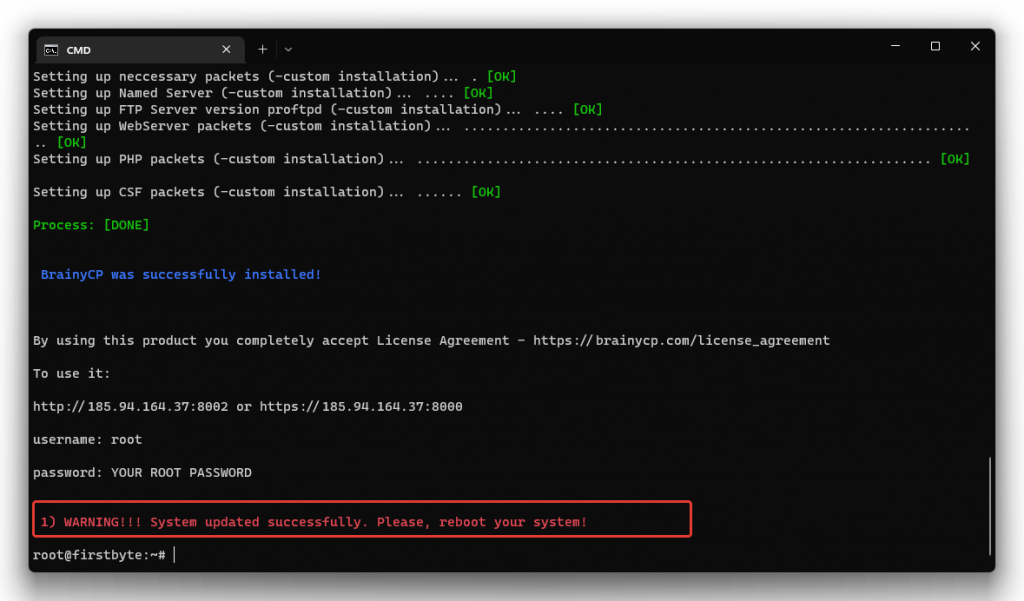
After installation, you must restart the server, and link to the panel you can see in the terminal. (https://IP:8000)
After the reboot, we can enter the panel at the address we indicated above.
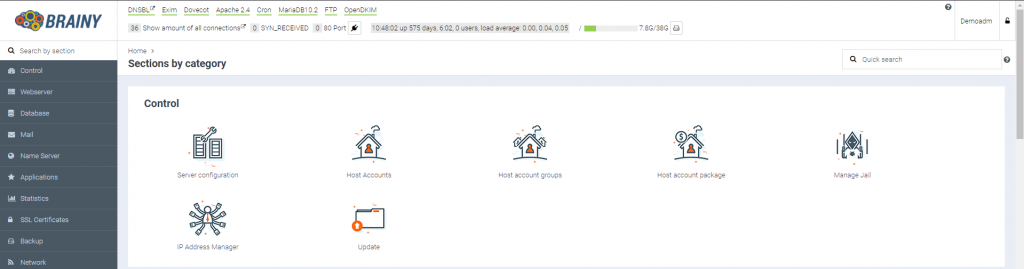
Now you can add users, websites, use auto CMS installer, create mail server, scan your server using ClamAV and more.