

By default, the microphone and sound in the RDP session are turned off and you cannot hear the sound or use the microphone for conversations, but they can be turned on so that you can communicate through a remote server.
How to turn on the sound
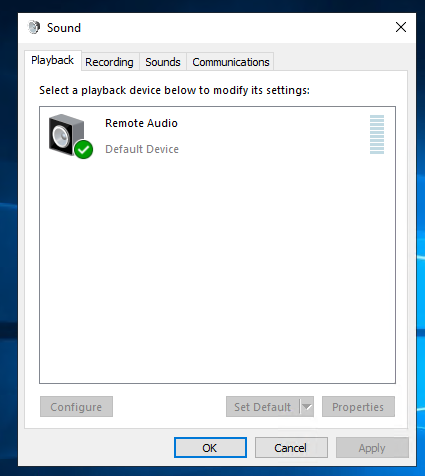
If we open the sound settings (Control Panel -> Hardware -> Sound)
We will see such a picture. It is empty and we do not observe any sound devices.

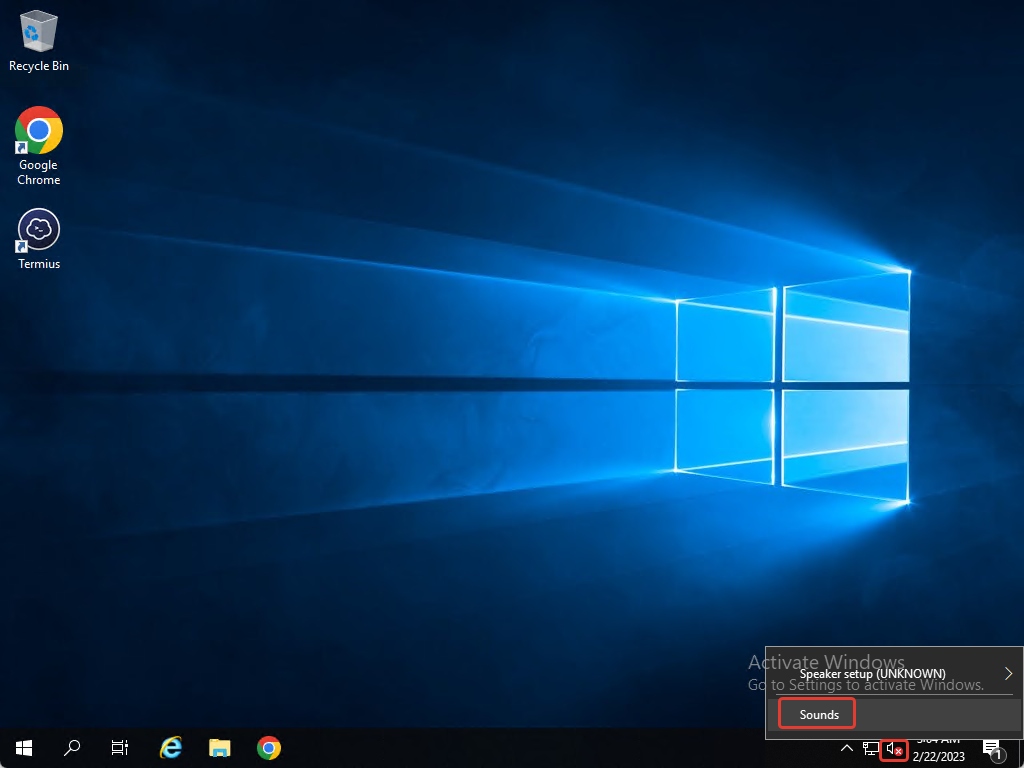
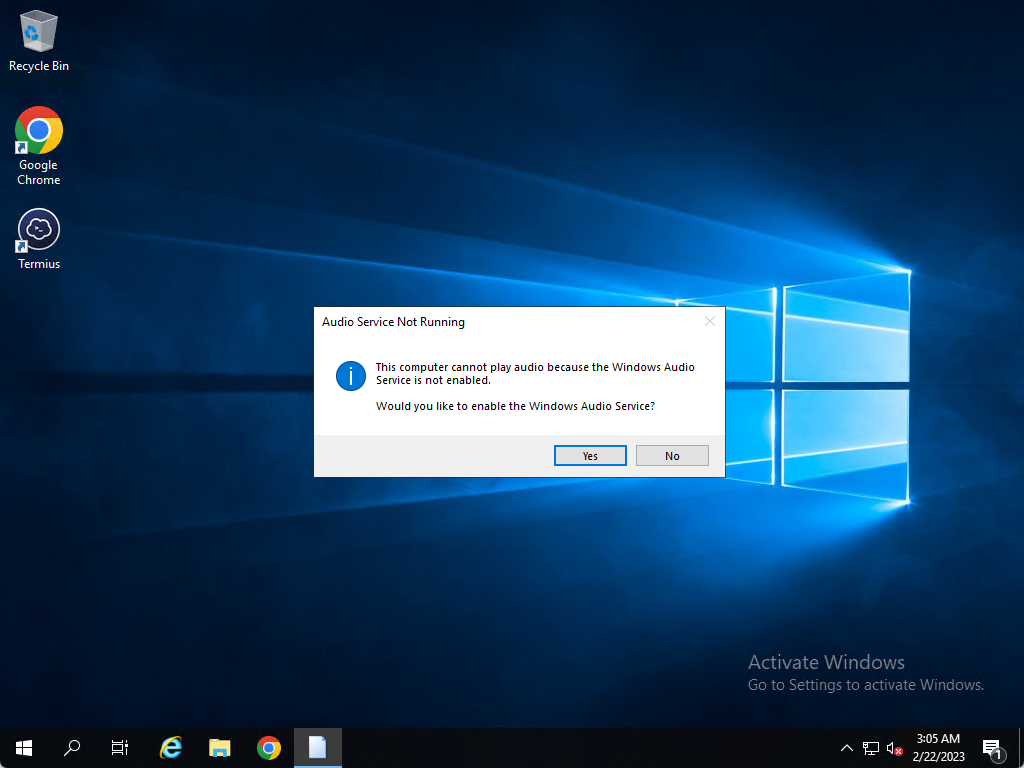
In the notification area, right-click on the sound icon, and then click on “Sounds” and turn it on.
And now we have sound. You can also adjust the sound volume using the sound icon in the notification area.
How to turn on the microphone
First we need to make sure that our microphone will work on the server.
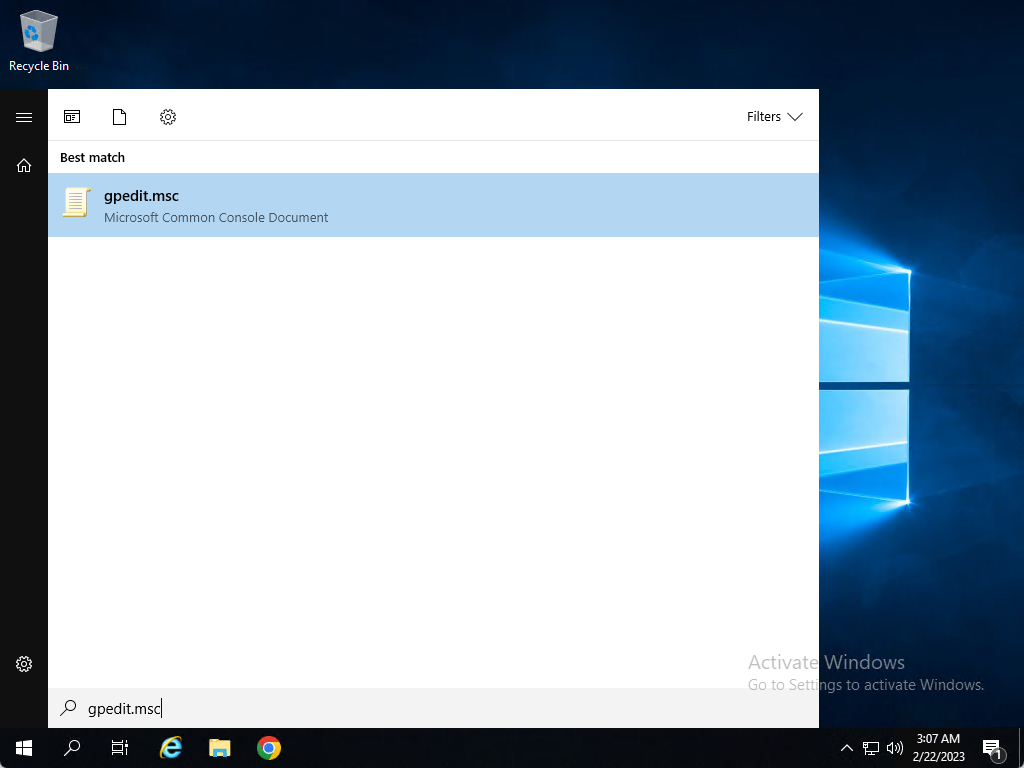
On our personal PC, click on “Start”, look for “gpedit.msc” and open it.
This action must be done on the server as well!
Then follow the path Computer Configuration -> Administrative Templates -> Windows Components -> Remote Desktop Services -> Remote Desktop Session Host -> Device and Resource Redirection.
Double click on “Allow audio recording redirection”
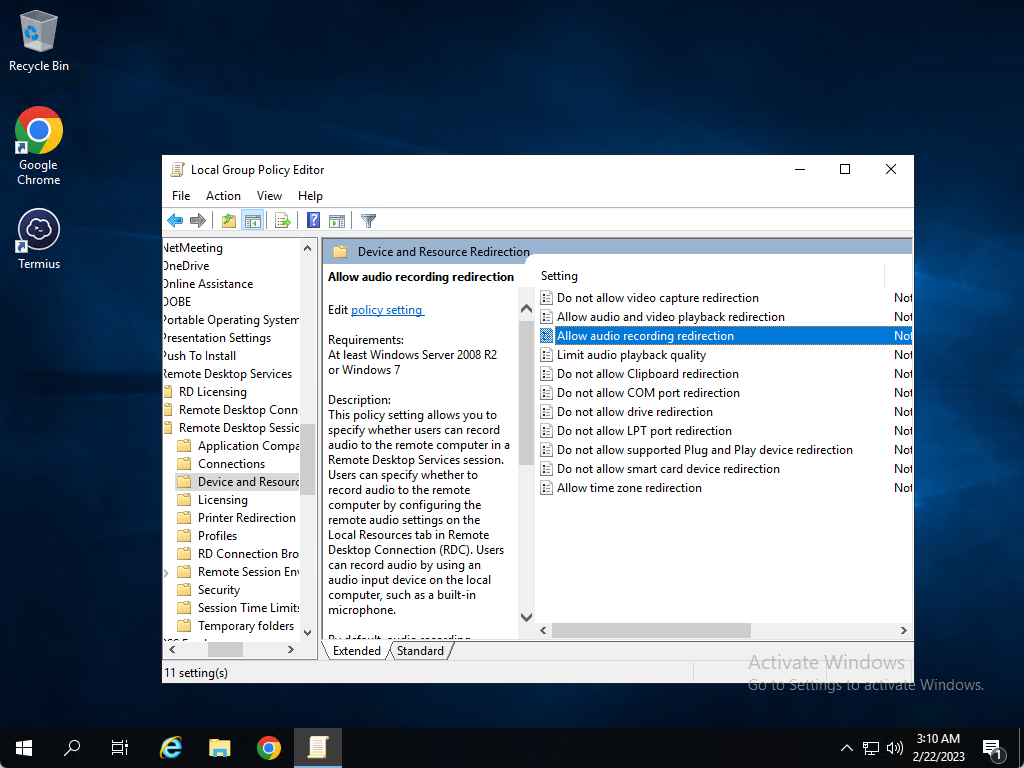
Turn it on, click on OK and save the settings.
And we do the same with “Allow audio and video playback redirection”

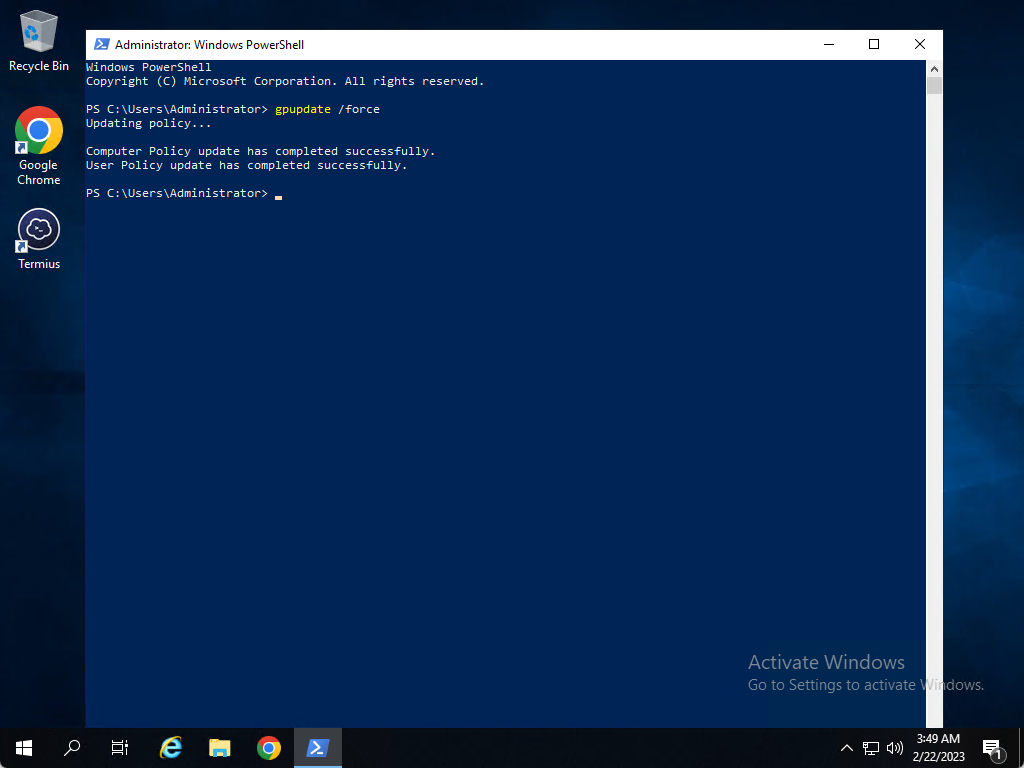
Now we launch “PowerShell” and execute the command to restart the settings, and after that we reboot our PC and server.
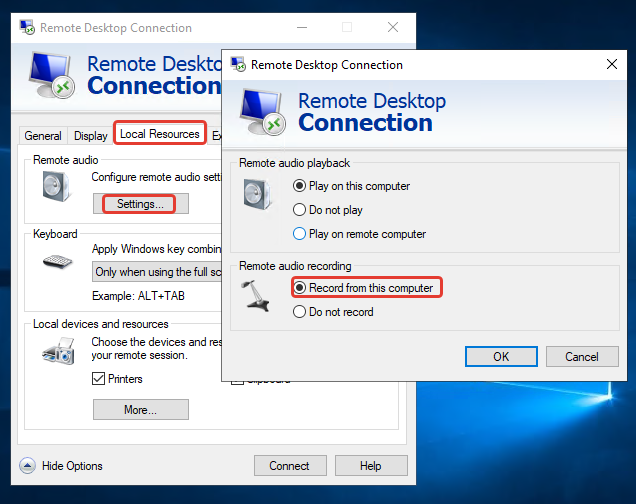
After we restarted our PC, open “RDC” and enable the ability to use the microphone on the server.
Click on “Local Resources”, then on “Settings”, turn on “Record from this computer”, click “OK” and connect to the server.
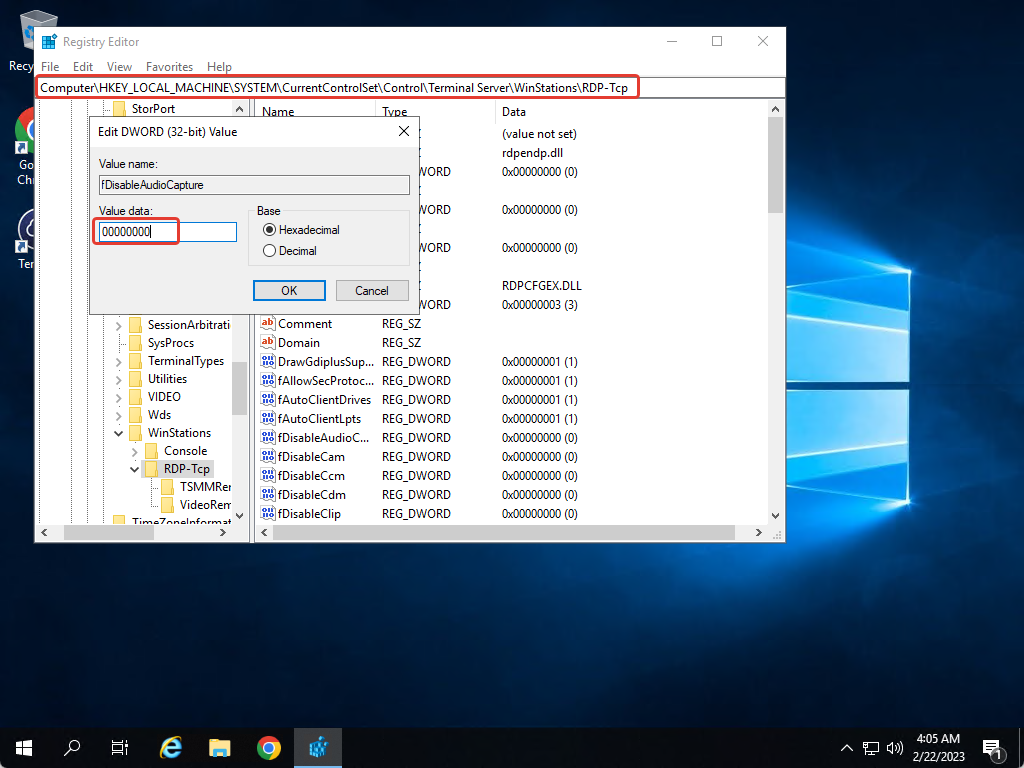
Next we need to modify the registry file.
Click on “Start” and look for “regedit” – run it and go the following way, open the file “fDisavleAudioCapture” and instead of one “0”, specify “00000000”, then save.
HKEY_LOCAL_MACHINE\SYSTEM\CurrentControlSet\Control\Terminal Server\WinStations\RDP-Tcp
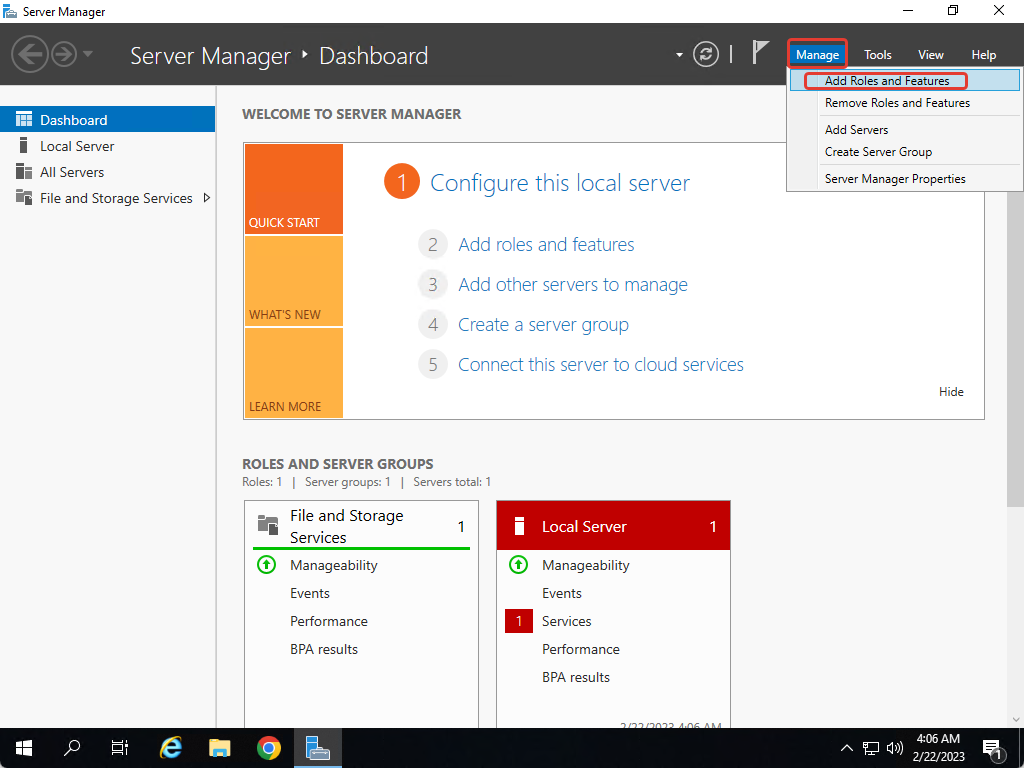
Click on “Start” and open “Server Manager”
Click on Manage, then on Add Roles and Features.
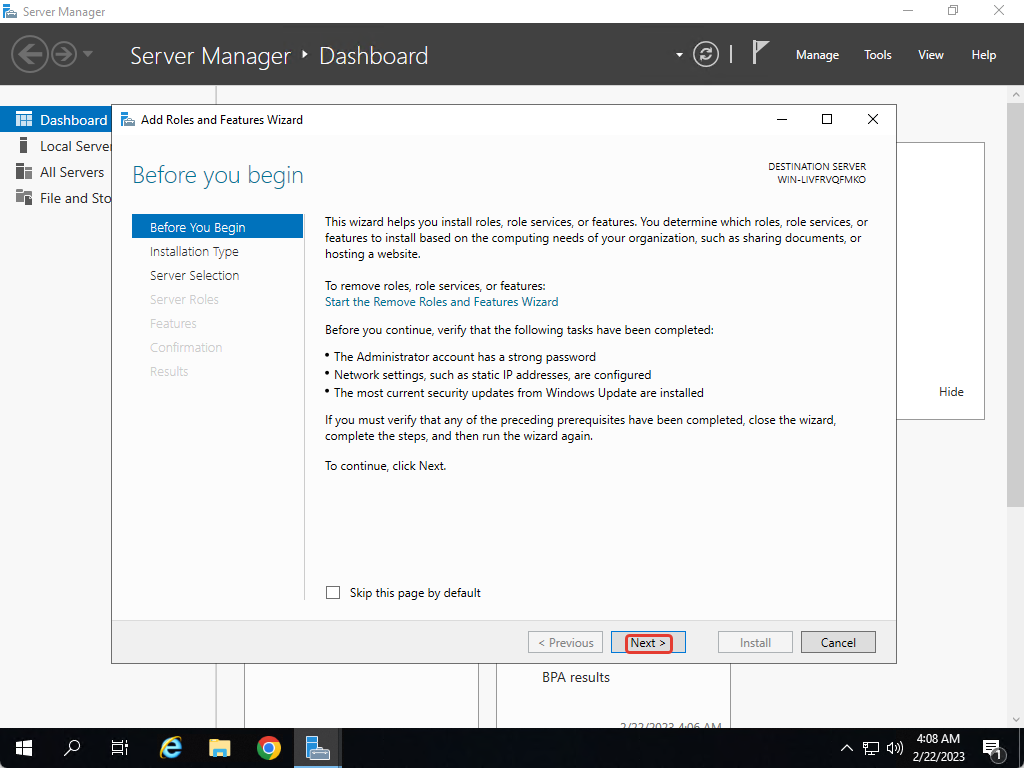
In the window that opens, click “Next”
In the next step, leave everything as it is and click on “Next”
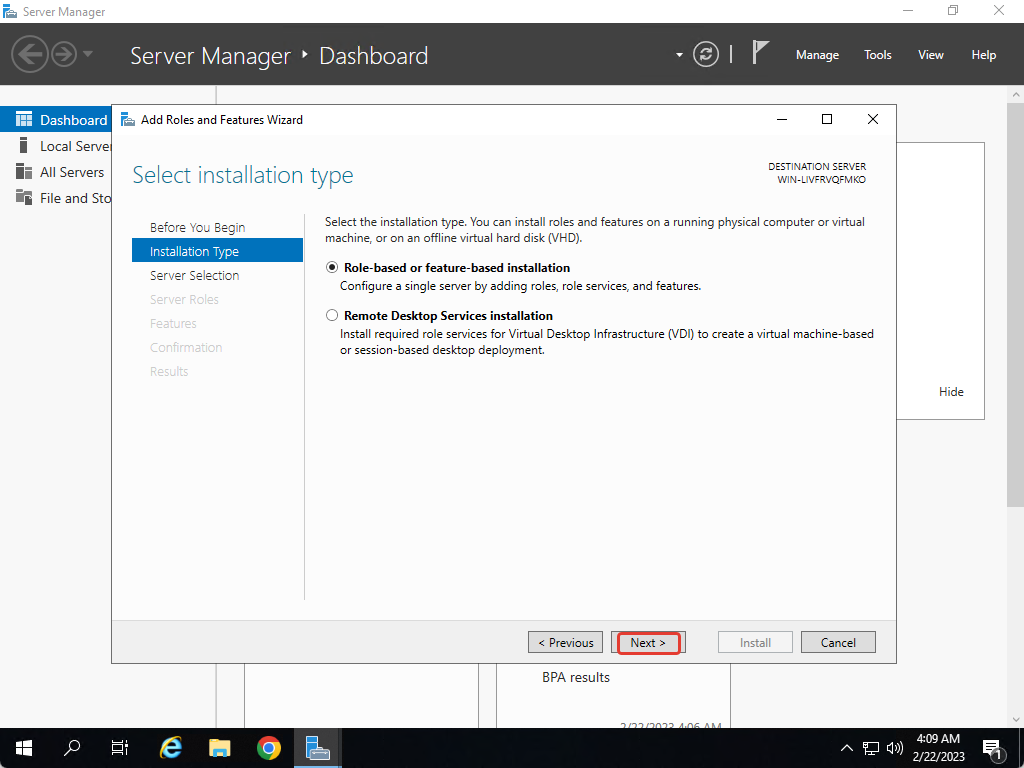
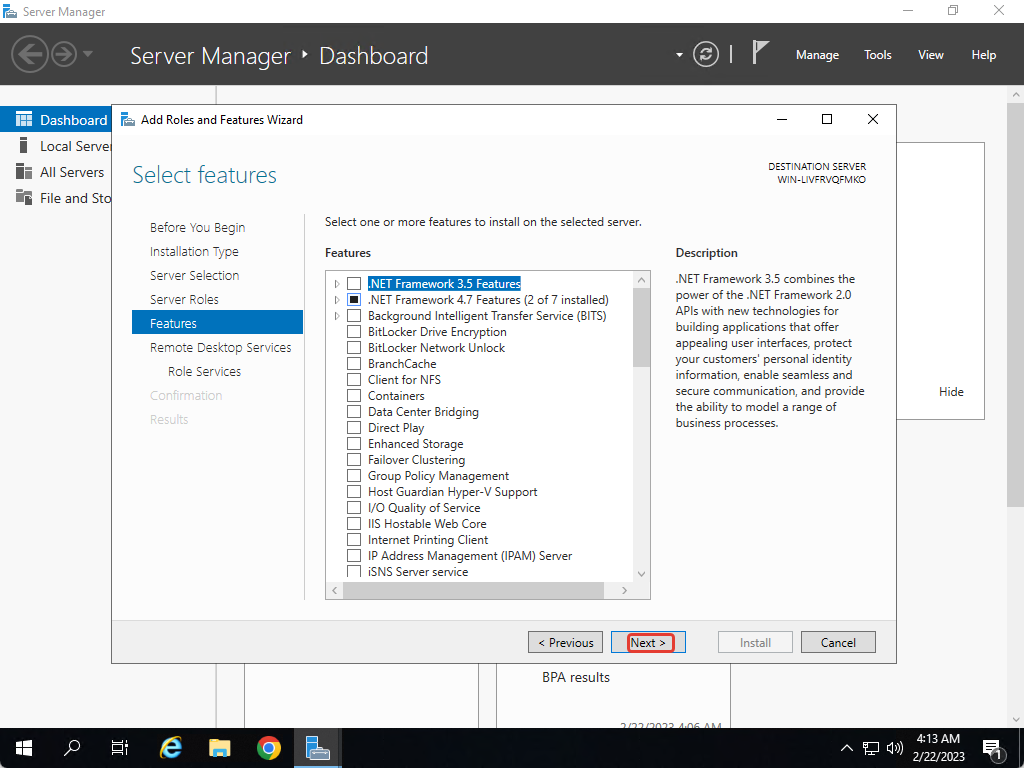
Here, too, everything is already selected and click on “Next”

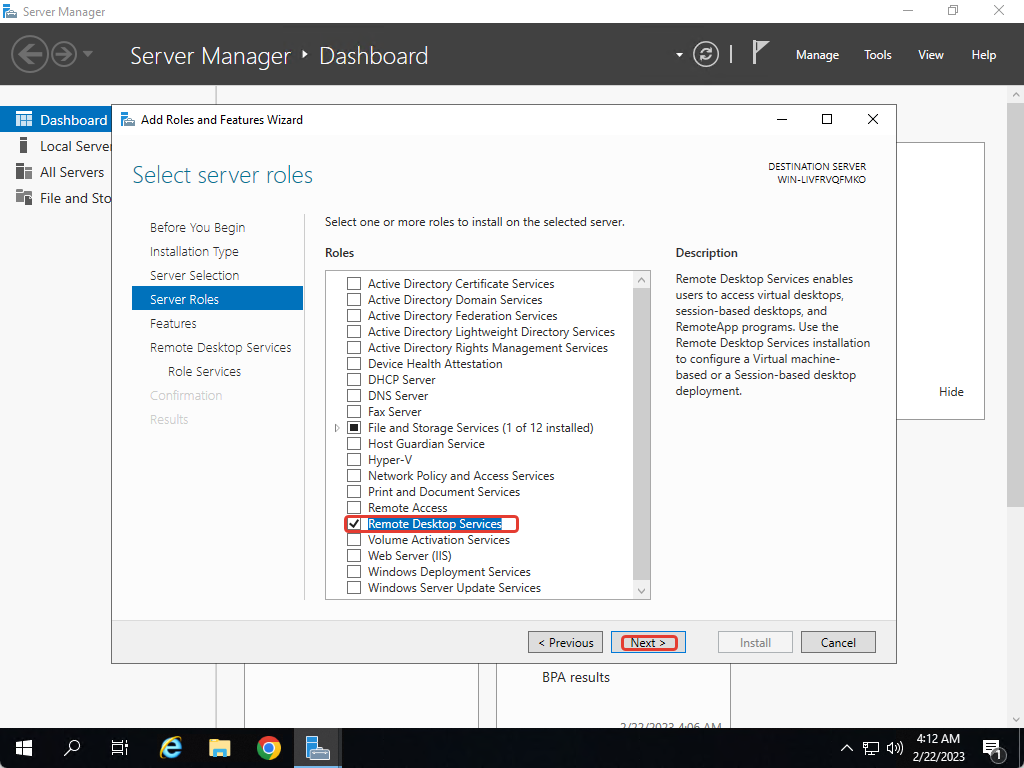
At this step, select “Remote Desktop Services” and click on “Next”
At this step, do not click anything except the “Next” button.
Here we also click only on “Next”

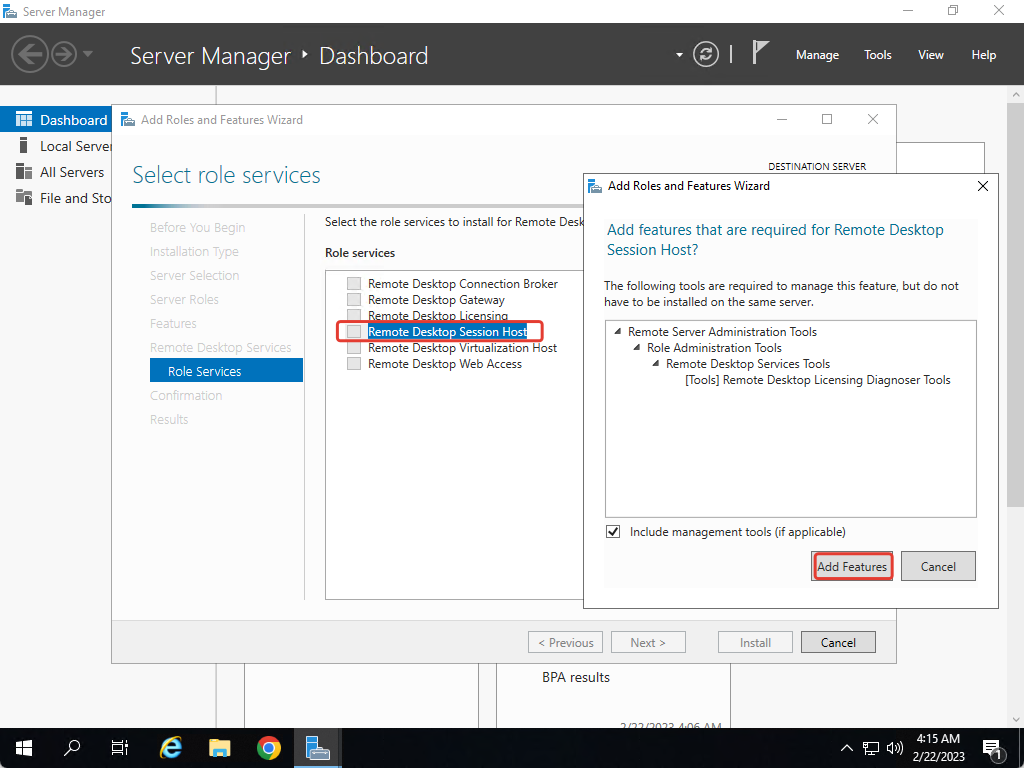
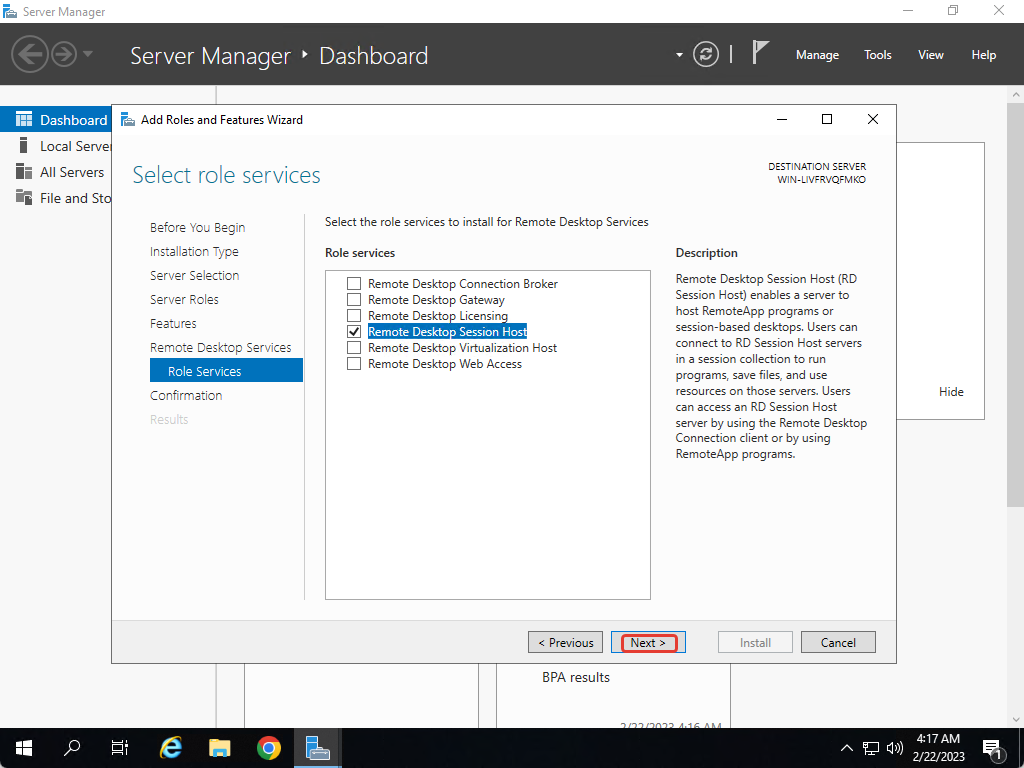
In the “Role Services” step, we select “Remote Desktop Session Host”, then click on the “Add Features” button
Then click on “Next”
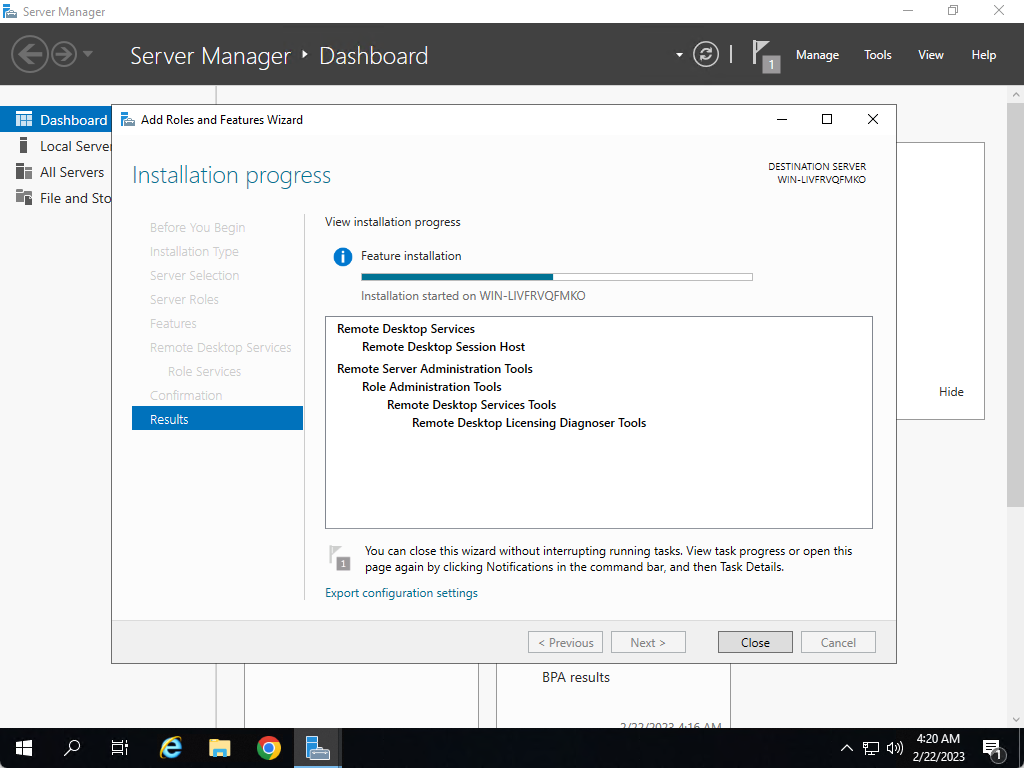
In this step, click on “Restart the destination server automatically if required” and then click on “Install”.
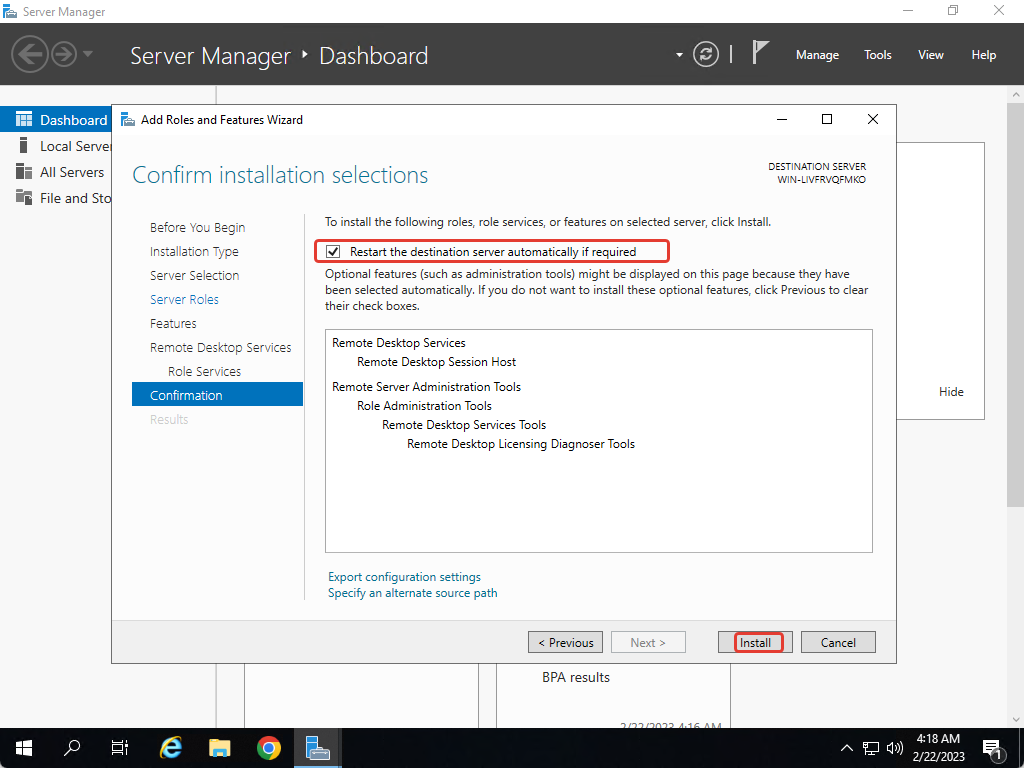
And we are waiting for the components to be installed.
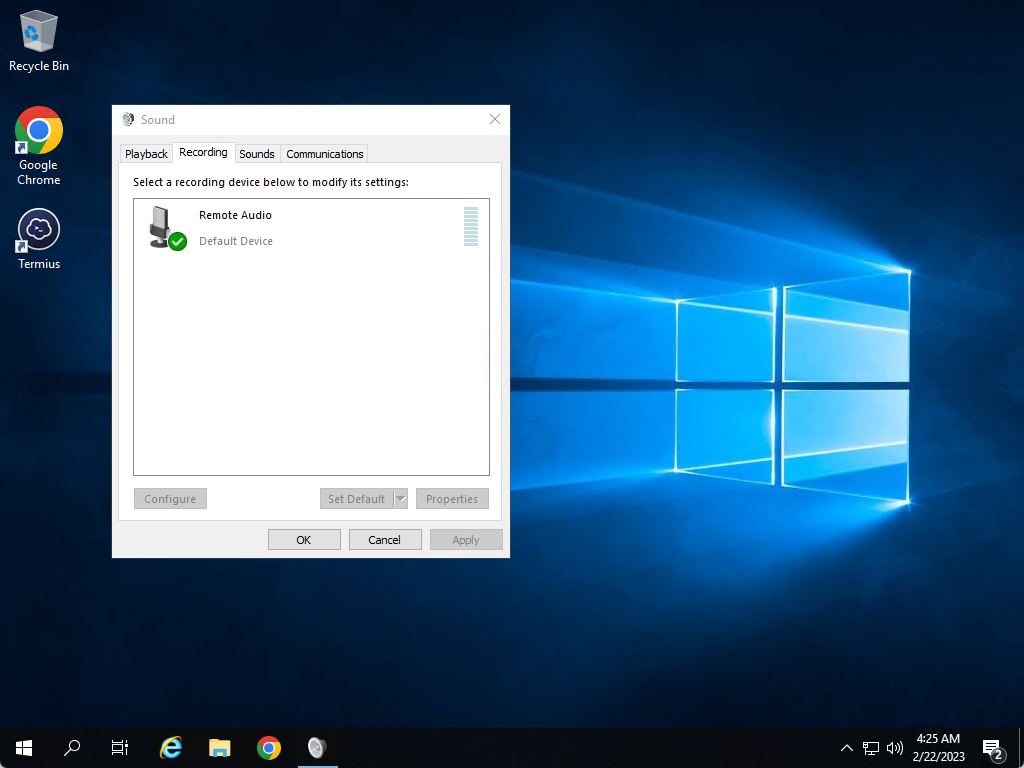
After restarting the server, connect to server again and open “Sounds”, click on “Record” and see that now our microphone is there.
That’s all, now we can install TeamSpeak, Skype and other software and communicate through the server using our PC microphone.